HOW TO KILL AN OYSTER
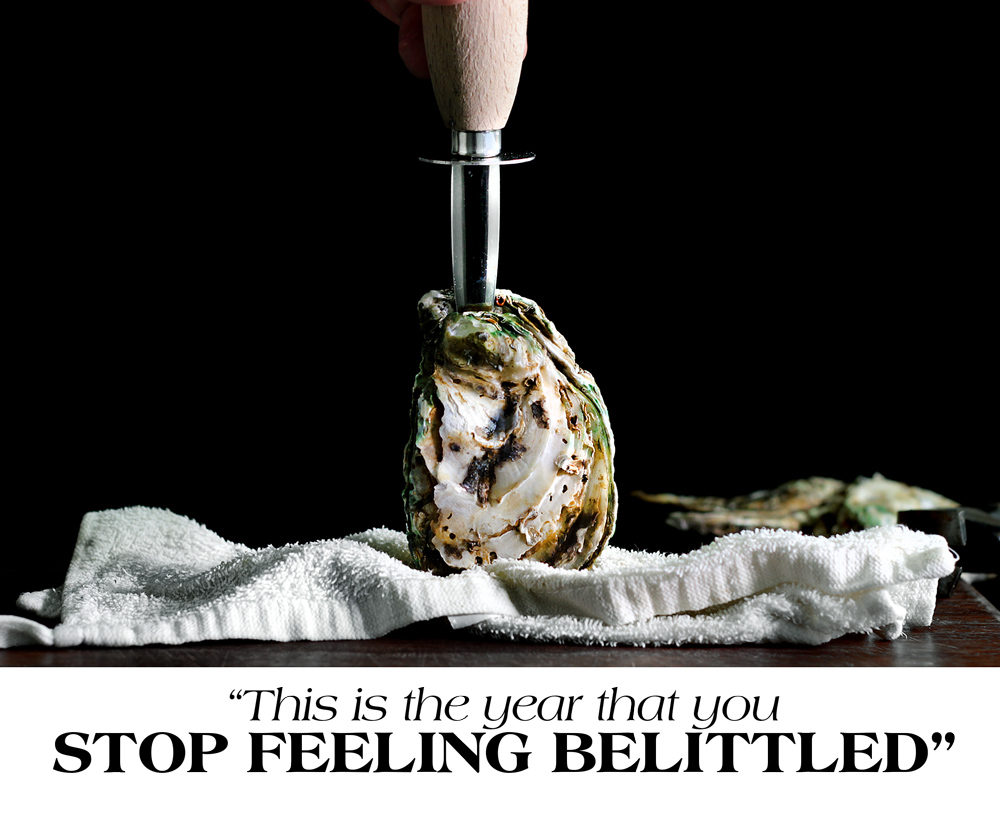
Behold, the months marked with the letter “R” are already upon us, and as you may have been once told in stories, that this is the time a particular… defiant kind of sea monsters roam wild and await the braves who dare to challenge. Enlightened by ancient (probably also desperately hungry) wisdoms who discovered that there are briny, delicious glories hidden inside these ugly and unseemly creatures with tough shells, courageous heroes have charged fearlessly to claim the price (literally charged for it), while the most and rest of us timidly standing on the sideline, too daunted by their impossible presence (and being charged for it). But this year, this year the fear stops. This year, this year we stop feeling belittled. Grab the swords (sort of), and with the help of a mighty hammer (non-lightening charged), we are going to defeat these monsters once and for all, and feast on their flesh. Because you know what, the difficulty is all but myth, and the deliciousness is not.
You don’t need a professional or a demi-god for that matter. Because this, this is how mortals kill a sea monsters.
****
Hammer, in my opinion, is the most under-utilized gadget in the kitchen. Most people don’t even consider it belonging in such category, and they should. If you think hammer? oh gosh… that sounds like a lot of work. NO, no it doesn’t. In fact, it is the OPPOSITE. The hammer will reduce the total effort in many kitchen-tasks such as coarsely cracking black peppers, pounding crackers and thinning out a piece of meat or, say if you’re trying to overcome some tough bastards like crabs or in this case, oysters. A small, lighter-weight hammer will make things nice and easy for you, and most importantly, SAFE if you know how to use it.
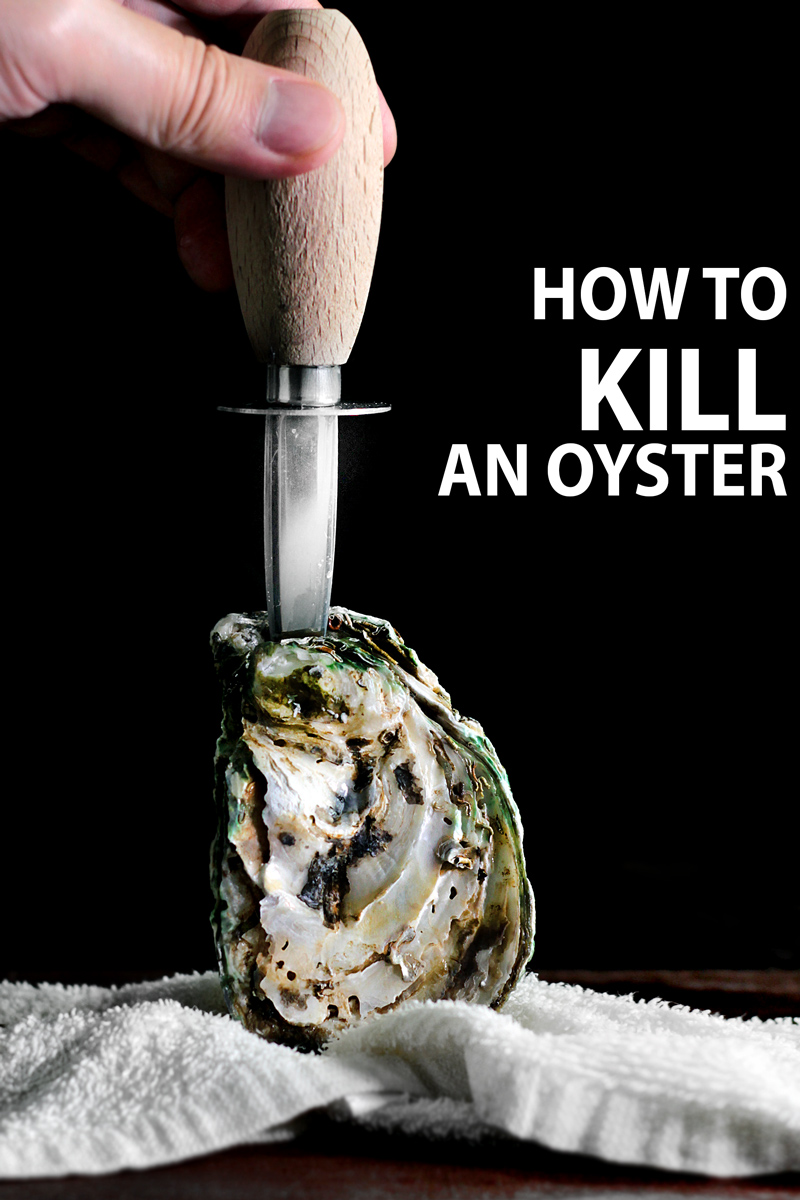
Most people would find inserting the oyster knife into the oysters to be the hardest part of shucking, well yes, because we are not professionals and we need help. Most oysters are TOUGH and they don’t want to die. If you are not a professional oyster shucker, and you start twisting and turning the knife desperately to break and enter, the knife is more likely to enter YOUR HAND than into the oysters. The ruckus also results in broken shells that may end up in your slurps. So amateurs, CLEAN and SWIFT is the key. All you want to do is to hold the knife in position, and let the hammer do the rest of the work.
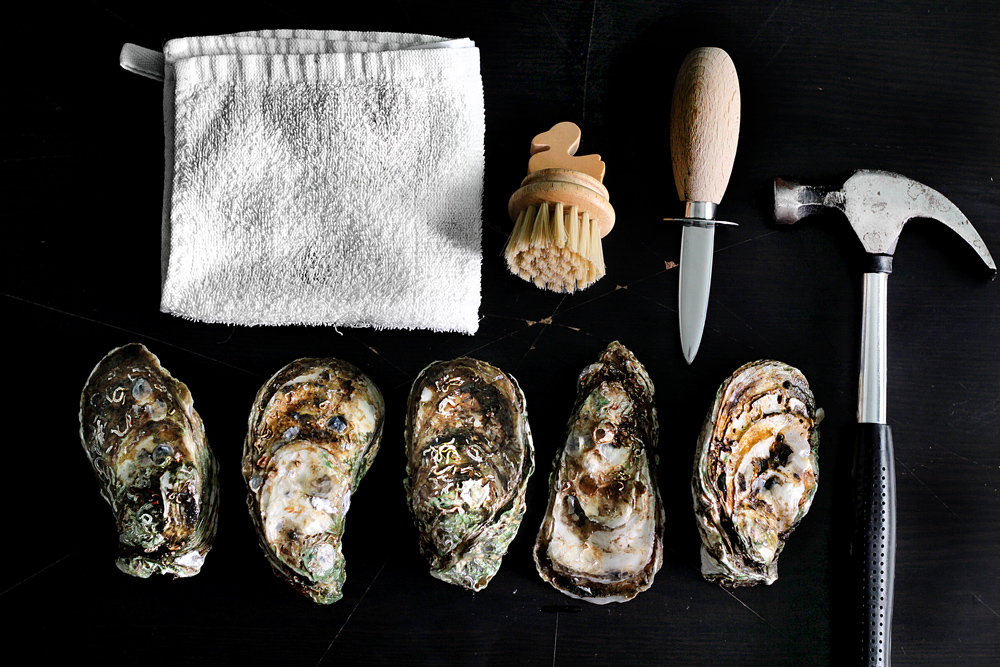
Equipment:
- A couple of clean kitchen towels
- A shellfish scrubber with tough bristles (kitchen scrubber works)
- An oyster shucking knife
- A small, light-weight hammer
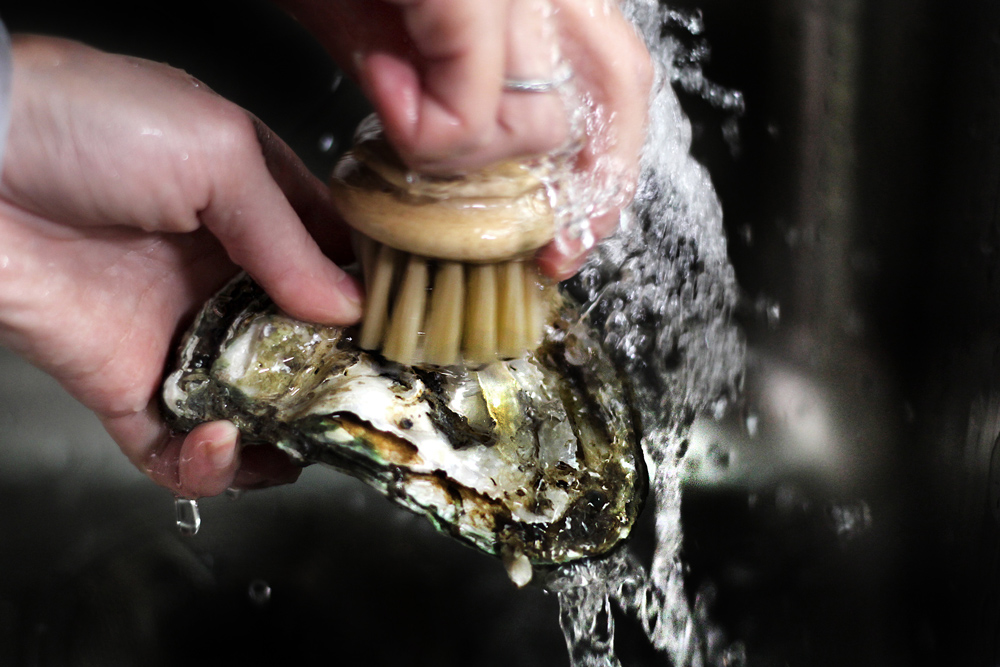
Rinse oysters under cold water and scrub EVERY nooks and crannies with a stiff scrubber to remove as much dirt and broken shells as you can.
Place a wet towel underneath the cutting board to firmly secure it, and station another clean kitchen towel, an oyster-knife and a small hammer on the board.
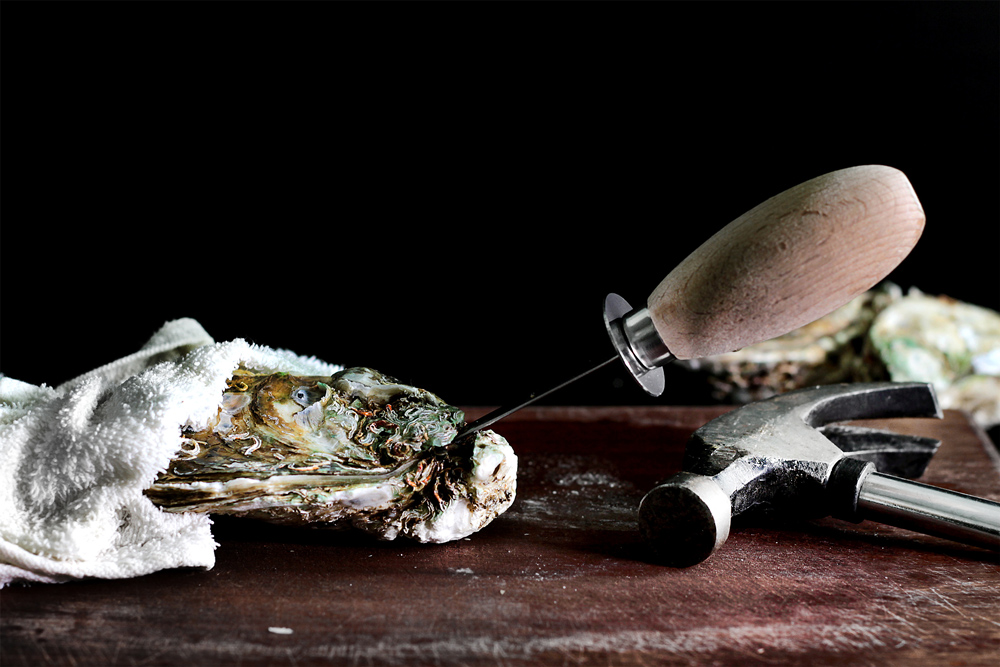
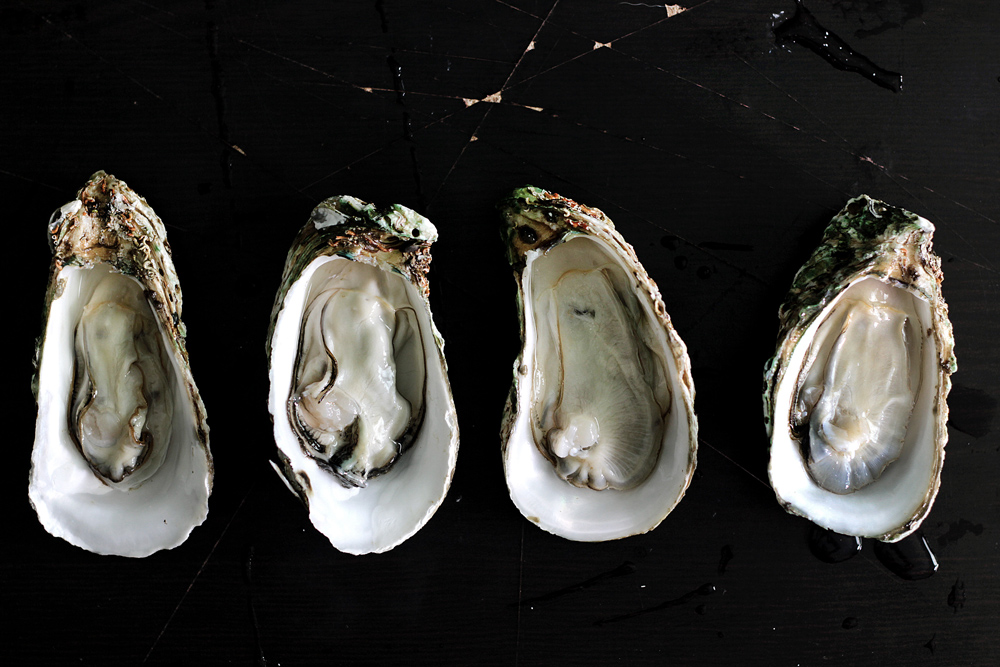
Take a close examination at the oysters and get familiar with its anatomy. You will see that there’s a bulging side (like an oval cup), and a flat side (like a lid on the cup) on every oysters. Then there’s one end that’s obviously pointier, with another end that’s round. Now, you want to place the oyster FLAT-SIDE UP, with the POINTY END on the right side (if you are a lefty, then you’ll want the pointy end on the left side). Take another look at the pointy end of the oyster, and you’ll see a “hinge” or where the top and bottom shell meets. This is where you are going to make the invasion.
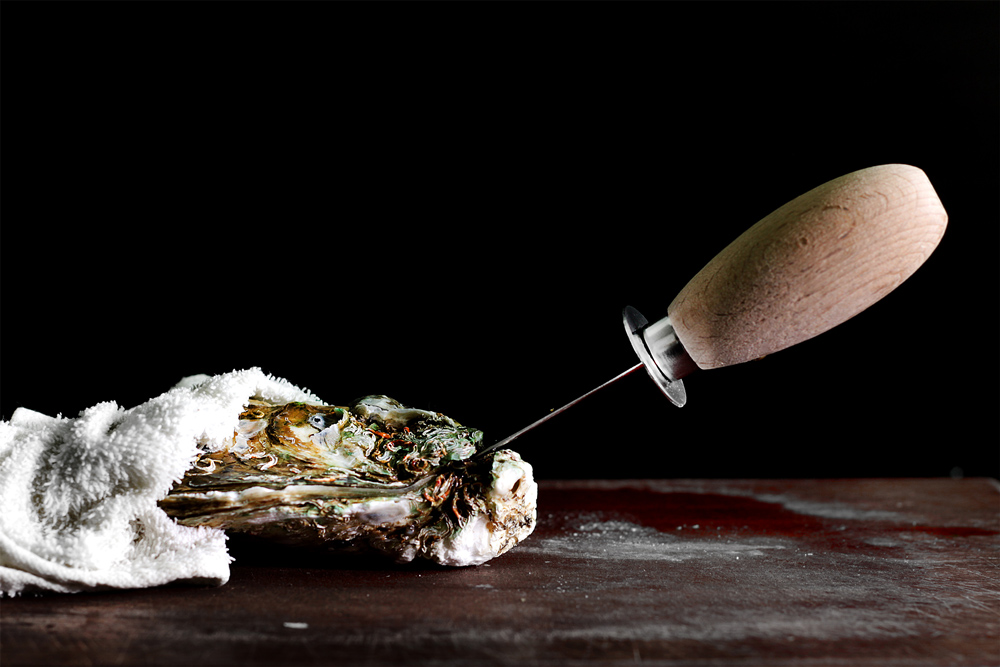
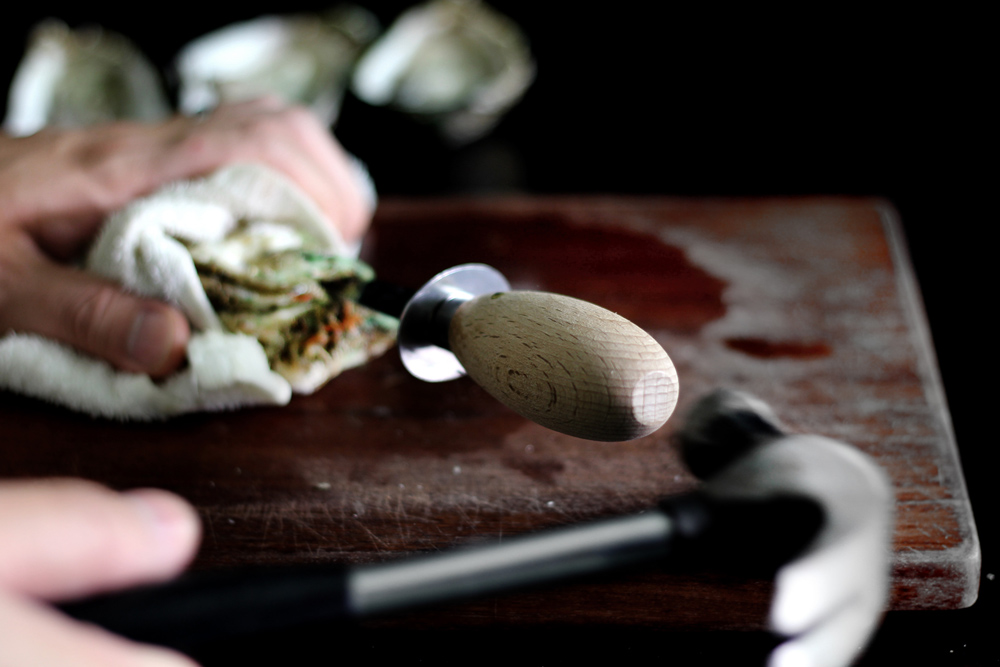
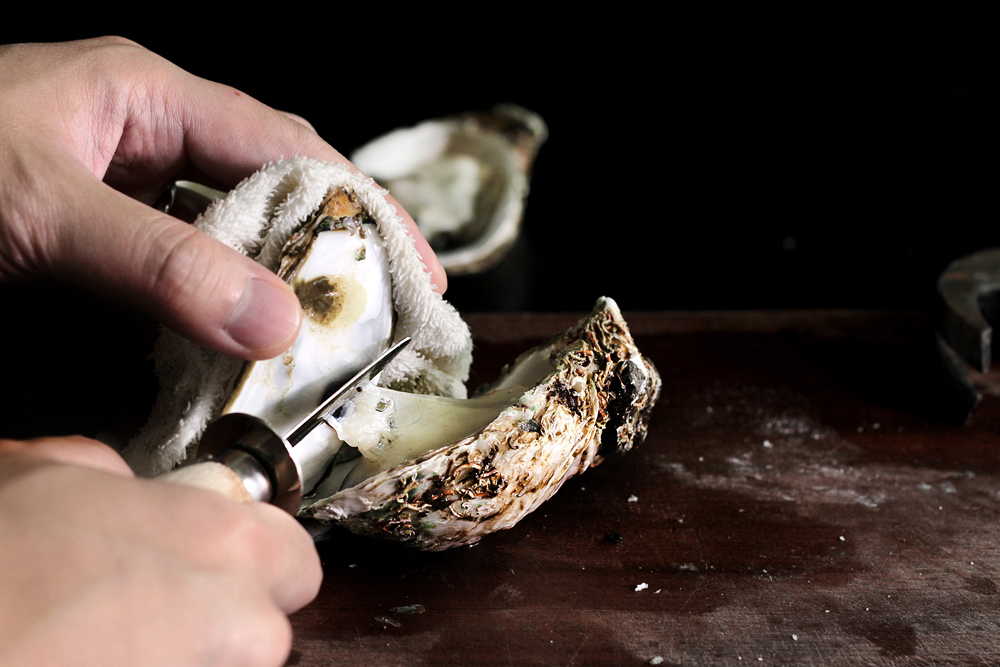
Hold the oyster firmly with the kitchen towel (this not only helps the grip but also protects your hand), and then point the tip of the oyster-knife at the “hinge”/point of entry. Wiggle the knife a bit with some force to somewhat secure the knife’s position, but DON’T bother inserting it all the way in. If the knife doesn’t find a place to stay AT ALL, simply hold the oyster TOGETHER with the knife at the point of entry with the kitchen towel. Now with your knife in position, use the small hammer to firmly tap the knife a few times to insert it into the oyster by about 1/3” (1 cm). No oyster, especially at its weak point, is stronger than the pressure being delivered by the hammer. You don’t even have to apply that much force. Once you feel that the knife has successfully made the incision, firmly “seesaw” the knife up and down to crack the oyster open. The “lid”/top-shell will still be connected to the flesh by some tissue, so carefully peel the shell open by gently scraping the oyster flesh off the shell.
There, you’ve made the kill.
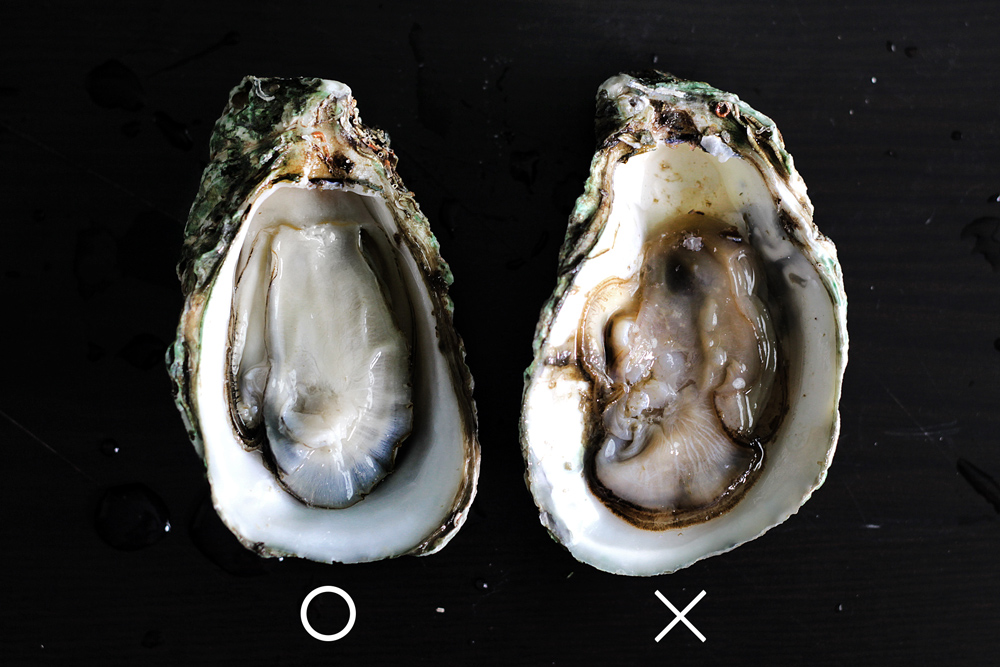
Now gently clean off any dirt or broken shells inside the oyster, and examine the flesh. Does it smell like ANYTHING ELSE than sea water? Does the flesh look suspiciously bruised or discolored? Is it releasing odours so strong that your cat comes to investigate? If you get any “YES” from the above, toss that oyster. It’s ok. It happens. To get the rest of the GOOD oysters ready, the oyster flesh is also connect to the bottom-shell by some tissues, so again, gently scrape the flesh off the bottom-shell to release it completely.
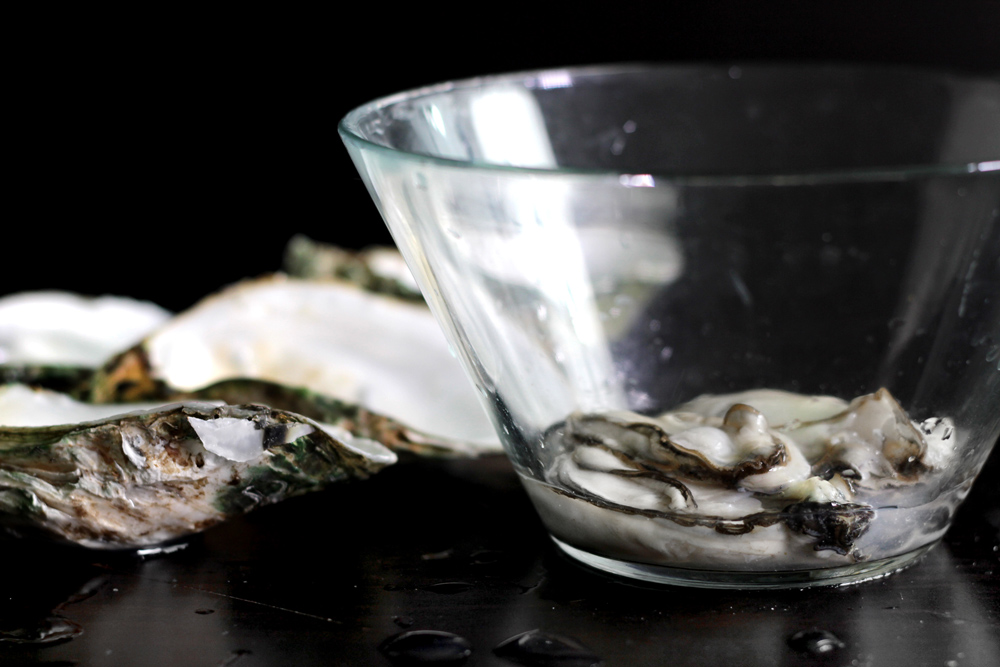
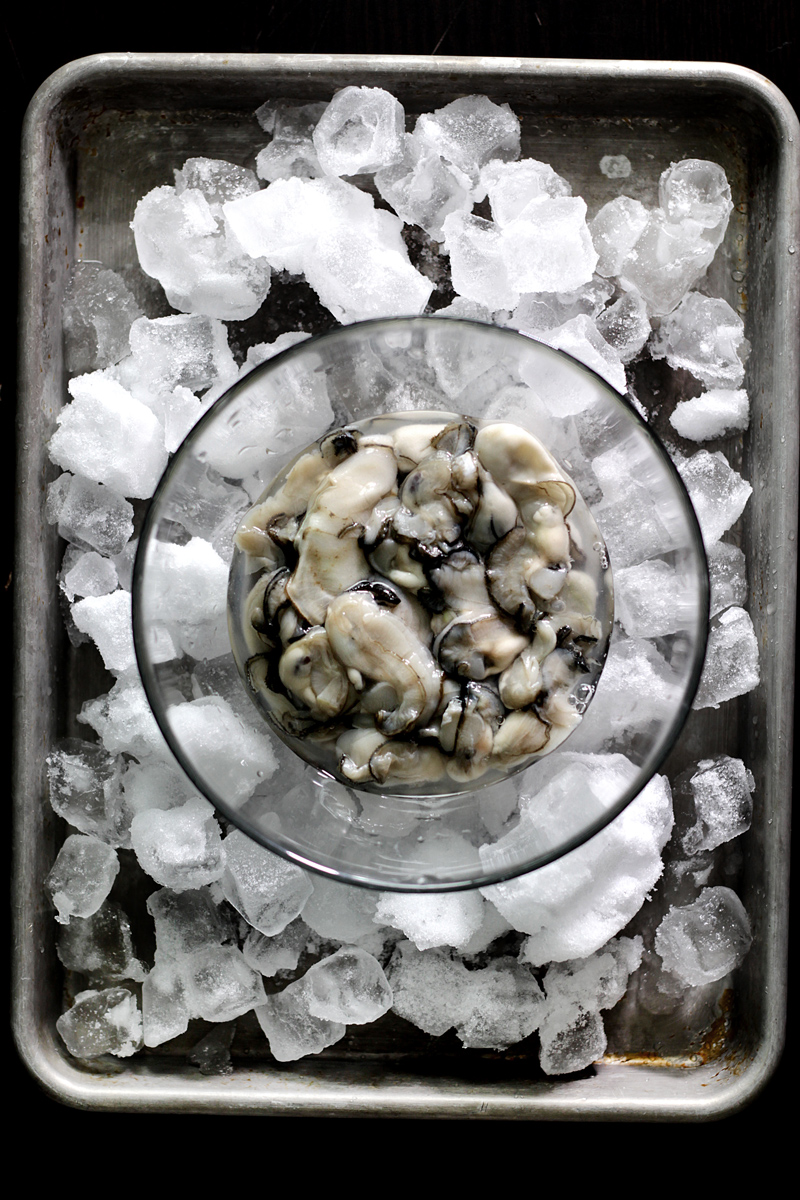
If you are collecting the oysters, keep the oysters and its liquor in a bowl over ice. Plastic-wrap it and keep in the refrigerator. Cook within 9 hours after the oysters have been shucked.


Wendy D.
12.11.2013at10:43 AMVery scary.
I’m going to go buy some oysters now.
Lacey
12.18.2013at2:31 AMJust in time for the 50 oysters I am picking up Thursday night! Thanks!!
Kimithy
06.12.2015at11:02 AMThis is making me rethink how I feel about oysters – I seriously want to try some now…