updated recipe

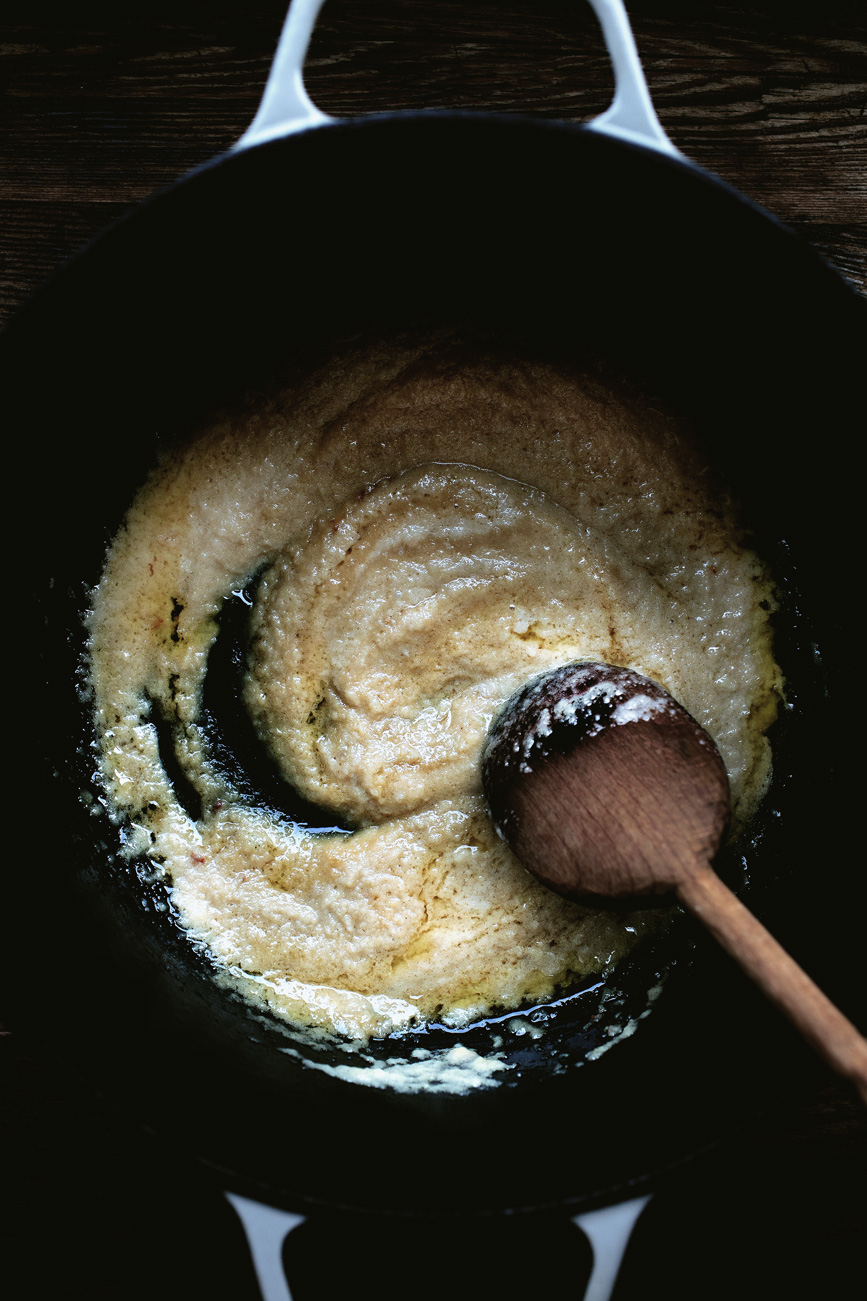
WORLD PEACE CURRY, AND HAPPENS TO BE GLORIOUSLY DELICIOUS

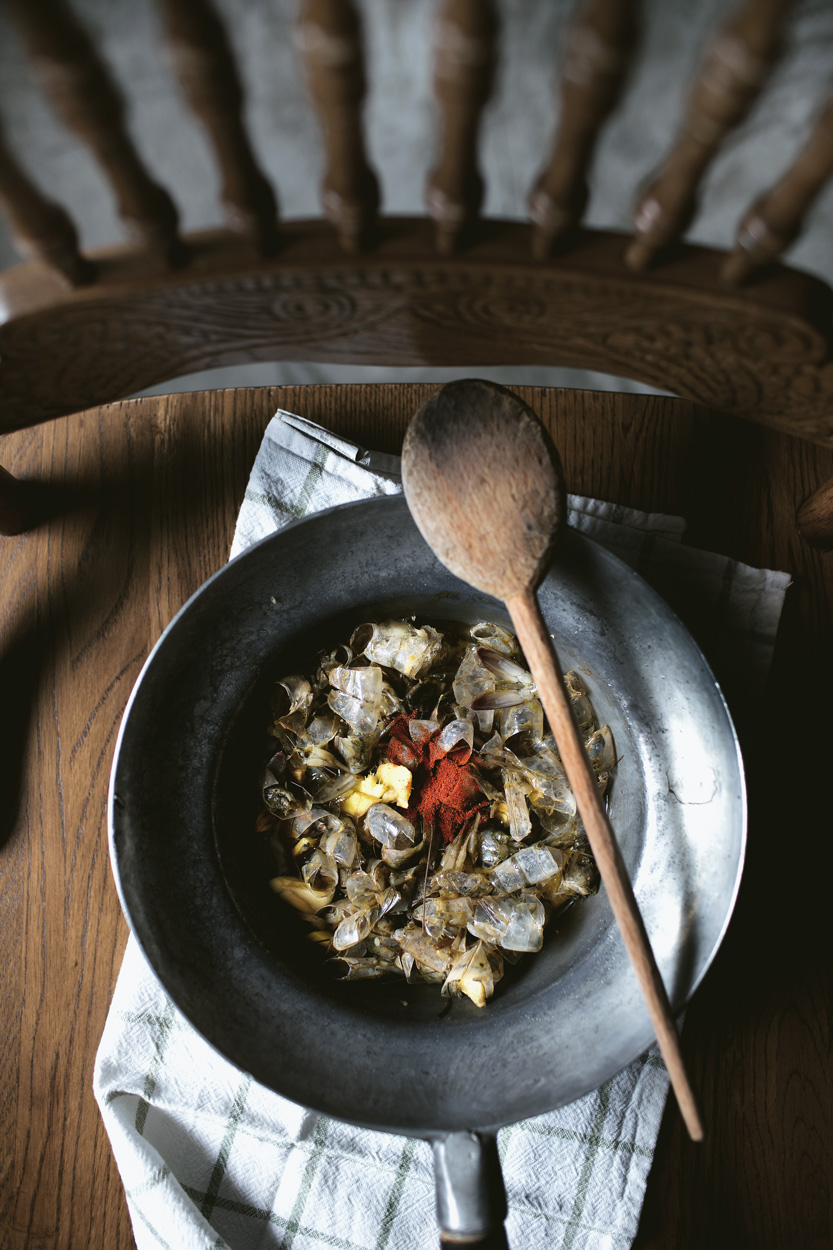
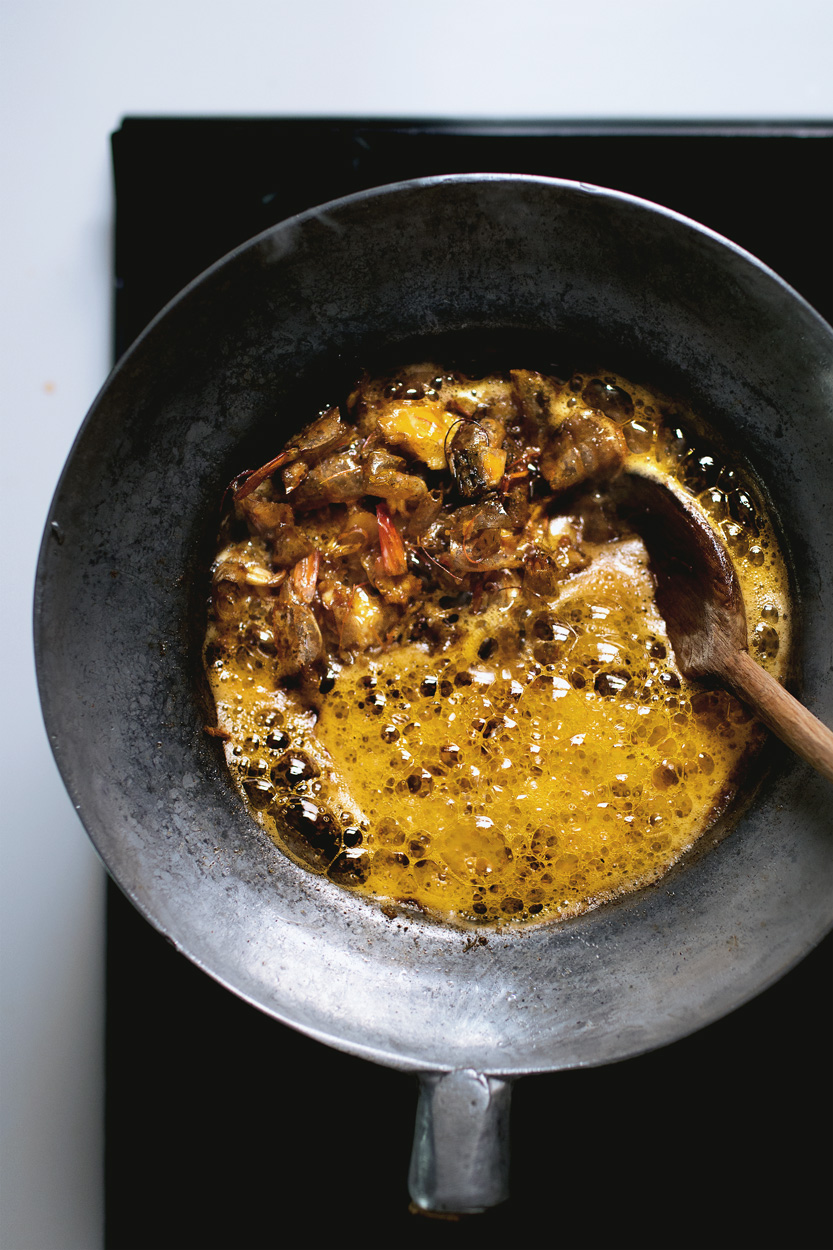
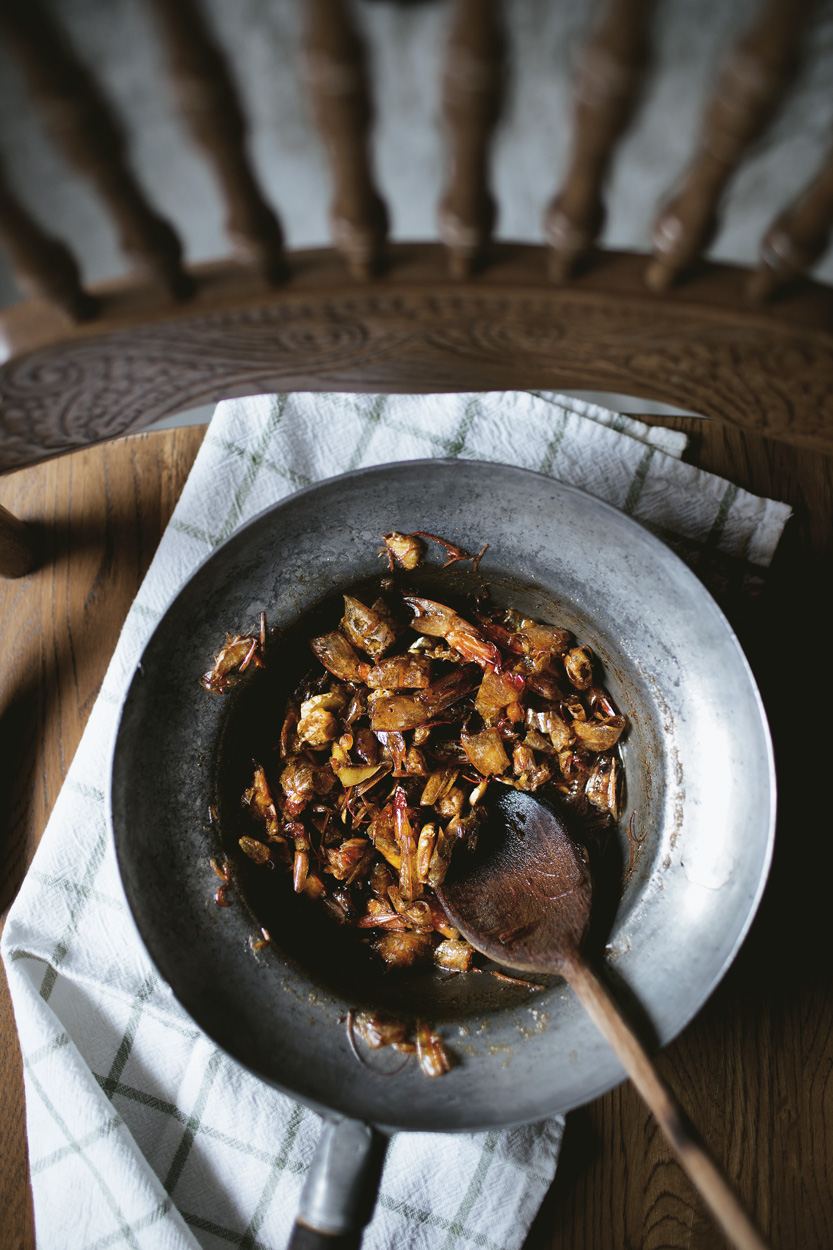
SOUTHEAST ASIAN AROMATICS, KOREAN CHILI PASTE, INDIAN SPICES, GREEK YOGURT, ITALIAN SUN-DRIED TOMATOES, CHINESE ANISES, AND IN THE END, A LITTLE PUSH OF ALL AMERICAN CHEESE.  AN OTHER-WORLDLY CURRY THAT TASTES LIKE THE PINNACLE OF HUMANITY

I’d like to introduce you to world peace curry.  

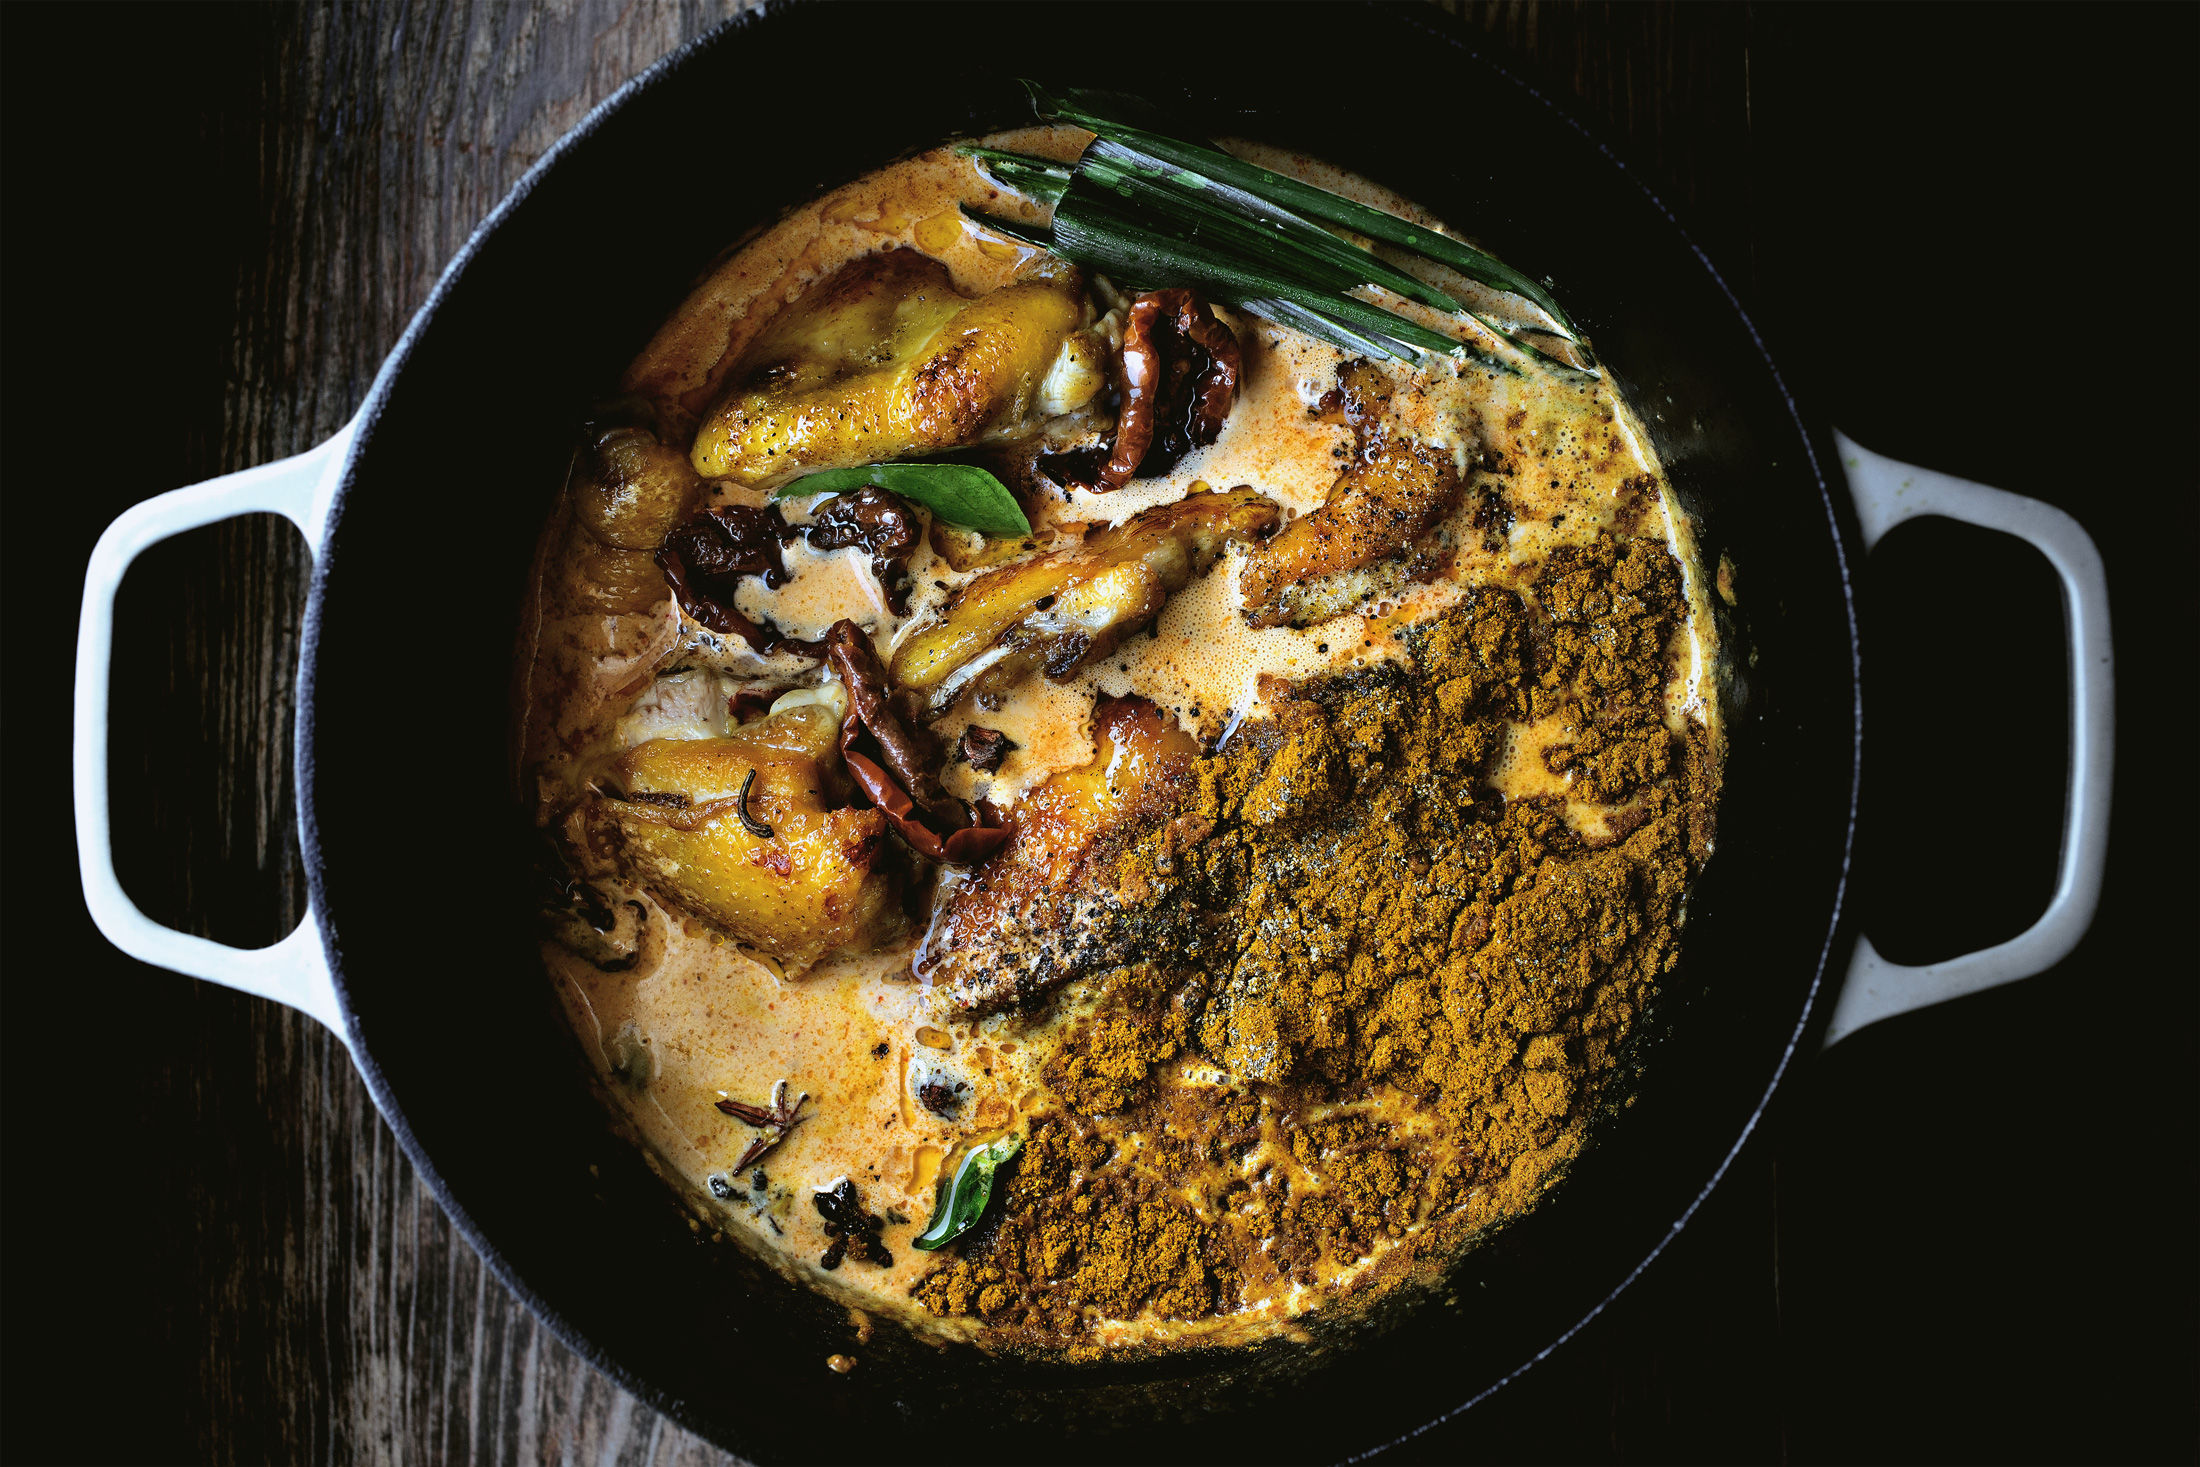
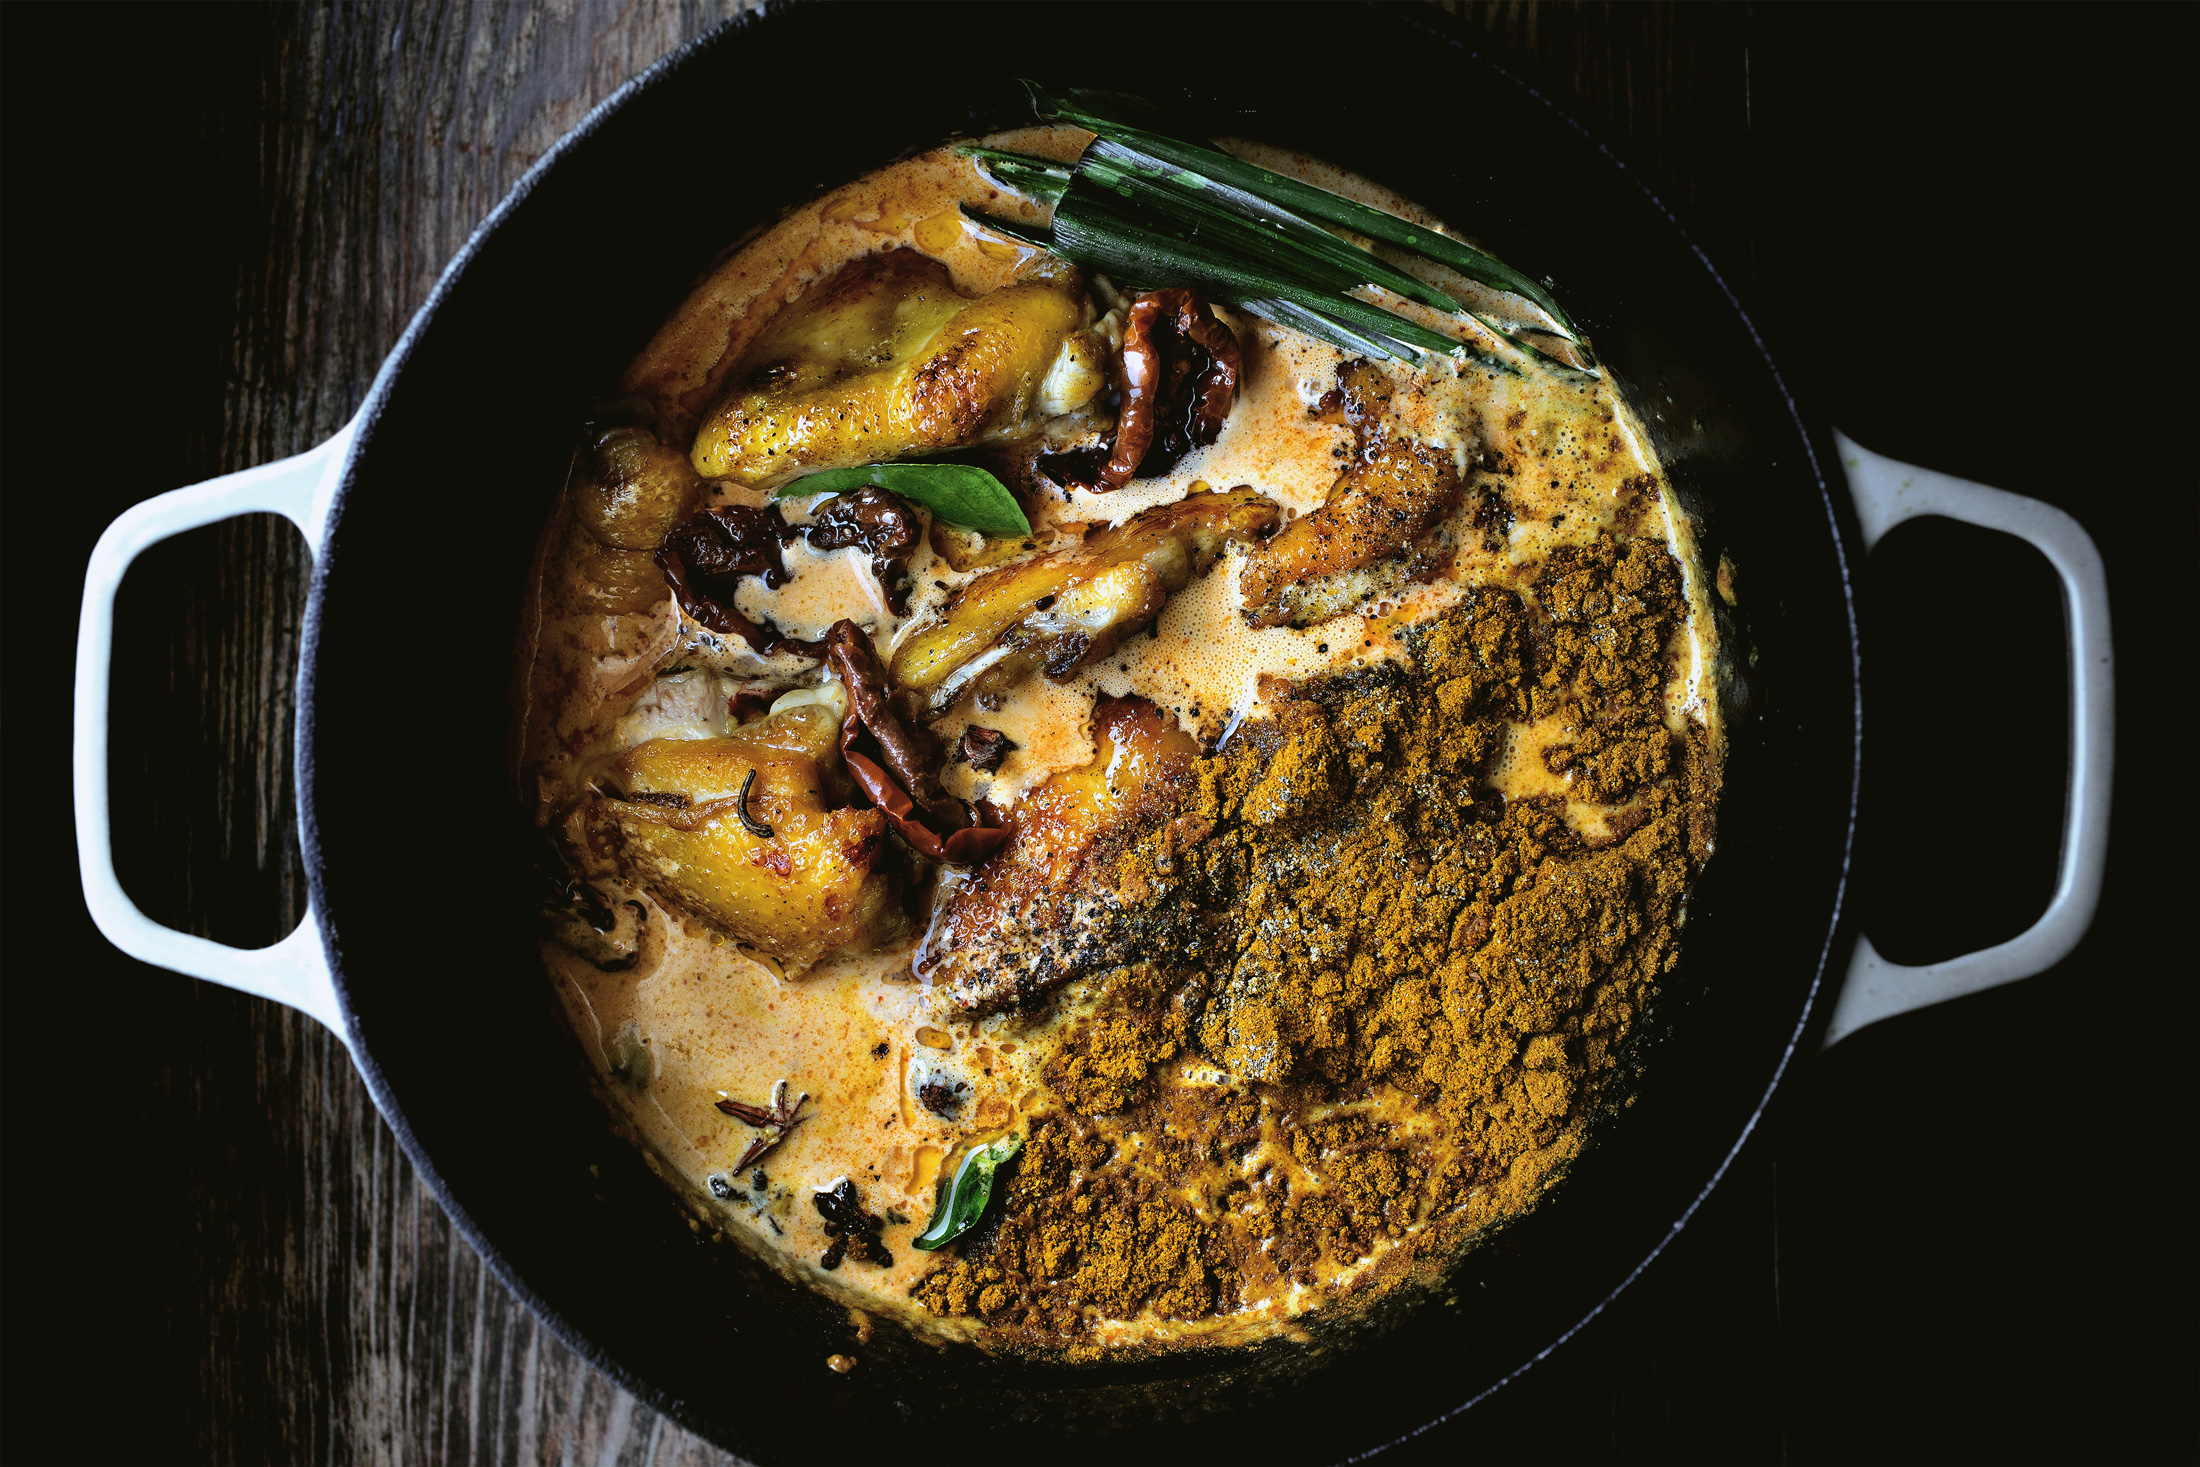
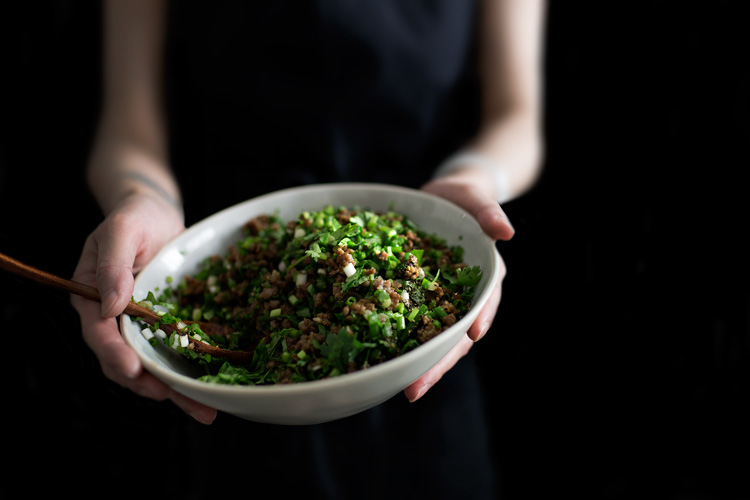
Why?  Because curries are better than humans.  Curries know how to coexist in unity.  Even though at a glance it feels like an impossibility, a chaos without logics, a discord of competing self-interests and cultural clashes, but curries always find a way to be the most delicious repeal of our disbelief.    Don’t believe me?  I put it to the test.  An unlikely coalition of southeast Asian aromatics, Korean chili paste, Indian spices, Greek yogurt, Italian sun-dried tomatoes, Chinese anise seeds, and in the end, an intrusion of American cheese?!   It should end in war but instead, it rejoices slowly and bubblingly in a lusciously rich, creamy, intensely aromatic, complex yet beautifully balanced alliance of flavors, savoriness and tang.  It tastes like the pinnacle of humanity, our best hope for world peace even against our cynical judgements.  And also, perhaps most importantly, the best you’ll ever put in your mouth.

READ MORE

Continue Reading
DIM SUM MONTH: GLASS DUMPLINGS W/ MUSHROOMS AND SMOKED GOUDA CHEESE

DIM SUM MONTH STILL CONTINUES…

OK, I know it’s not February anymore, but there’s still a couple more dim sum I want to share so DIM SUM MONTH is oozing into March a bit…

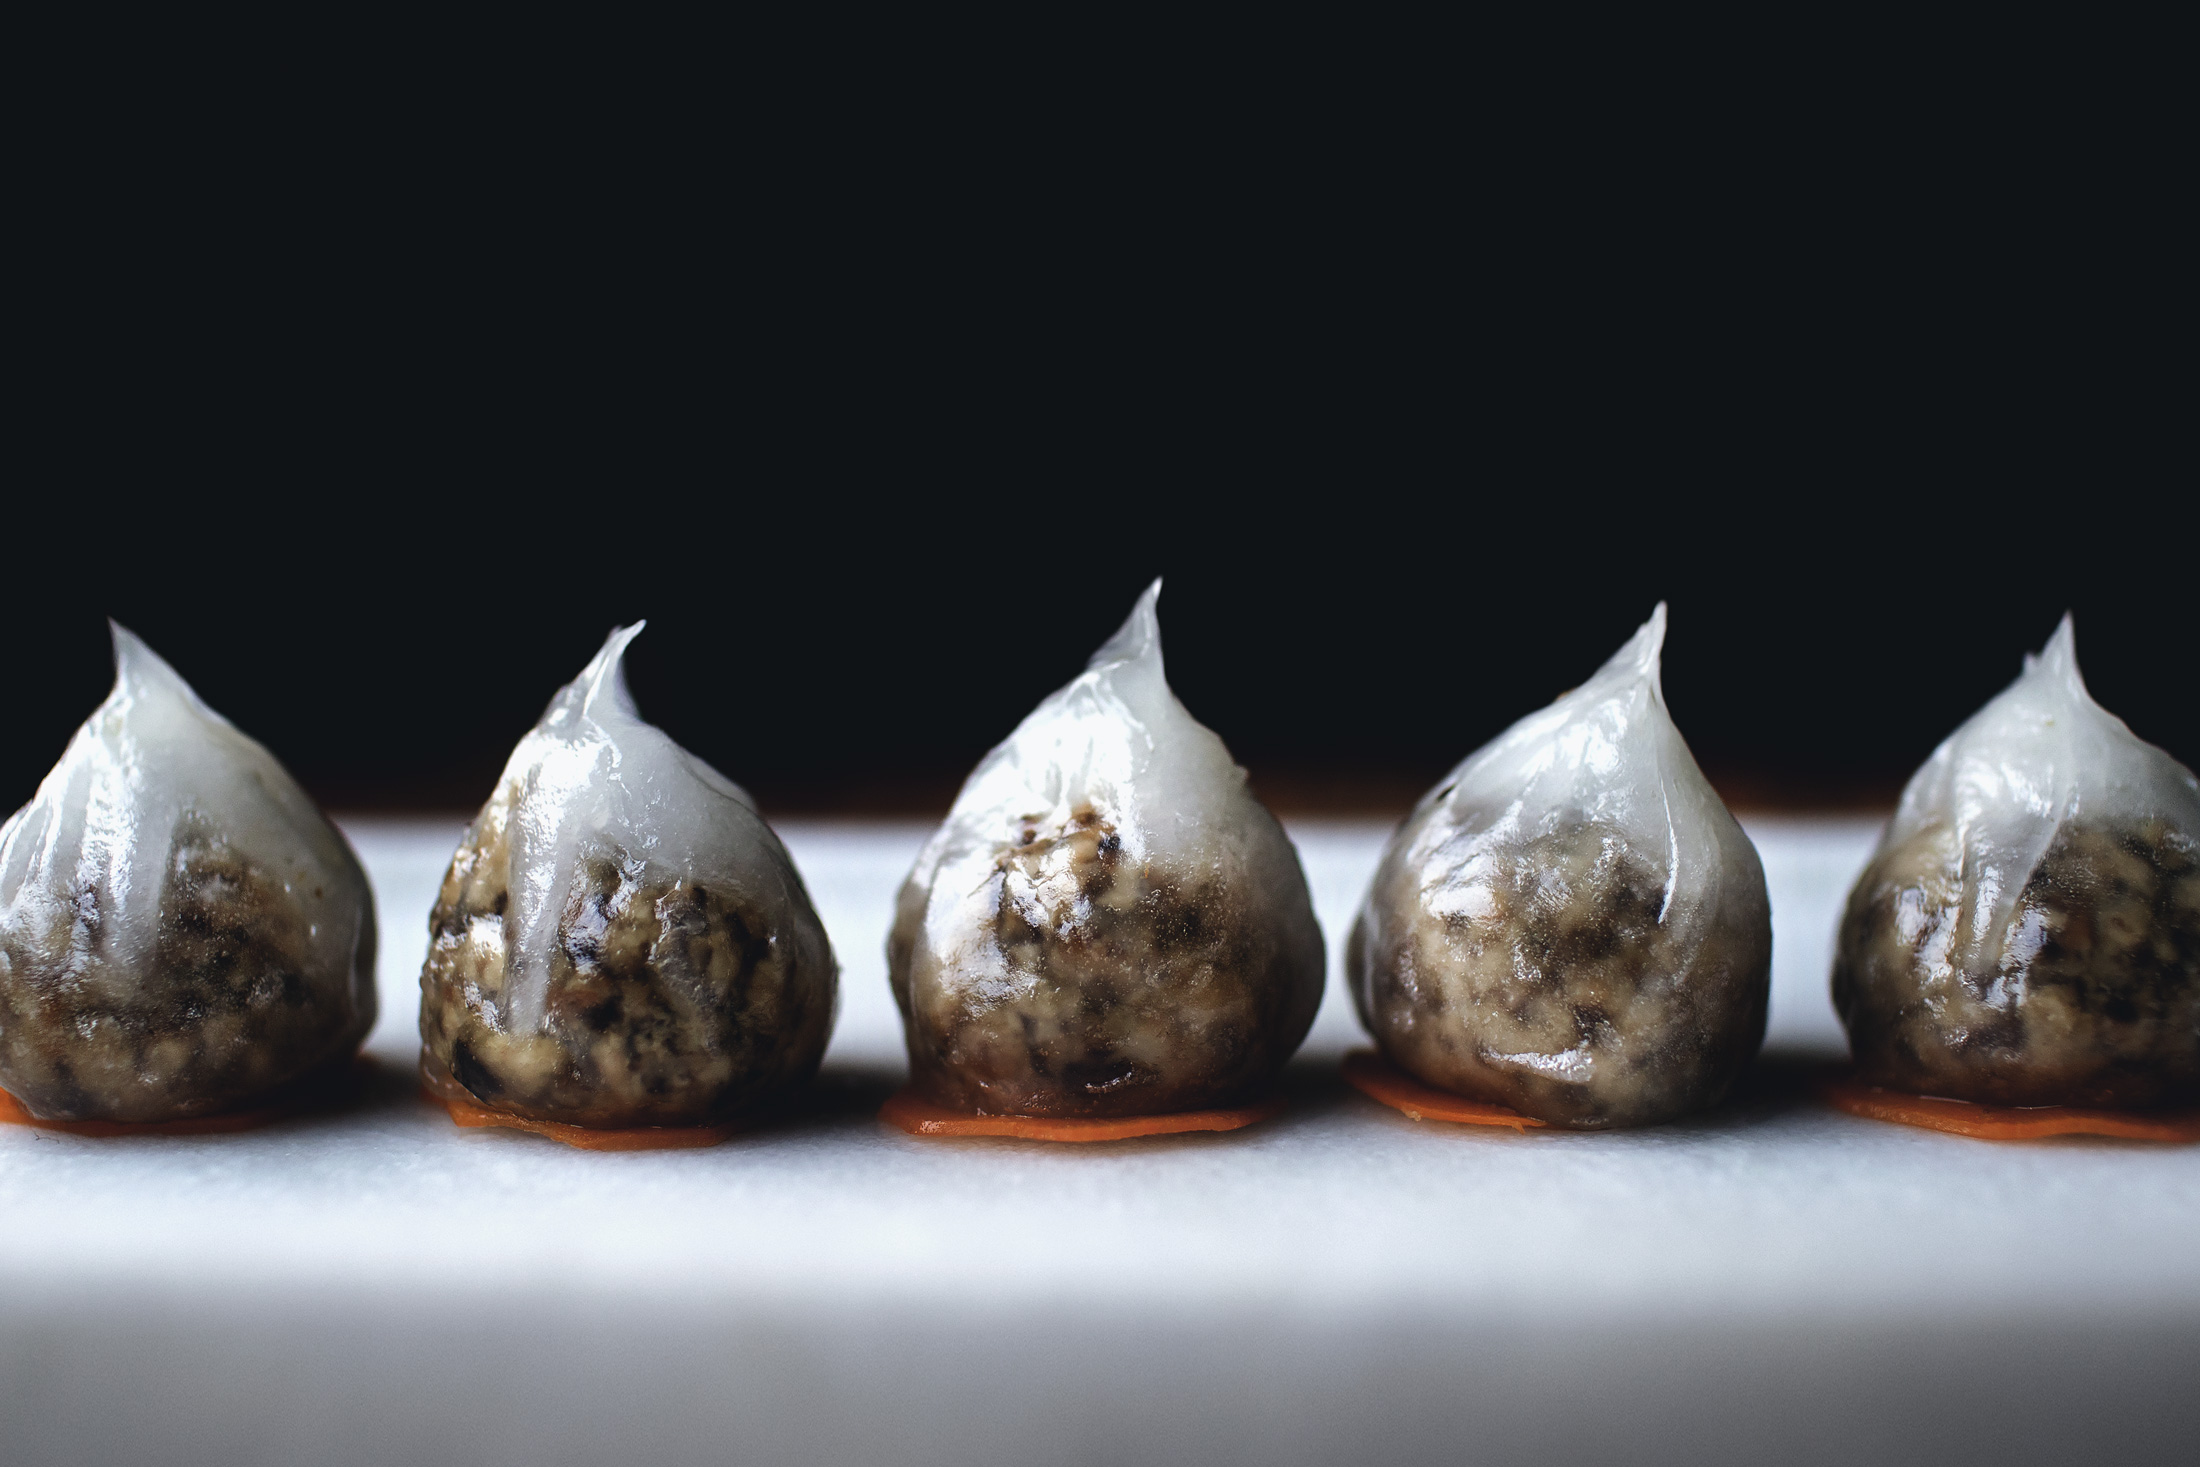
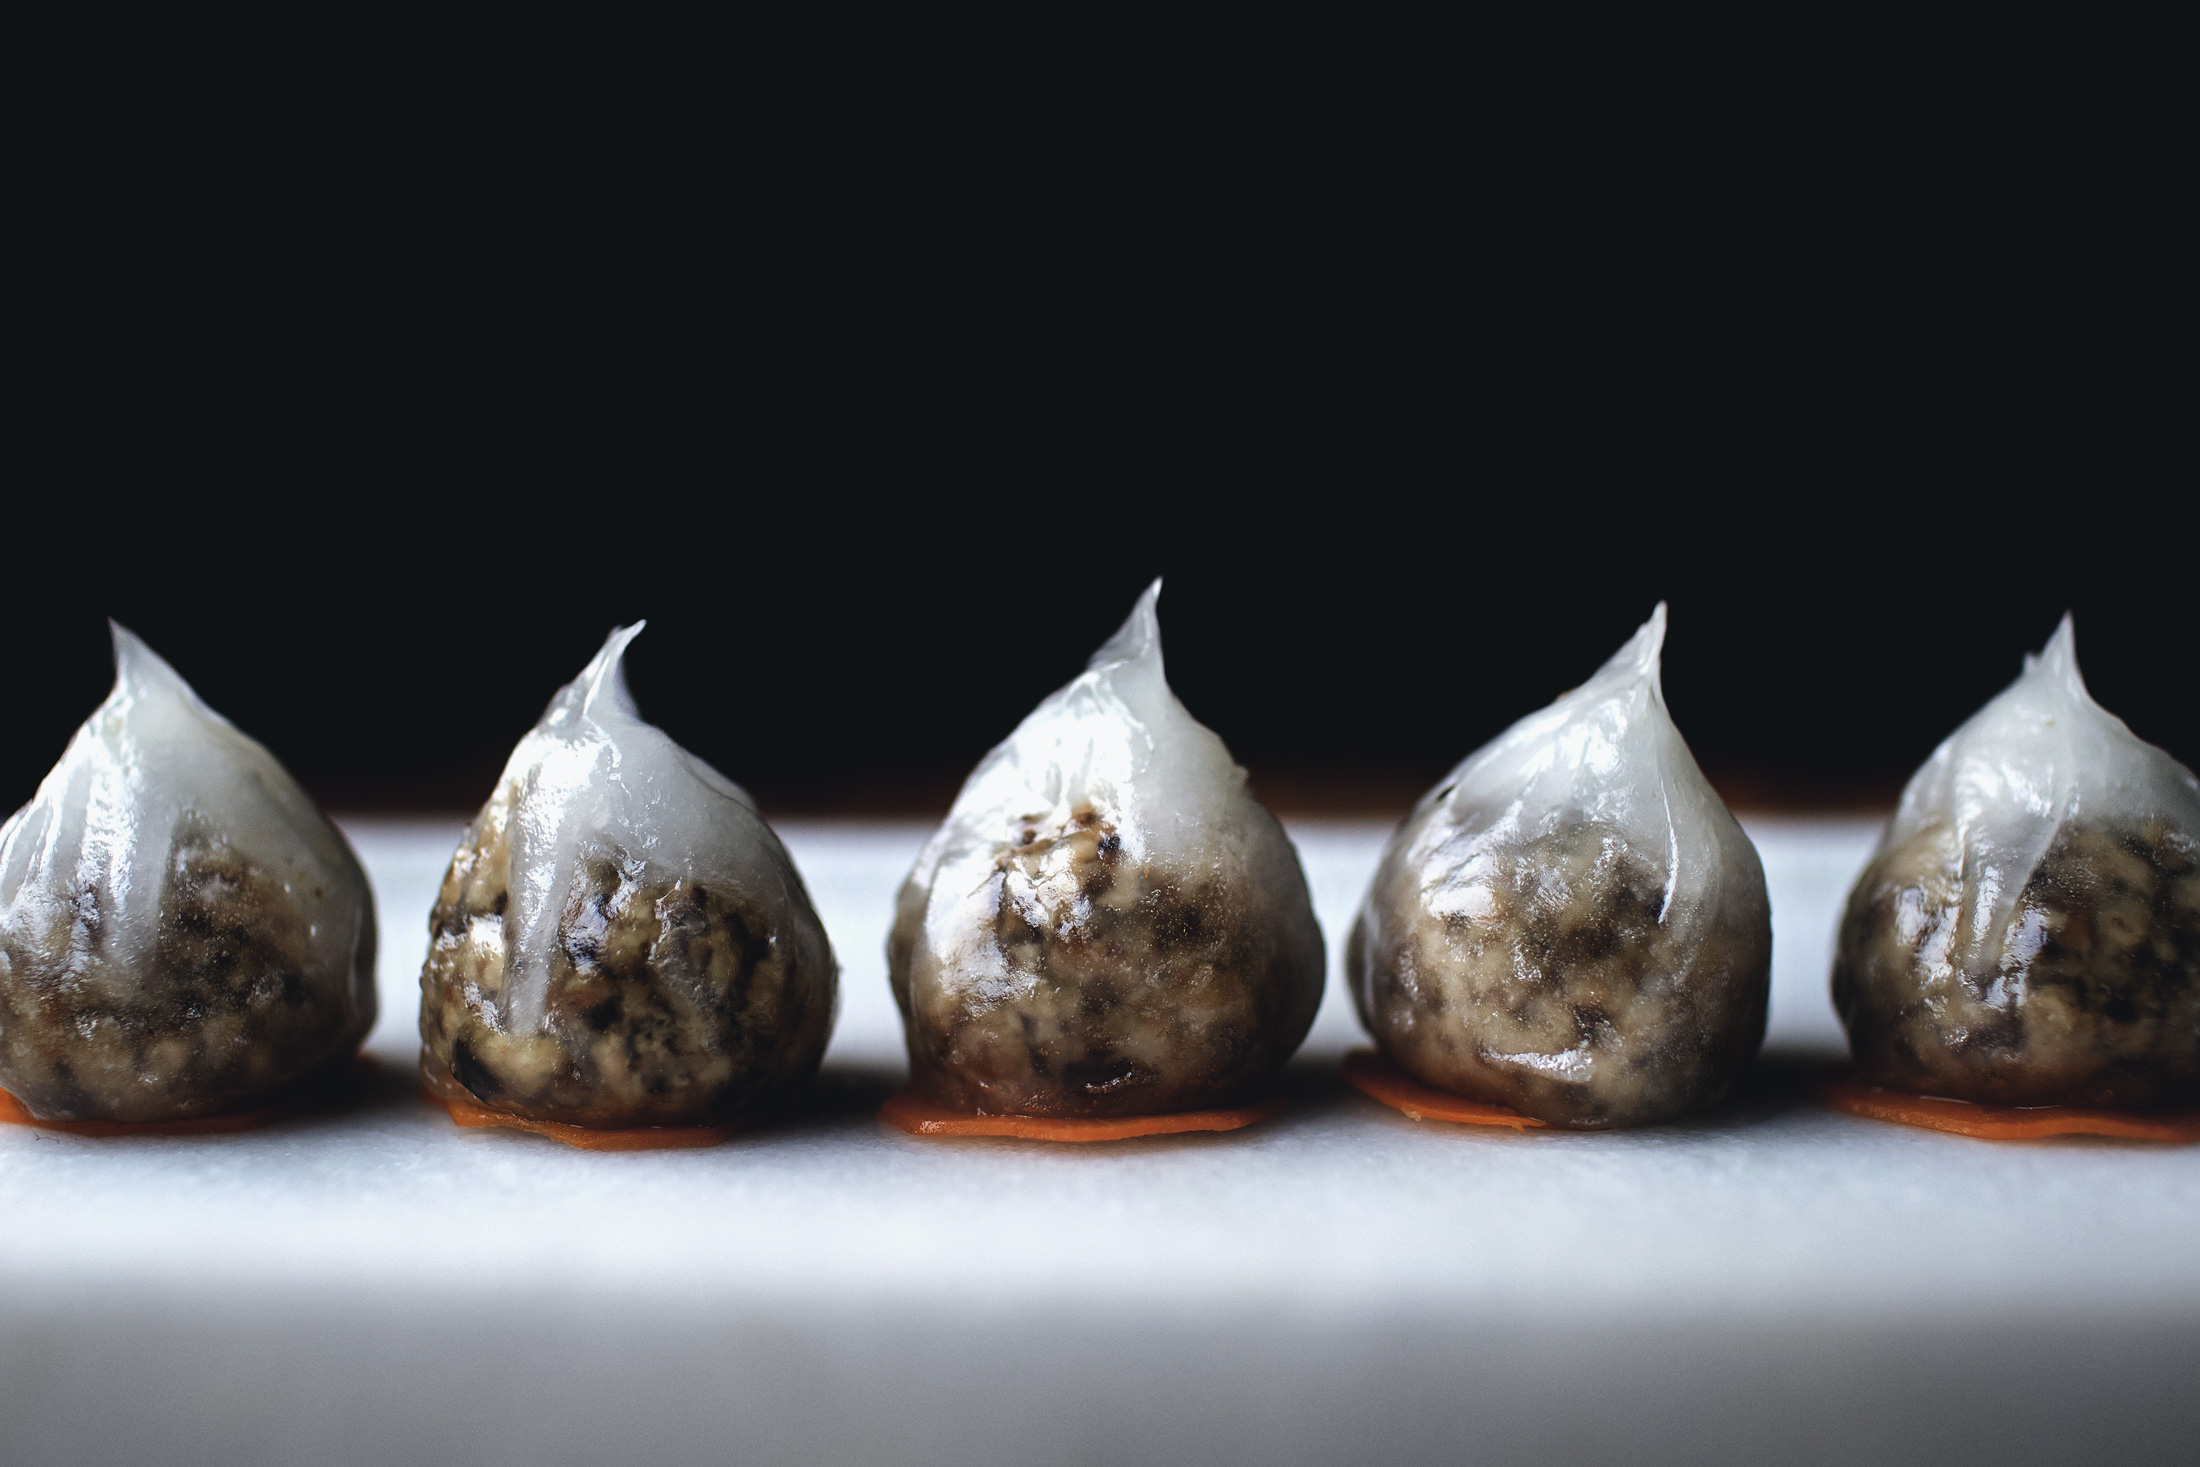
WHAT:  Glass-like translucent dumplings stuffed with caramelized mushrooms and a soft-hearted center of smoked gouda cheese, all in a beautiful tear-drop shape.

WHY:  Because the only tears you’re gonna cry are happy ones when you try this.

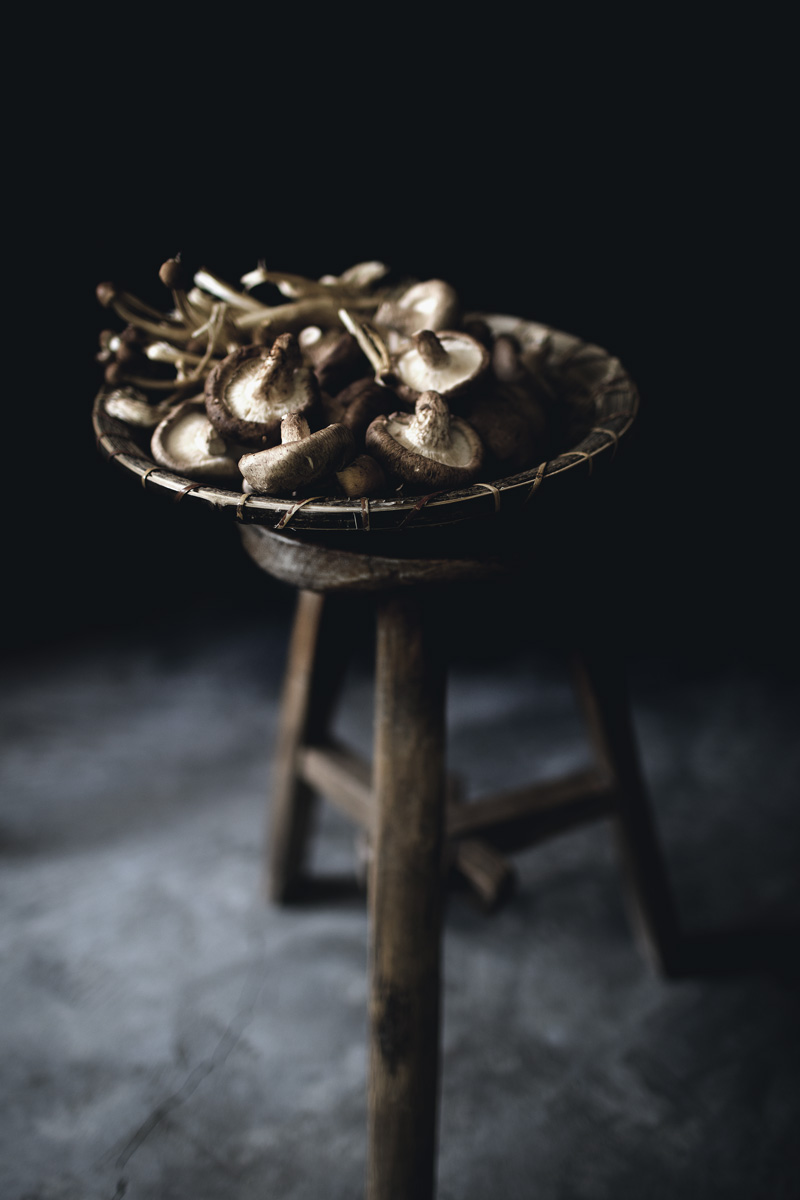
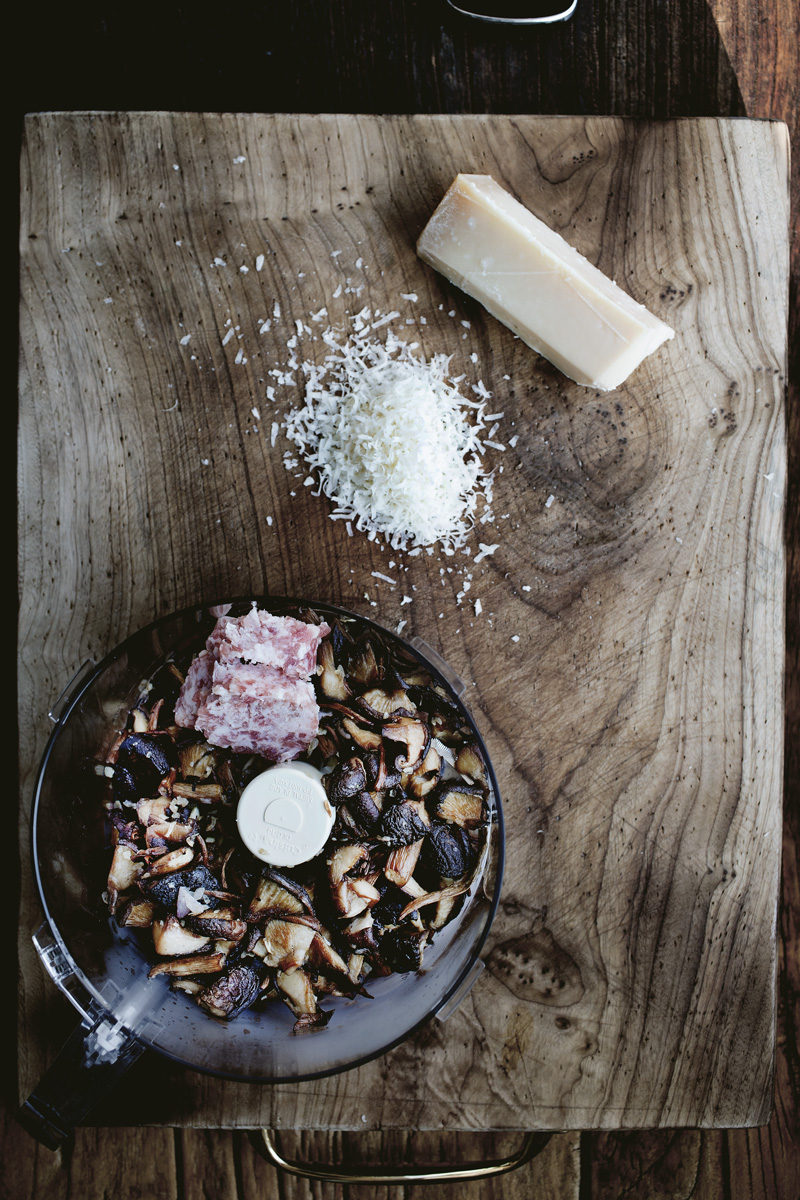
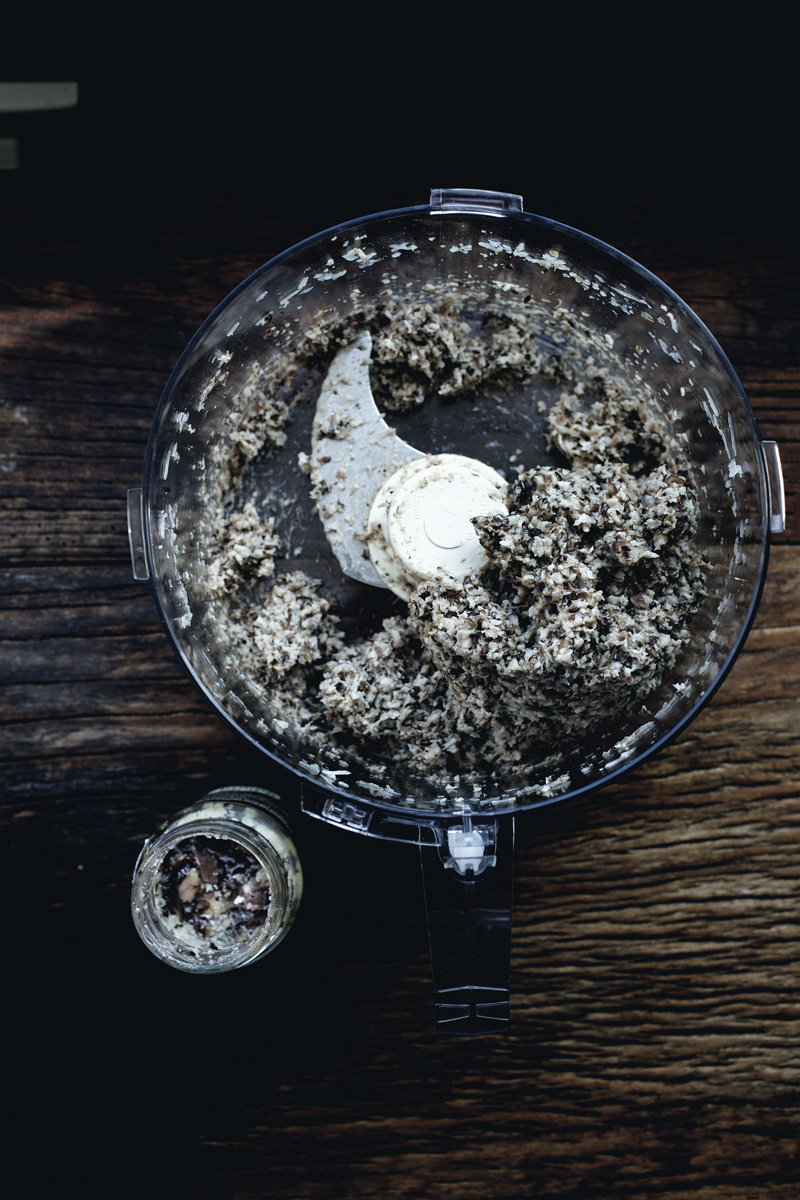
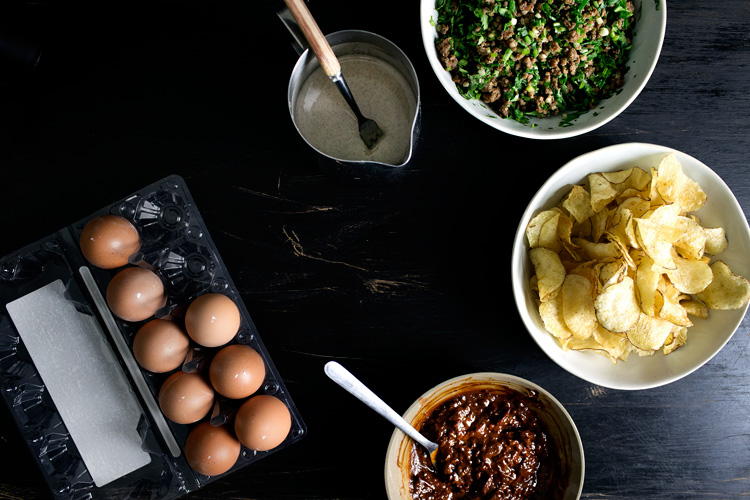
HOW:  This wrapper is actually my favorite not only because it’s so beautiful, but it actually freezes well, or should I say better than the more common and popular crystal shrimp dumplings.  It has a pleasantly bouncy and chewy mouth-feel, and it gives the audience a preview to whatever fillings you put inside!  In this case, we’re doing deeply oven-caramelized mushrooms that are bound together by a bit of ground pork and parmigiano-regiano cheese (and a hint of truffle oil if you can splurge), creating an earthy, warm and aromatic cradle that rocks a soft and temperate center of smoked gouda cheese.  Nothing is going to shout “funk!” in this flavor-profile here, only modest but confident display of a well-tolerated harmony.  The only accessory it likes is a brightening dab of heat from this chili sambal romesco sauce.  But the sky’s the limit here.  How about grassy colored spinach filling with a stronger punch of blue cheese, or sweet and red-cheeked carrots or beets and funky goat’s cheese?  Dream wild.

* I believe that the next post will be the final chapter of dim sum month, and I’m going to list out a complete game-plan on what, how and when to prepare certain items ahead of time, and throwing then all together at our virtual dim sum party :)

READ MORE

Continue Reading
DIM SUM MONTH: CHARSIU PULL-APART PINEAPPLE BUN

DIM SUM MONTH CONTINUES…

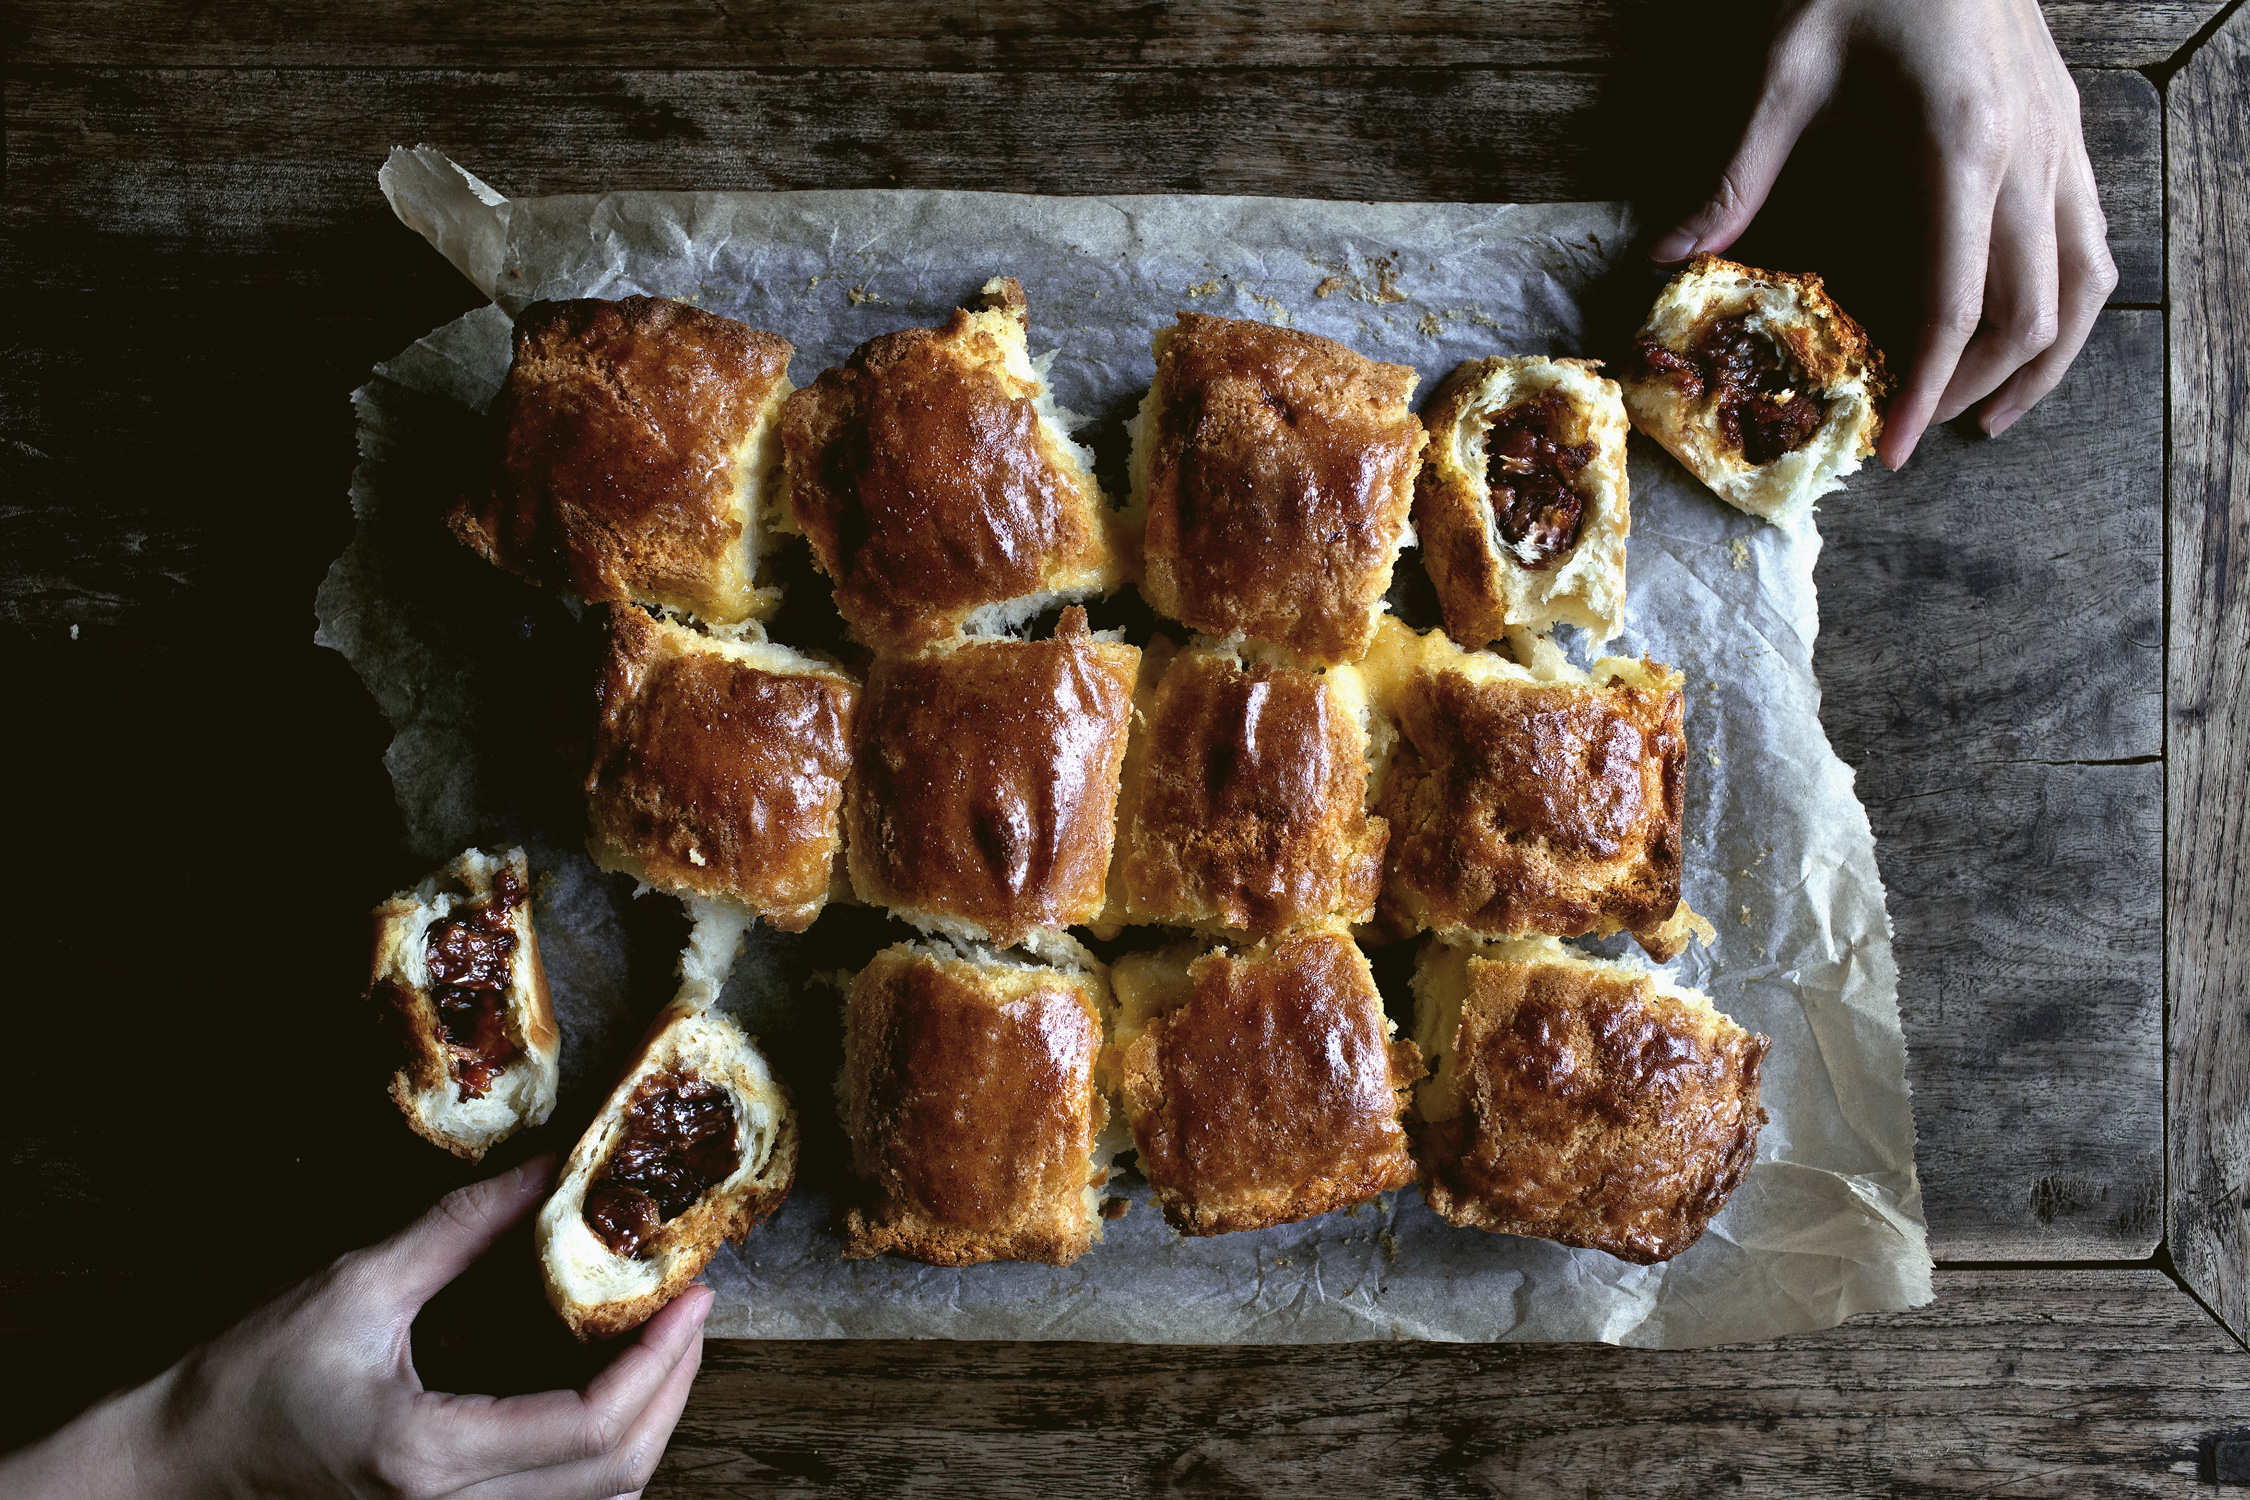
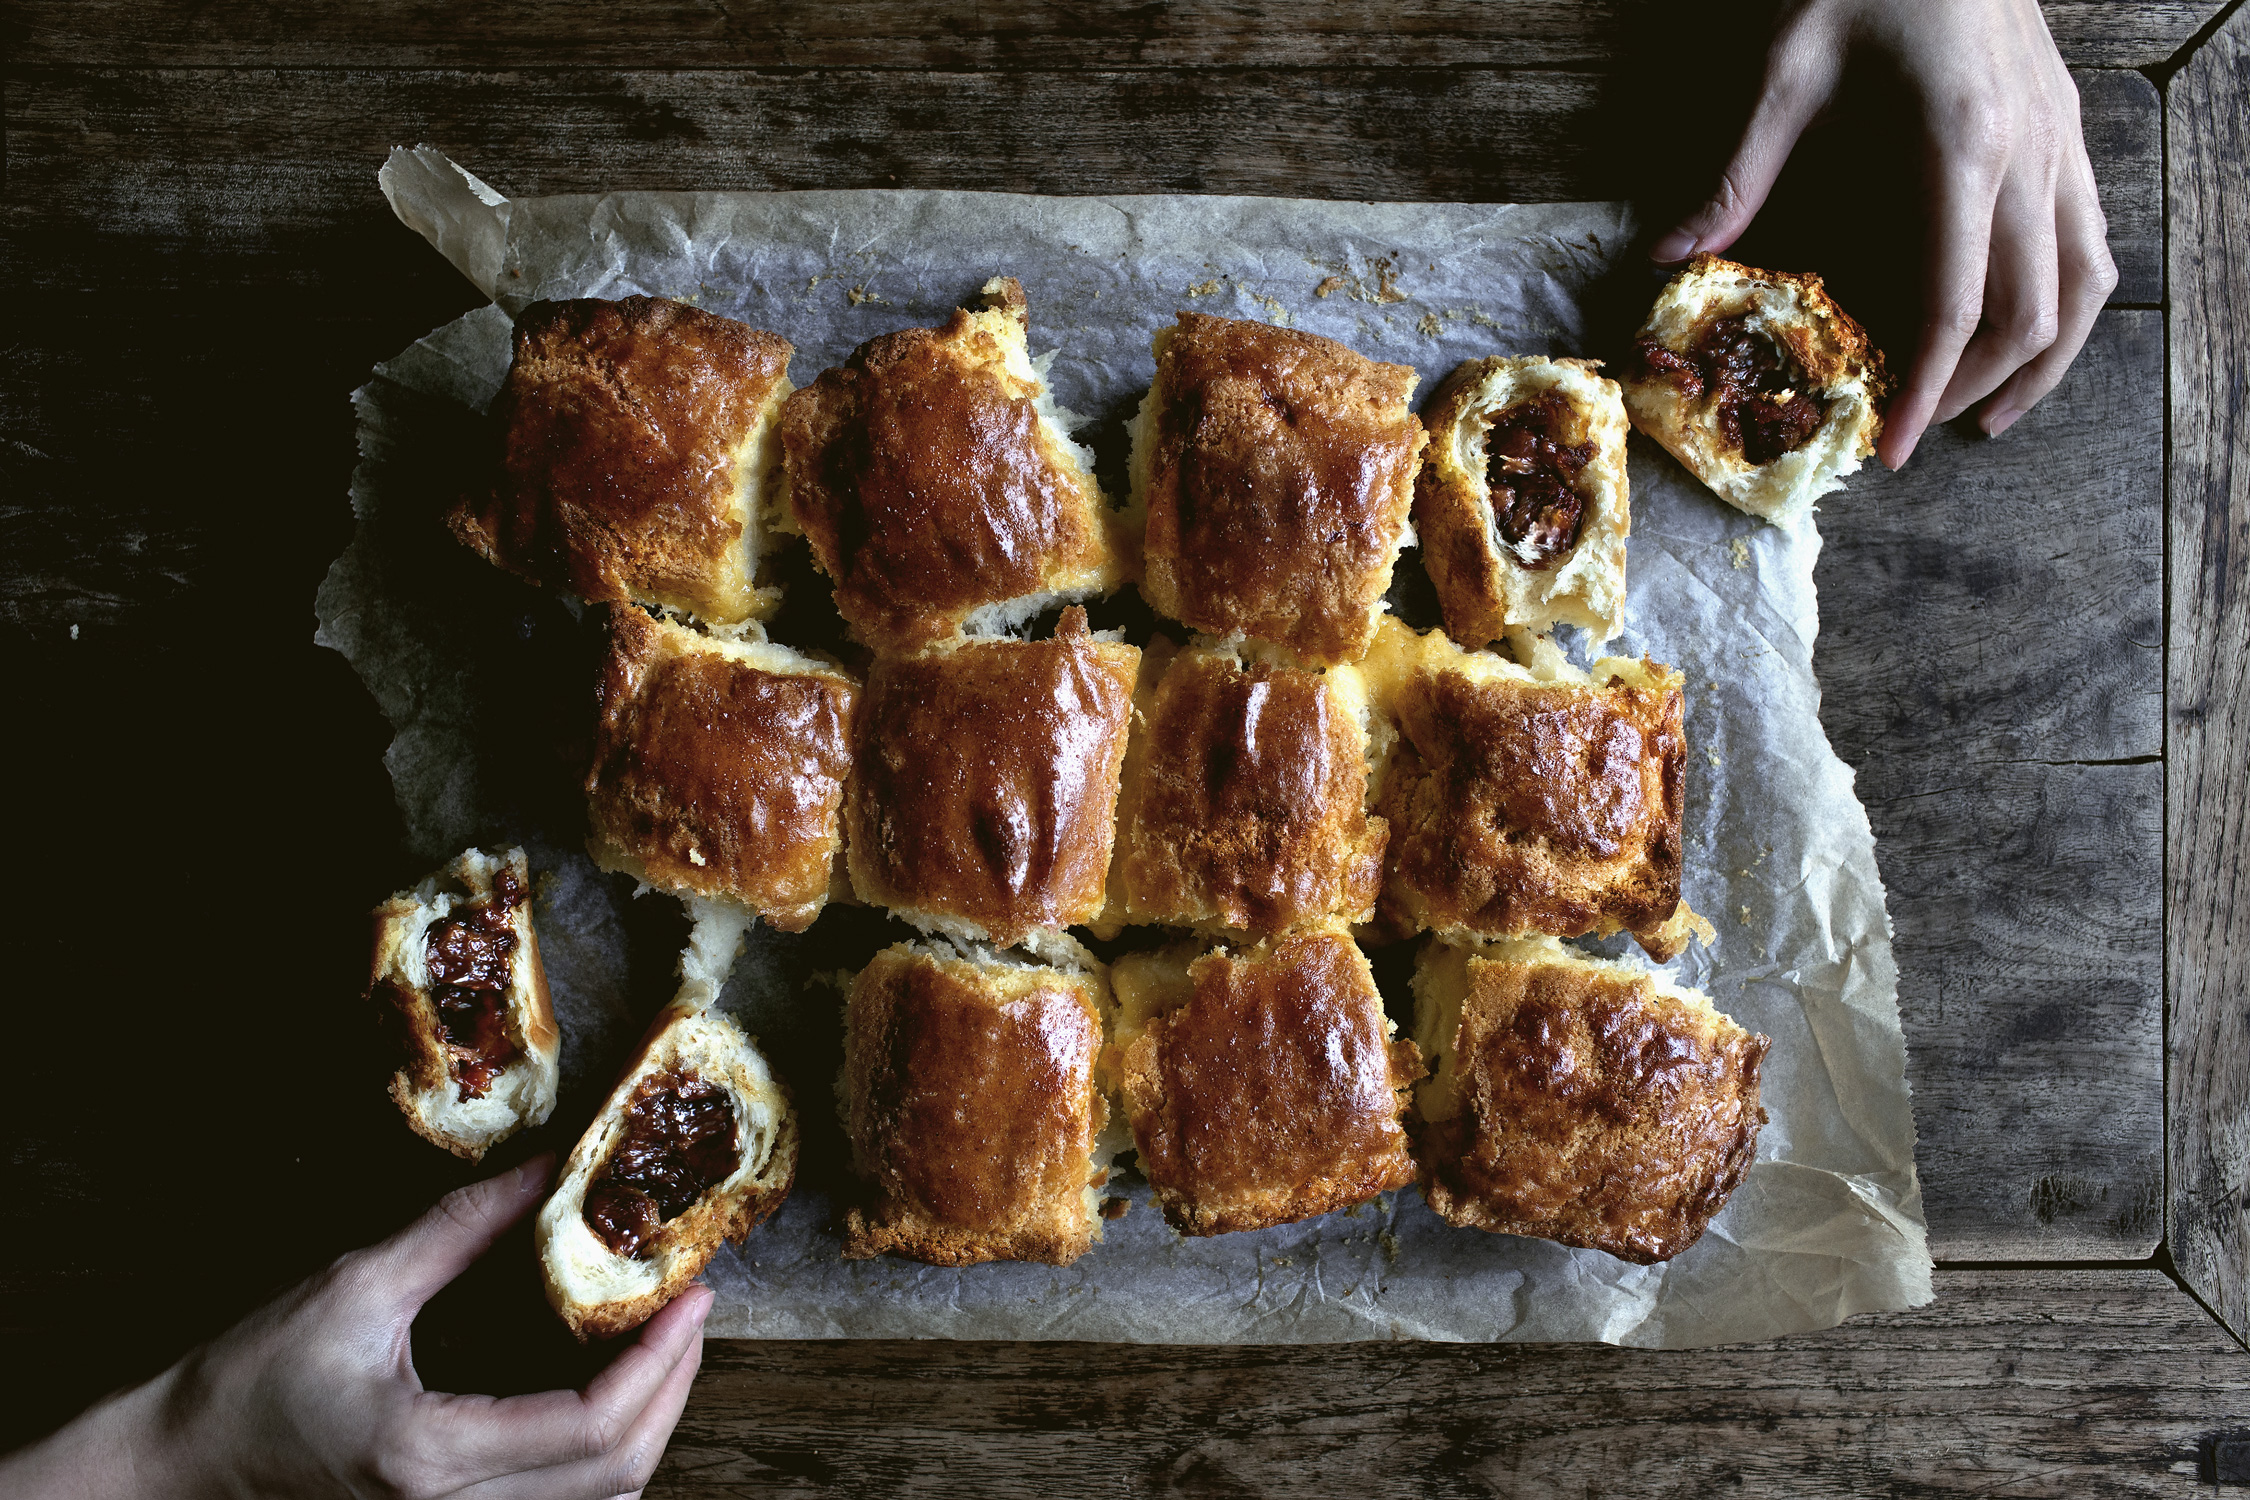
WHAT:  The new poster child of dim sum-scape in Hong Kong, the char siu pineapple buns, pull-apart style!

WHY:  Do you need to reason to eat a soft, squishy bun stuffed with sweet char siu pork and topped with crunchy “pineapple” crusts?  The entirety of happiness all in one bite, pillowy, crunchy, salty, sweet, gooey, porky and buttery?  Do ya?

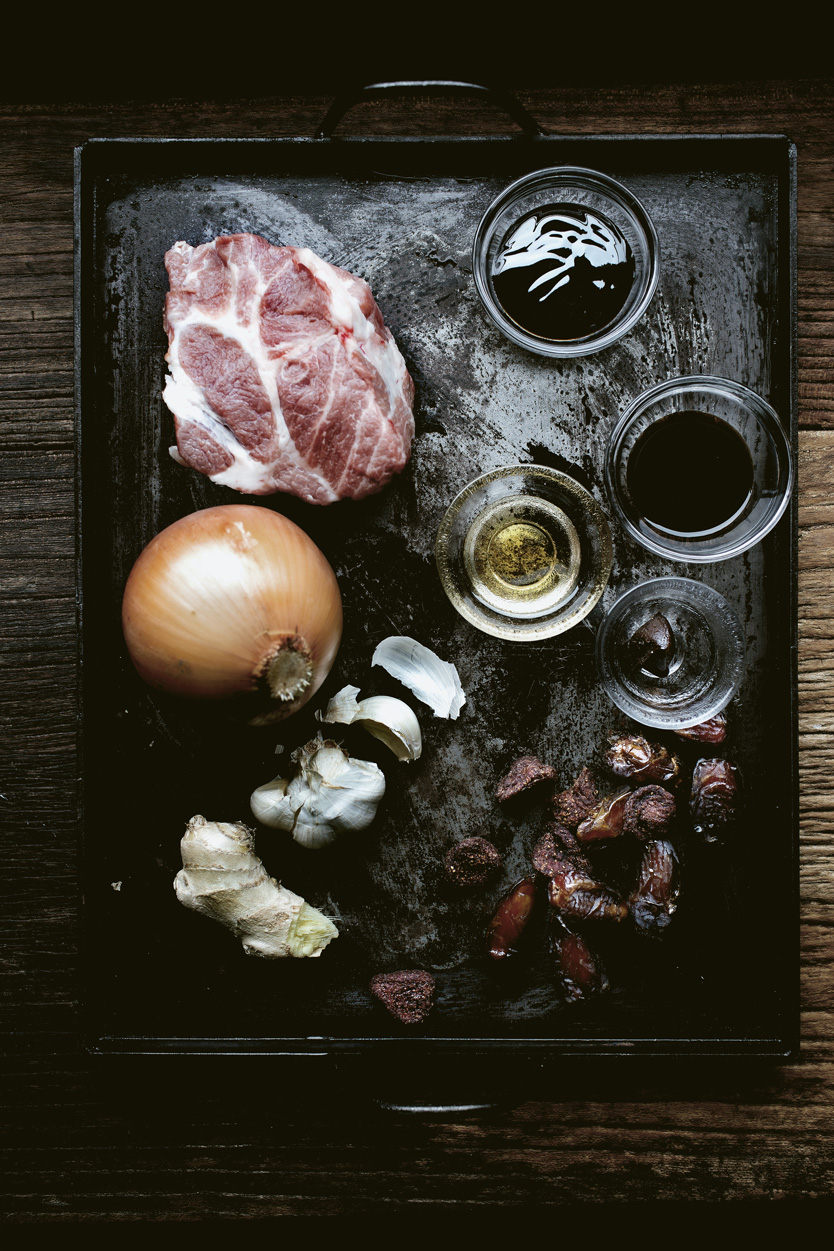
HOW:  Burn all the other recipes that are dumbed down and one-dimensional.  Here’s a thorough recipe to show you how to make them like a pro, either with fresh pork shoulders (my preference), or with store-bought char siu pork.  But what really makes this recipe different is how the delicate balance of flavors are re-imagined.  Instead of the typical, cornstarch-thickened sauce that screams boring, we are going to re-create the stickiness by mixing in honey, ground dates and dried strawberries.  Not only do they provide a natural gooey-ness, they also bring a hidden fruity tone to the flavor-profile, making these sweet and salty buns unstoppably addictive.

By the way, most of the recipes in DIM SUM MONTH is designed to be prepared ahead of time.  Make each items and store them in the freezer, and at the end of the month, we’re going to have a dim sum blowout party.  See ya!

READ MORE

Continue Reading
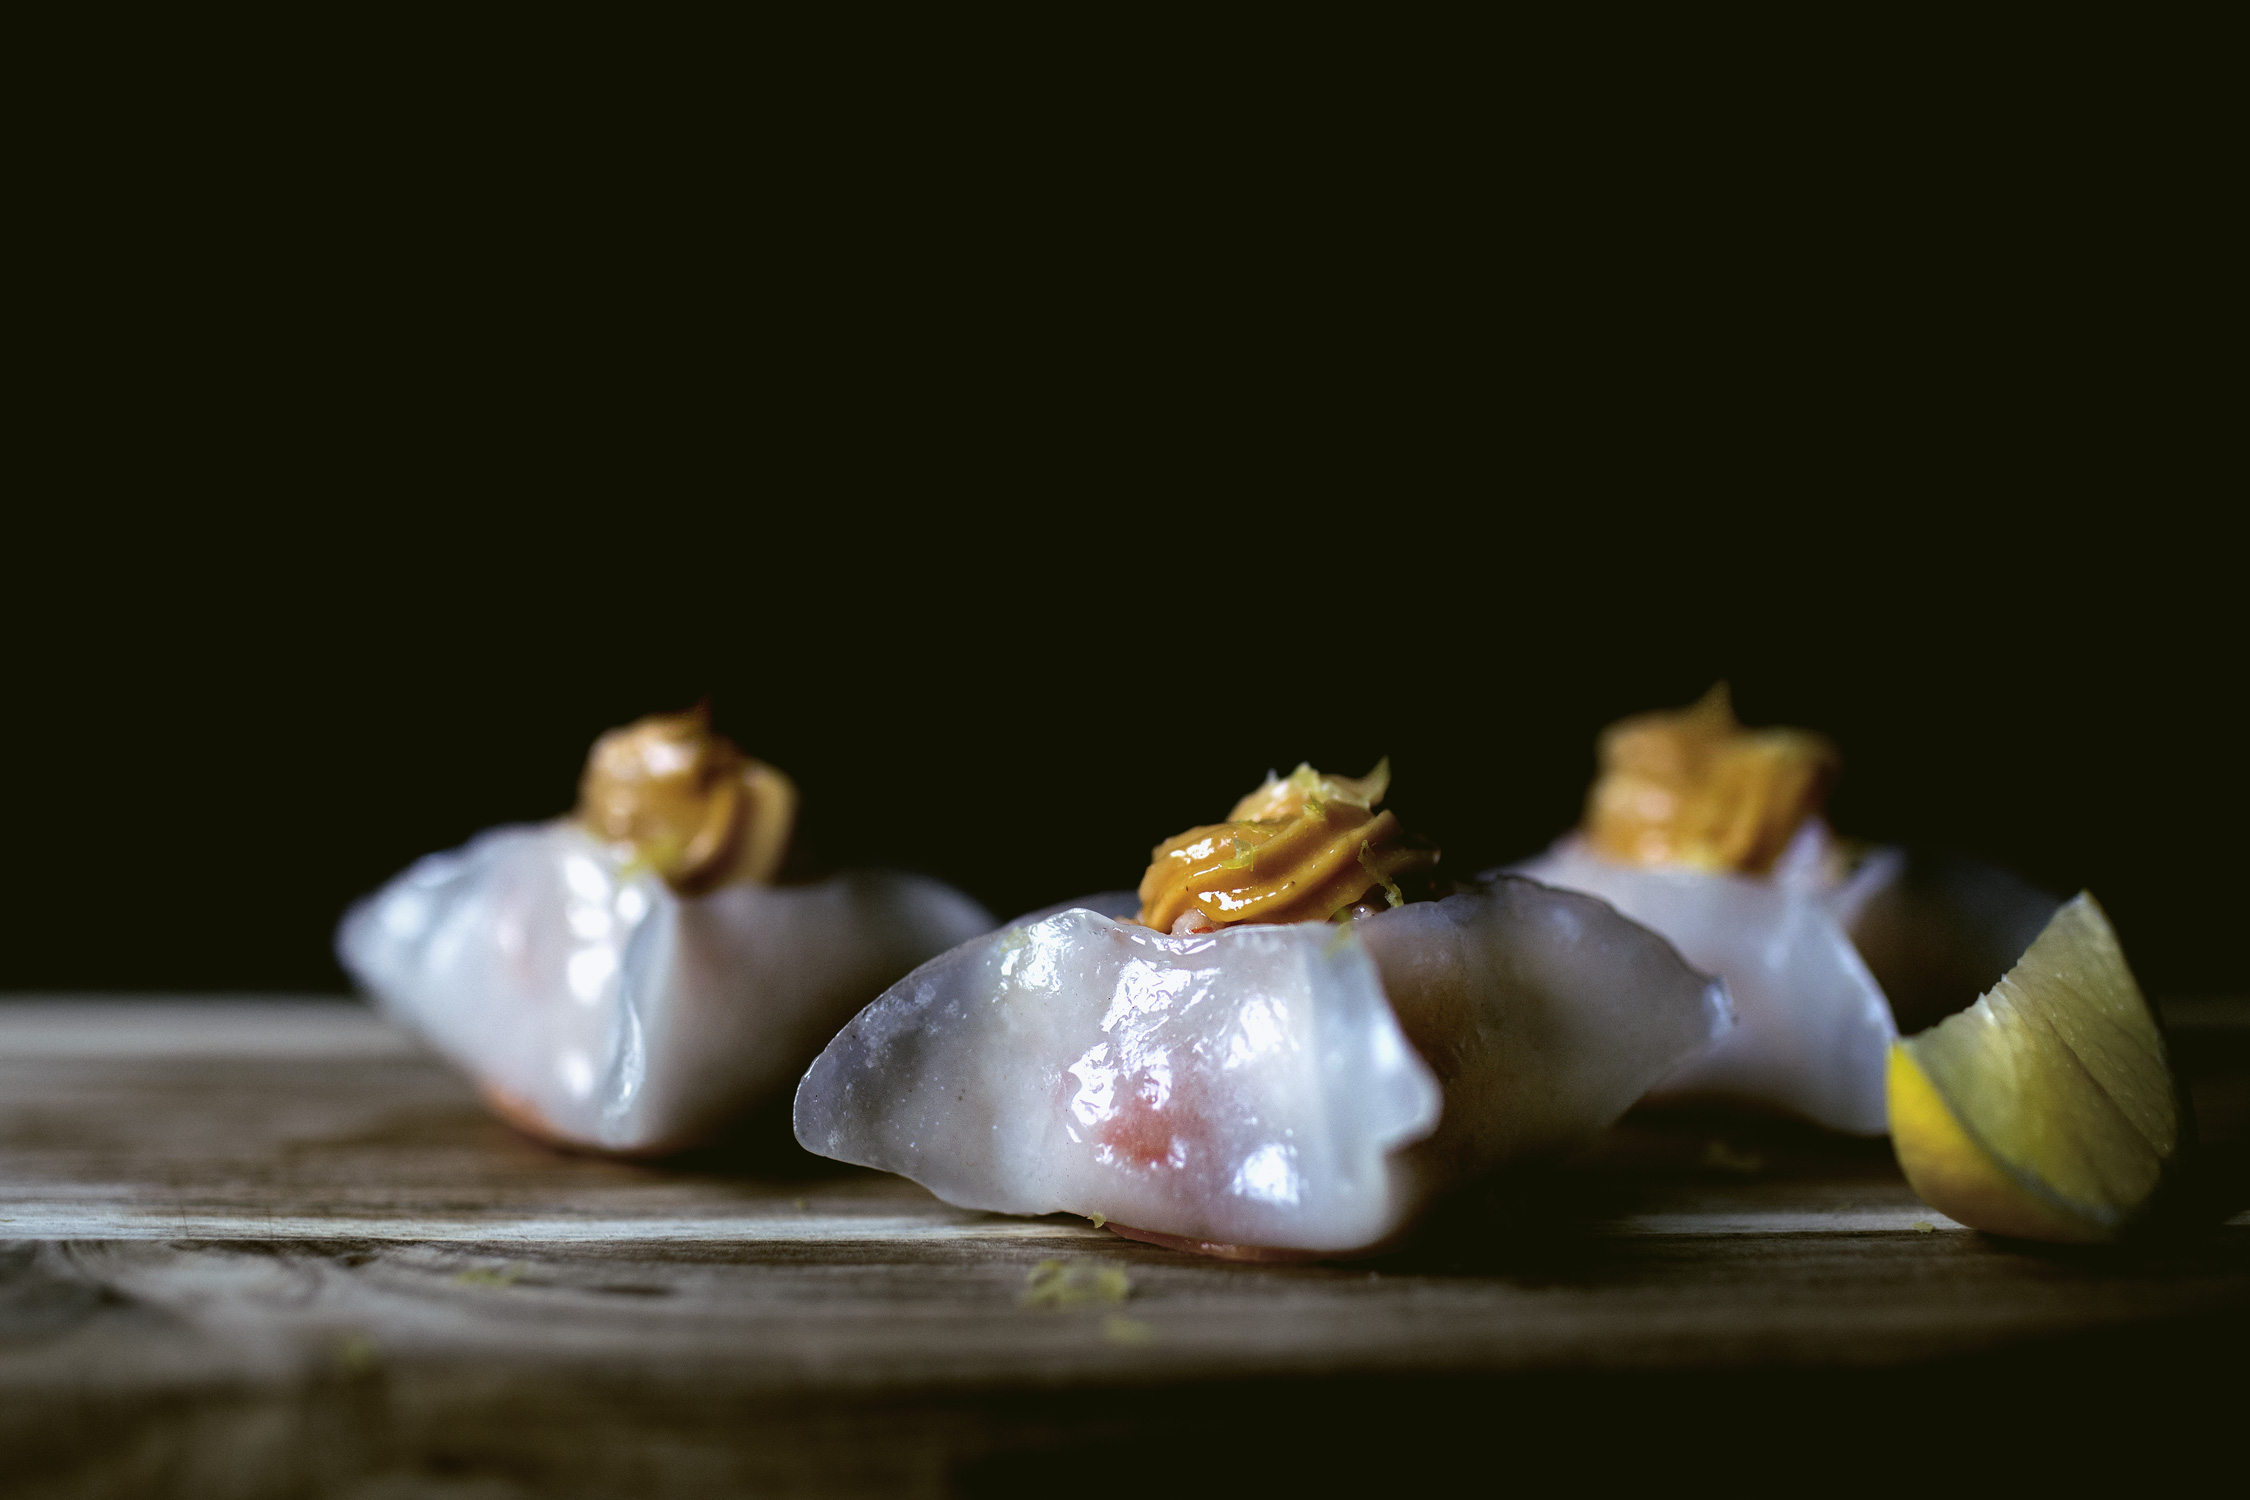
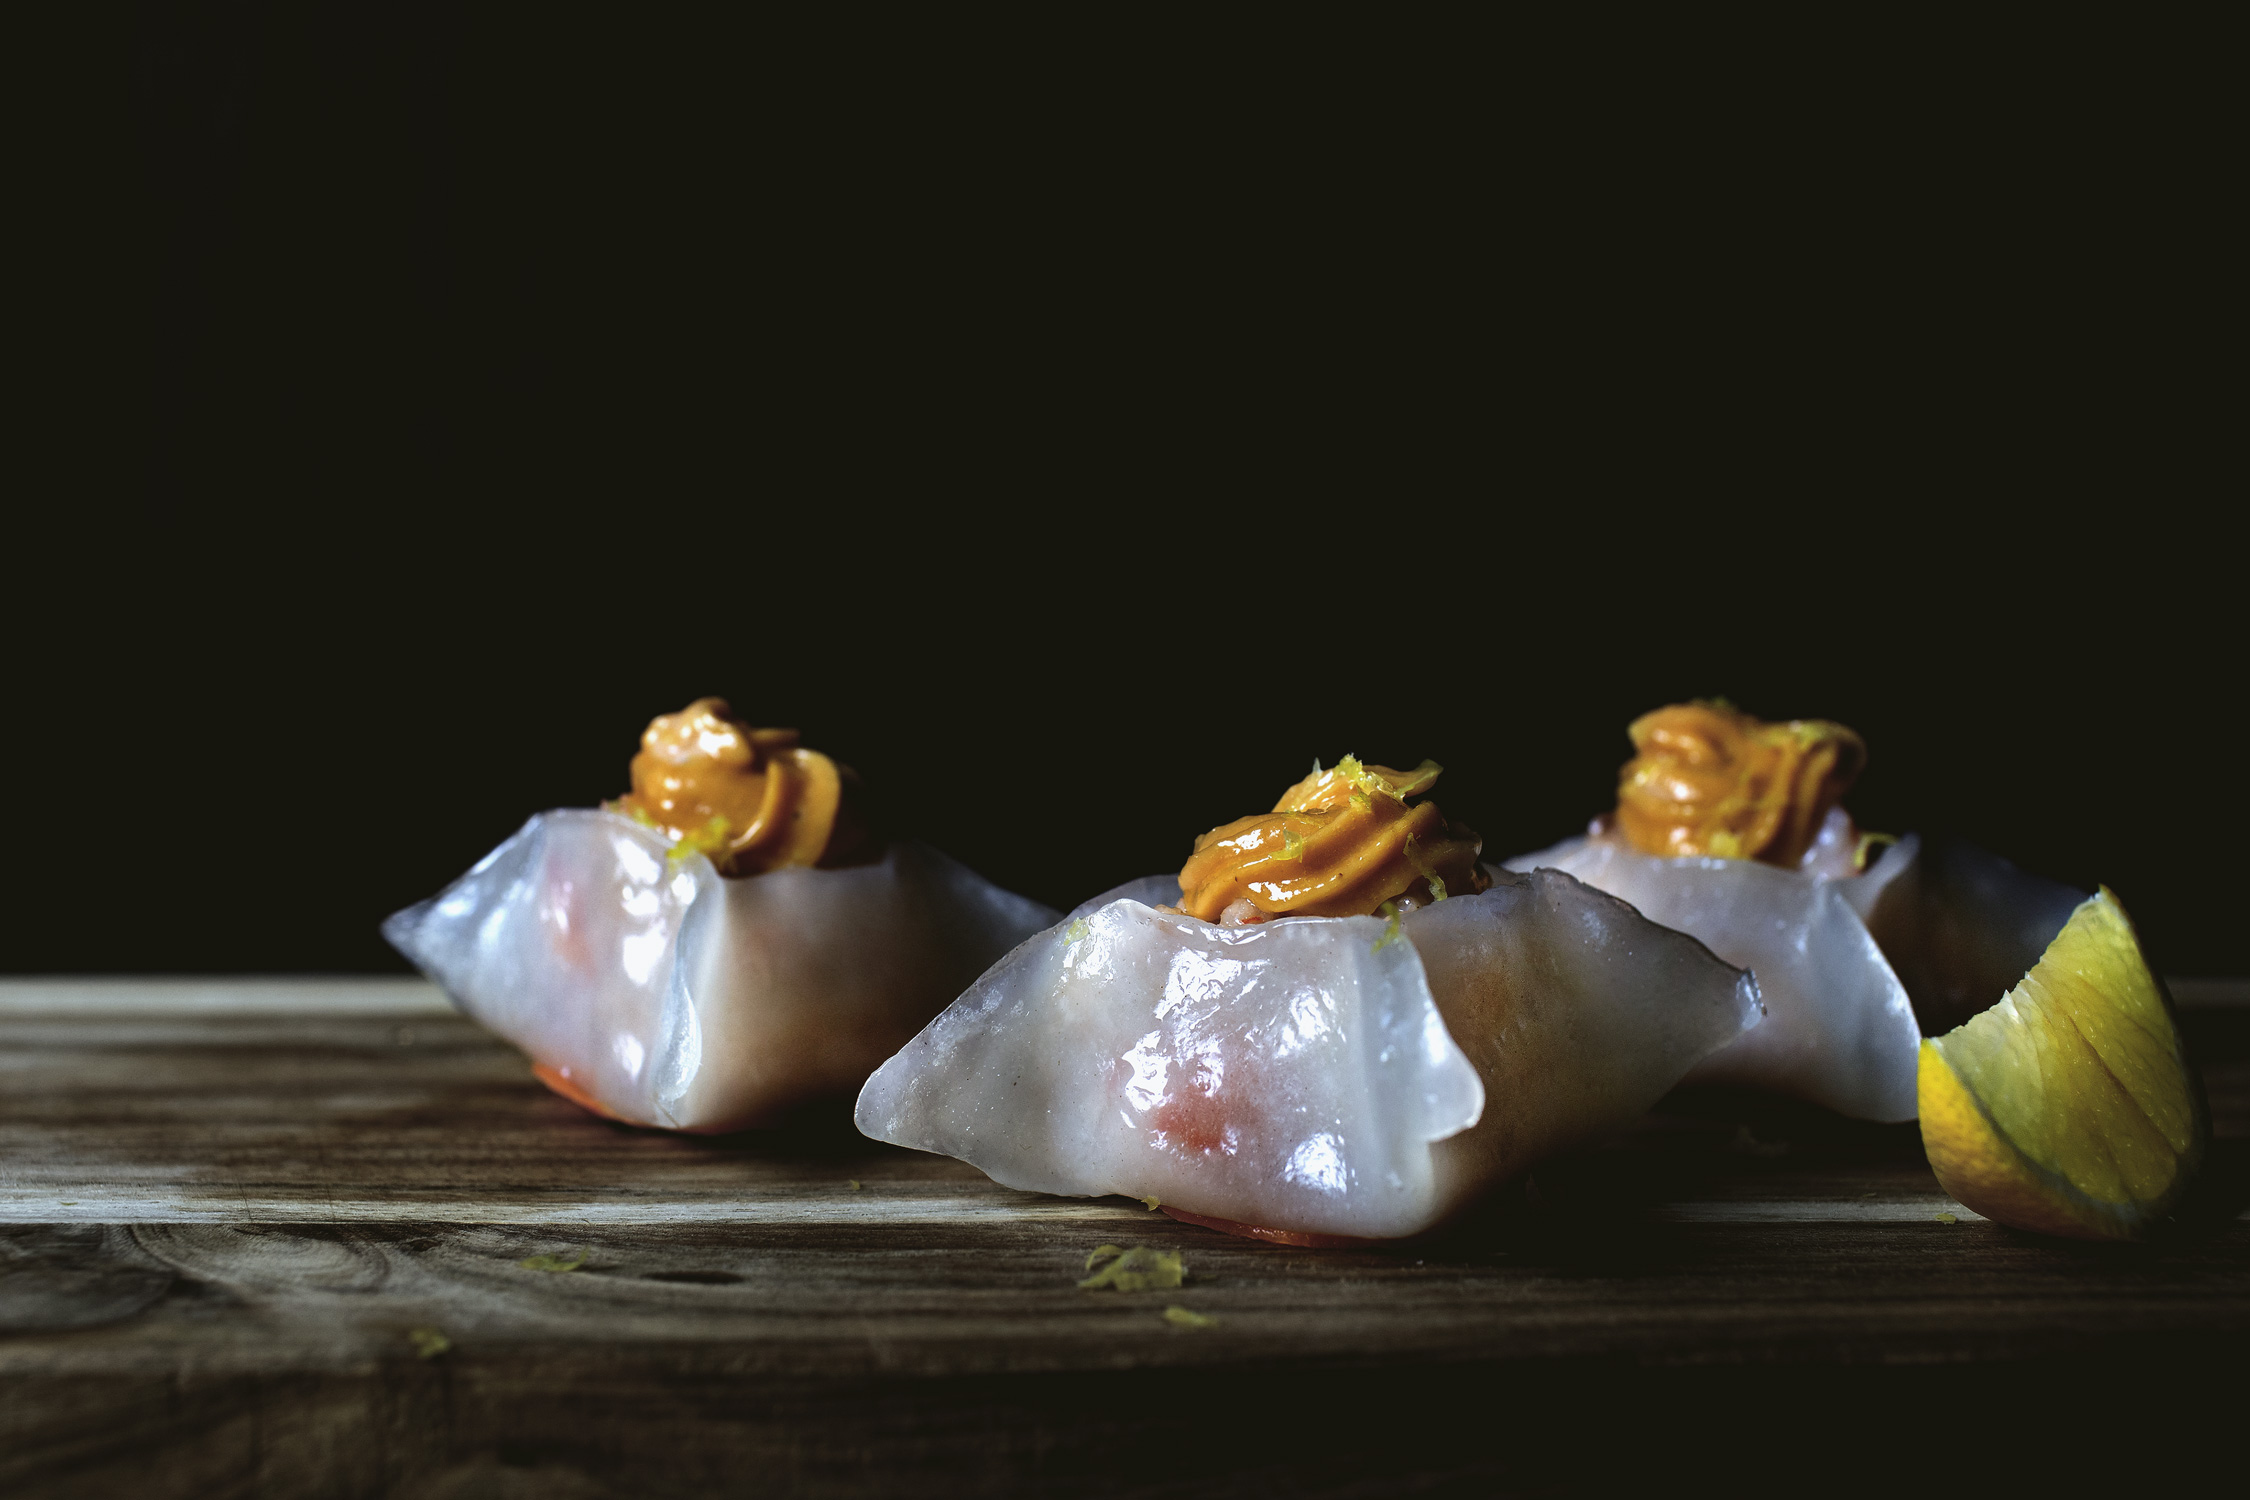
DIM SUM MONTH: Crystal shrimp dumpling w/ shrimp oil mayo

EXACTLY WHAT DIM SUM IS SUPPOSED TO, BUT SOMEHOW FORGOTTEN TO BE,

LITERALLY, AS TO TOUCH HEART

Welcome to DIM SUM MONTH!

WHAT:  I’m dedicating this whole month to the delicate art that is dim sum.

WHY:  I’m slowly and painfully realizing how scarce a good, thoughtful and delicious dim sum can be.  Even in Hong Kong – the supposedly promised land of dim sum – I found my expectation being shattered with sloppy, tired, and borderline unethical display of dimness.  Frankly, I’m fed up.

HOW:  Just as unfamiliar as most of you are in terms of making dim sum, I’m going to show you that it is possible for us to create these little baskets of happiness at home.  We are going to take each conventional dim sum item, and mix them with a bit of thoughtfulness and fun.  Almost every items can be made ahead of time, and hopefully at the end of the month, we’ll be able to host our own dim sum party that is more awesome than most.

Let’s start with the classic of the classics – crystal shrimp dumplings.

We are going to correct all of its frequently ignored mistakes: soggy and texture-less wrappers, and frankly, boringness.  This recipe will yield a wrapper that is beautifully translucent, shiny, and just a bit bouncy to the bite, filled with a generous amount of whole tiger shrimps held together by fatty ground pork.  Last but not least, a small dollop of mayonnaise made with shrimp oil and thickened up with cashew butter, will knock this out of the park.

It is a single bite that embodies a carnival of senses: textures, flavors, esthetics and imaginations.  Which is exactly what dim sum is supposed to, but somehow forgotten to be, literally, as to touch heart.

READ MORE

Continue Reading
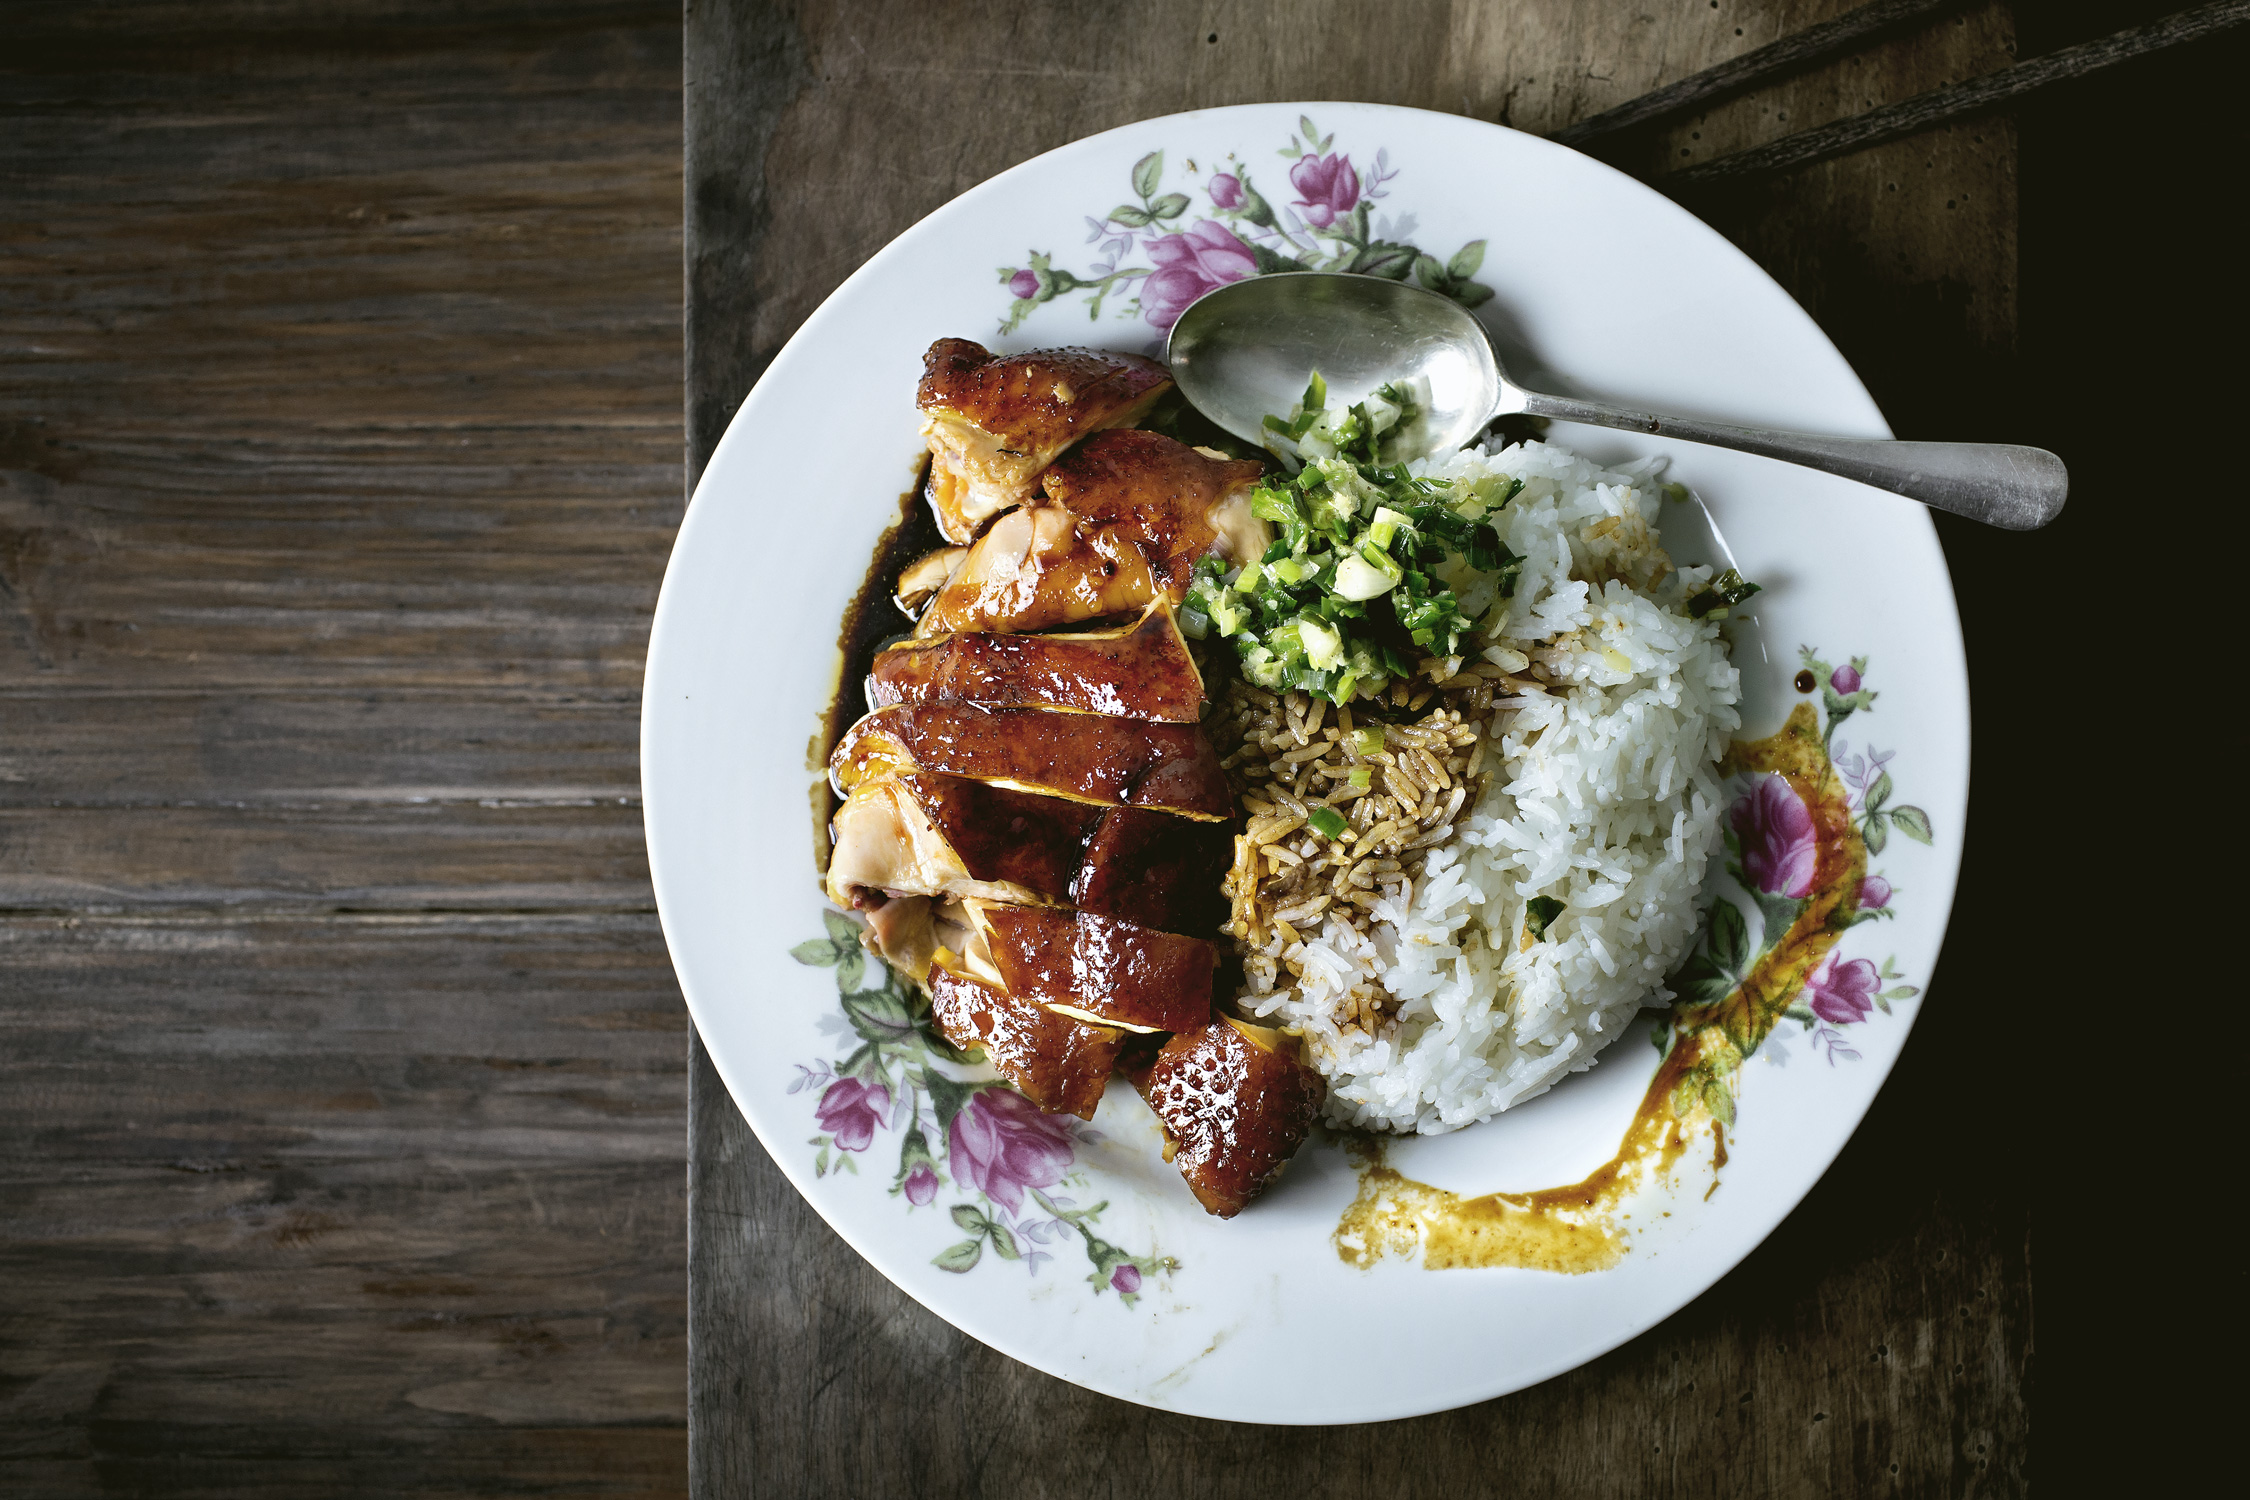
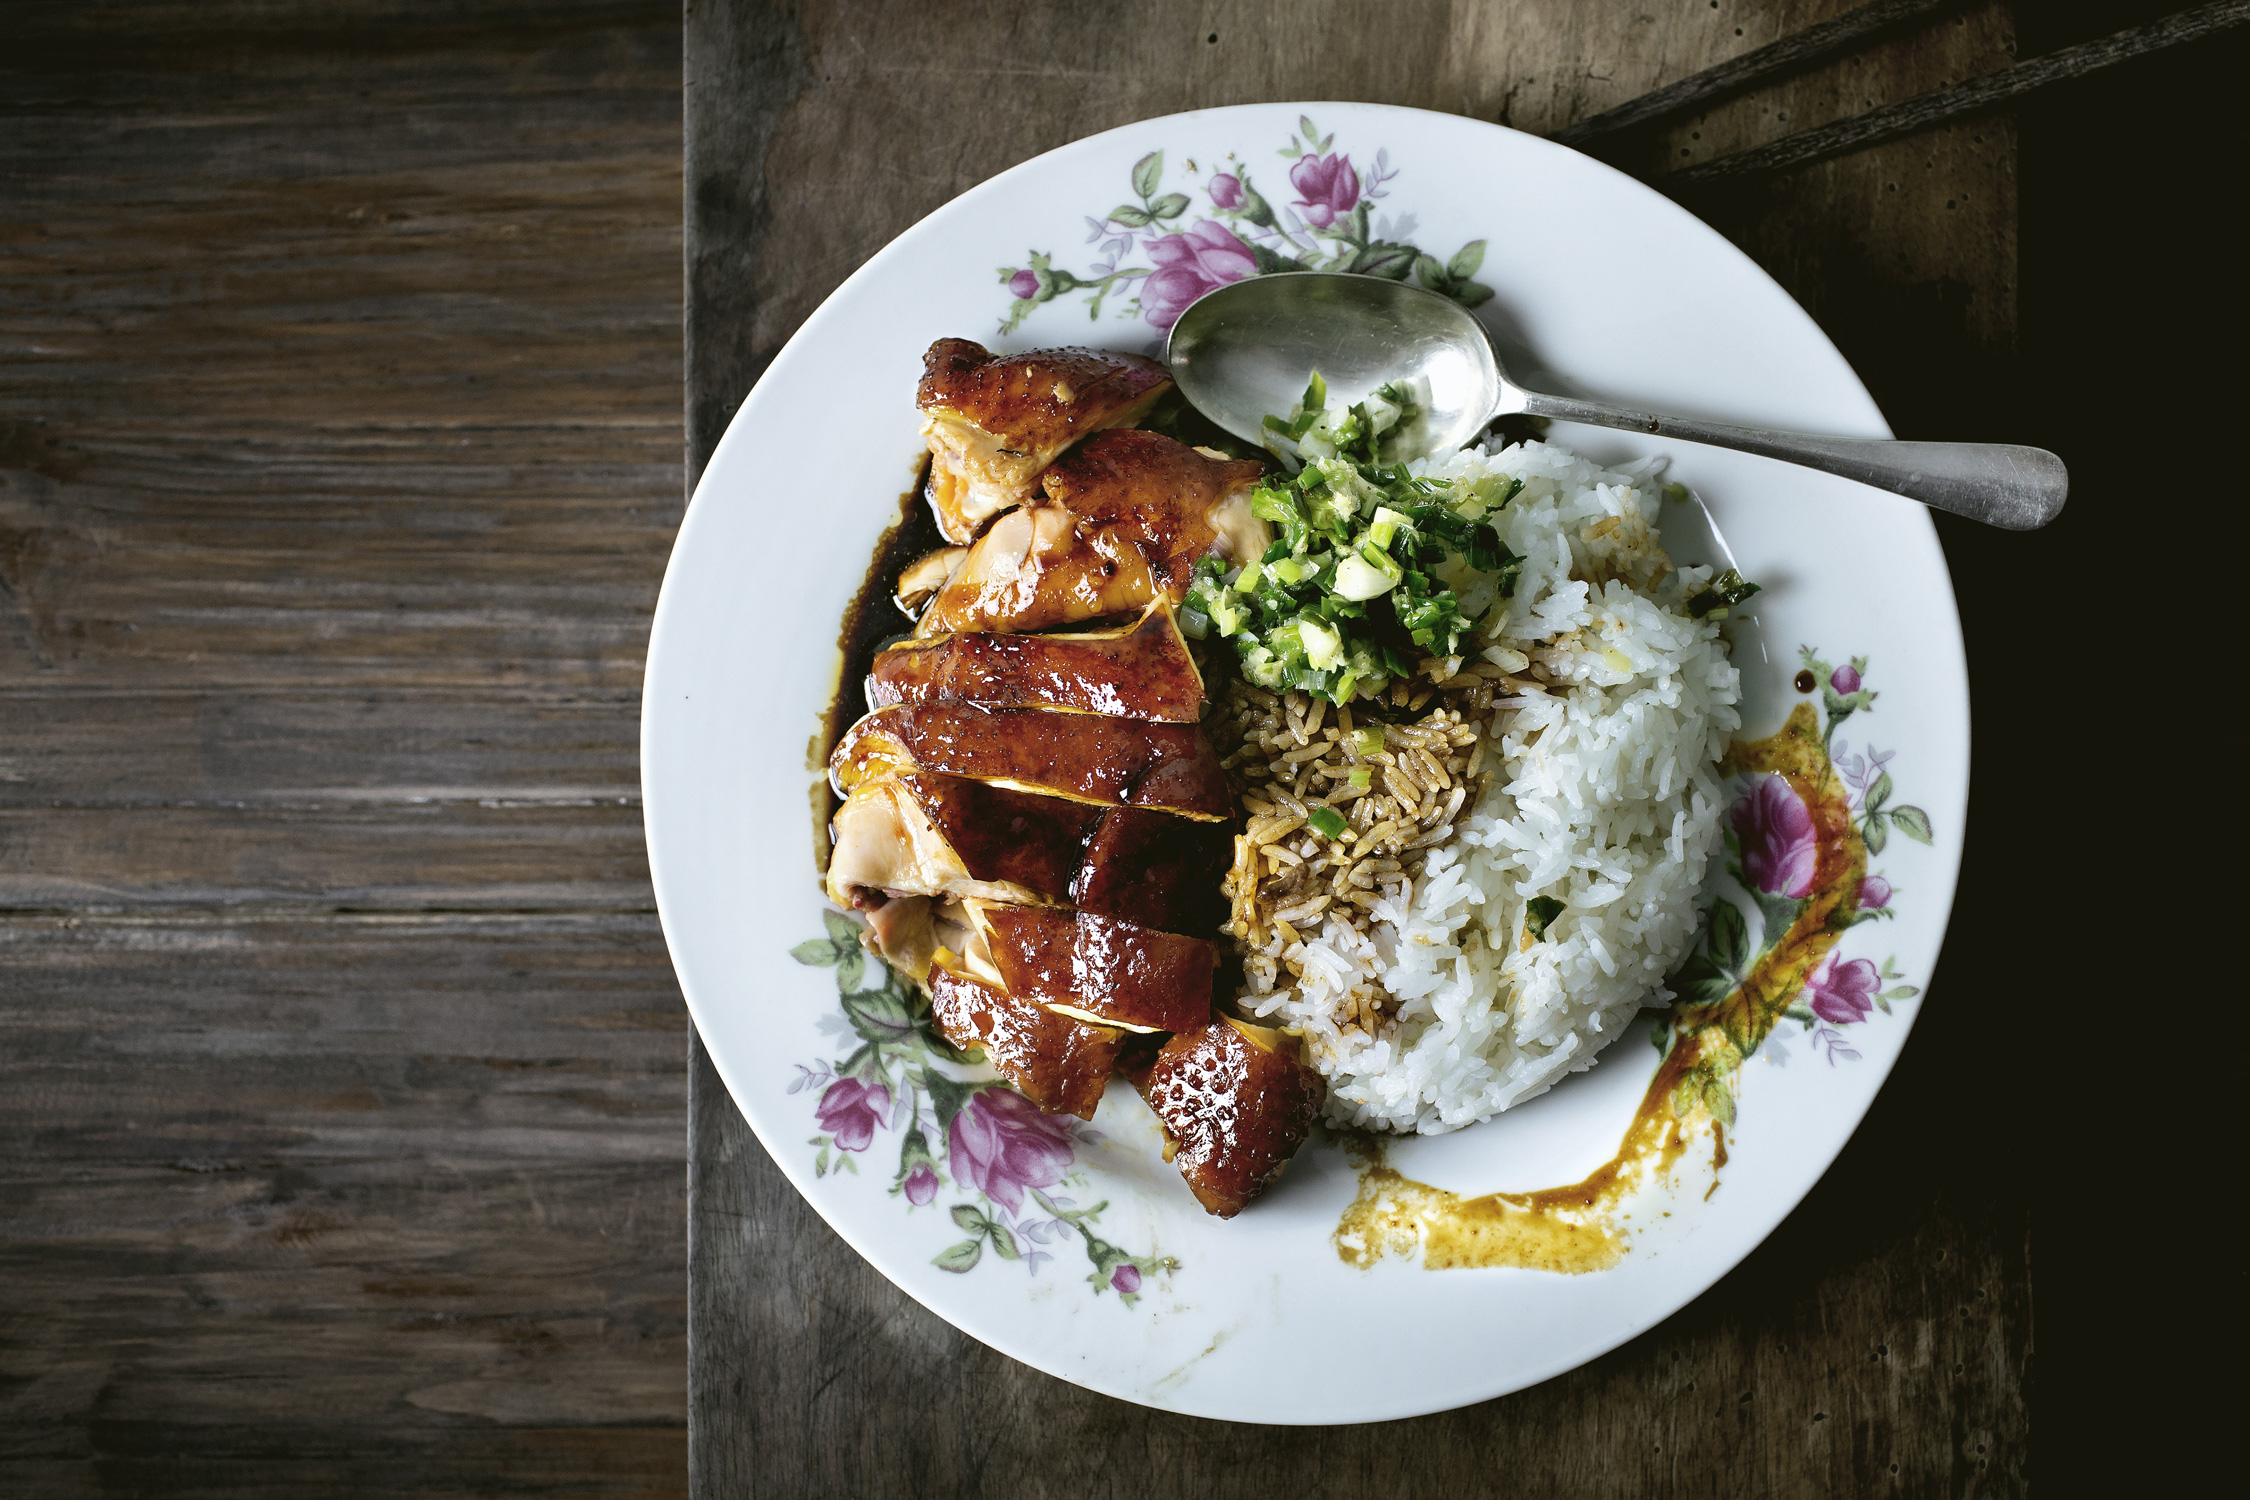
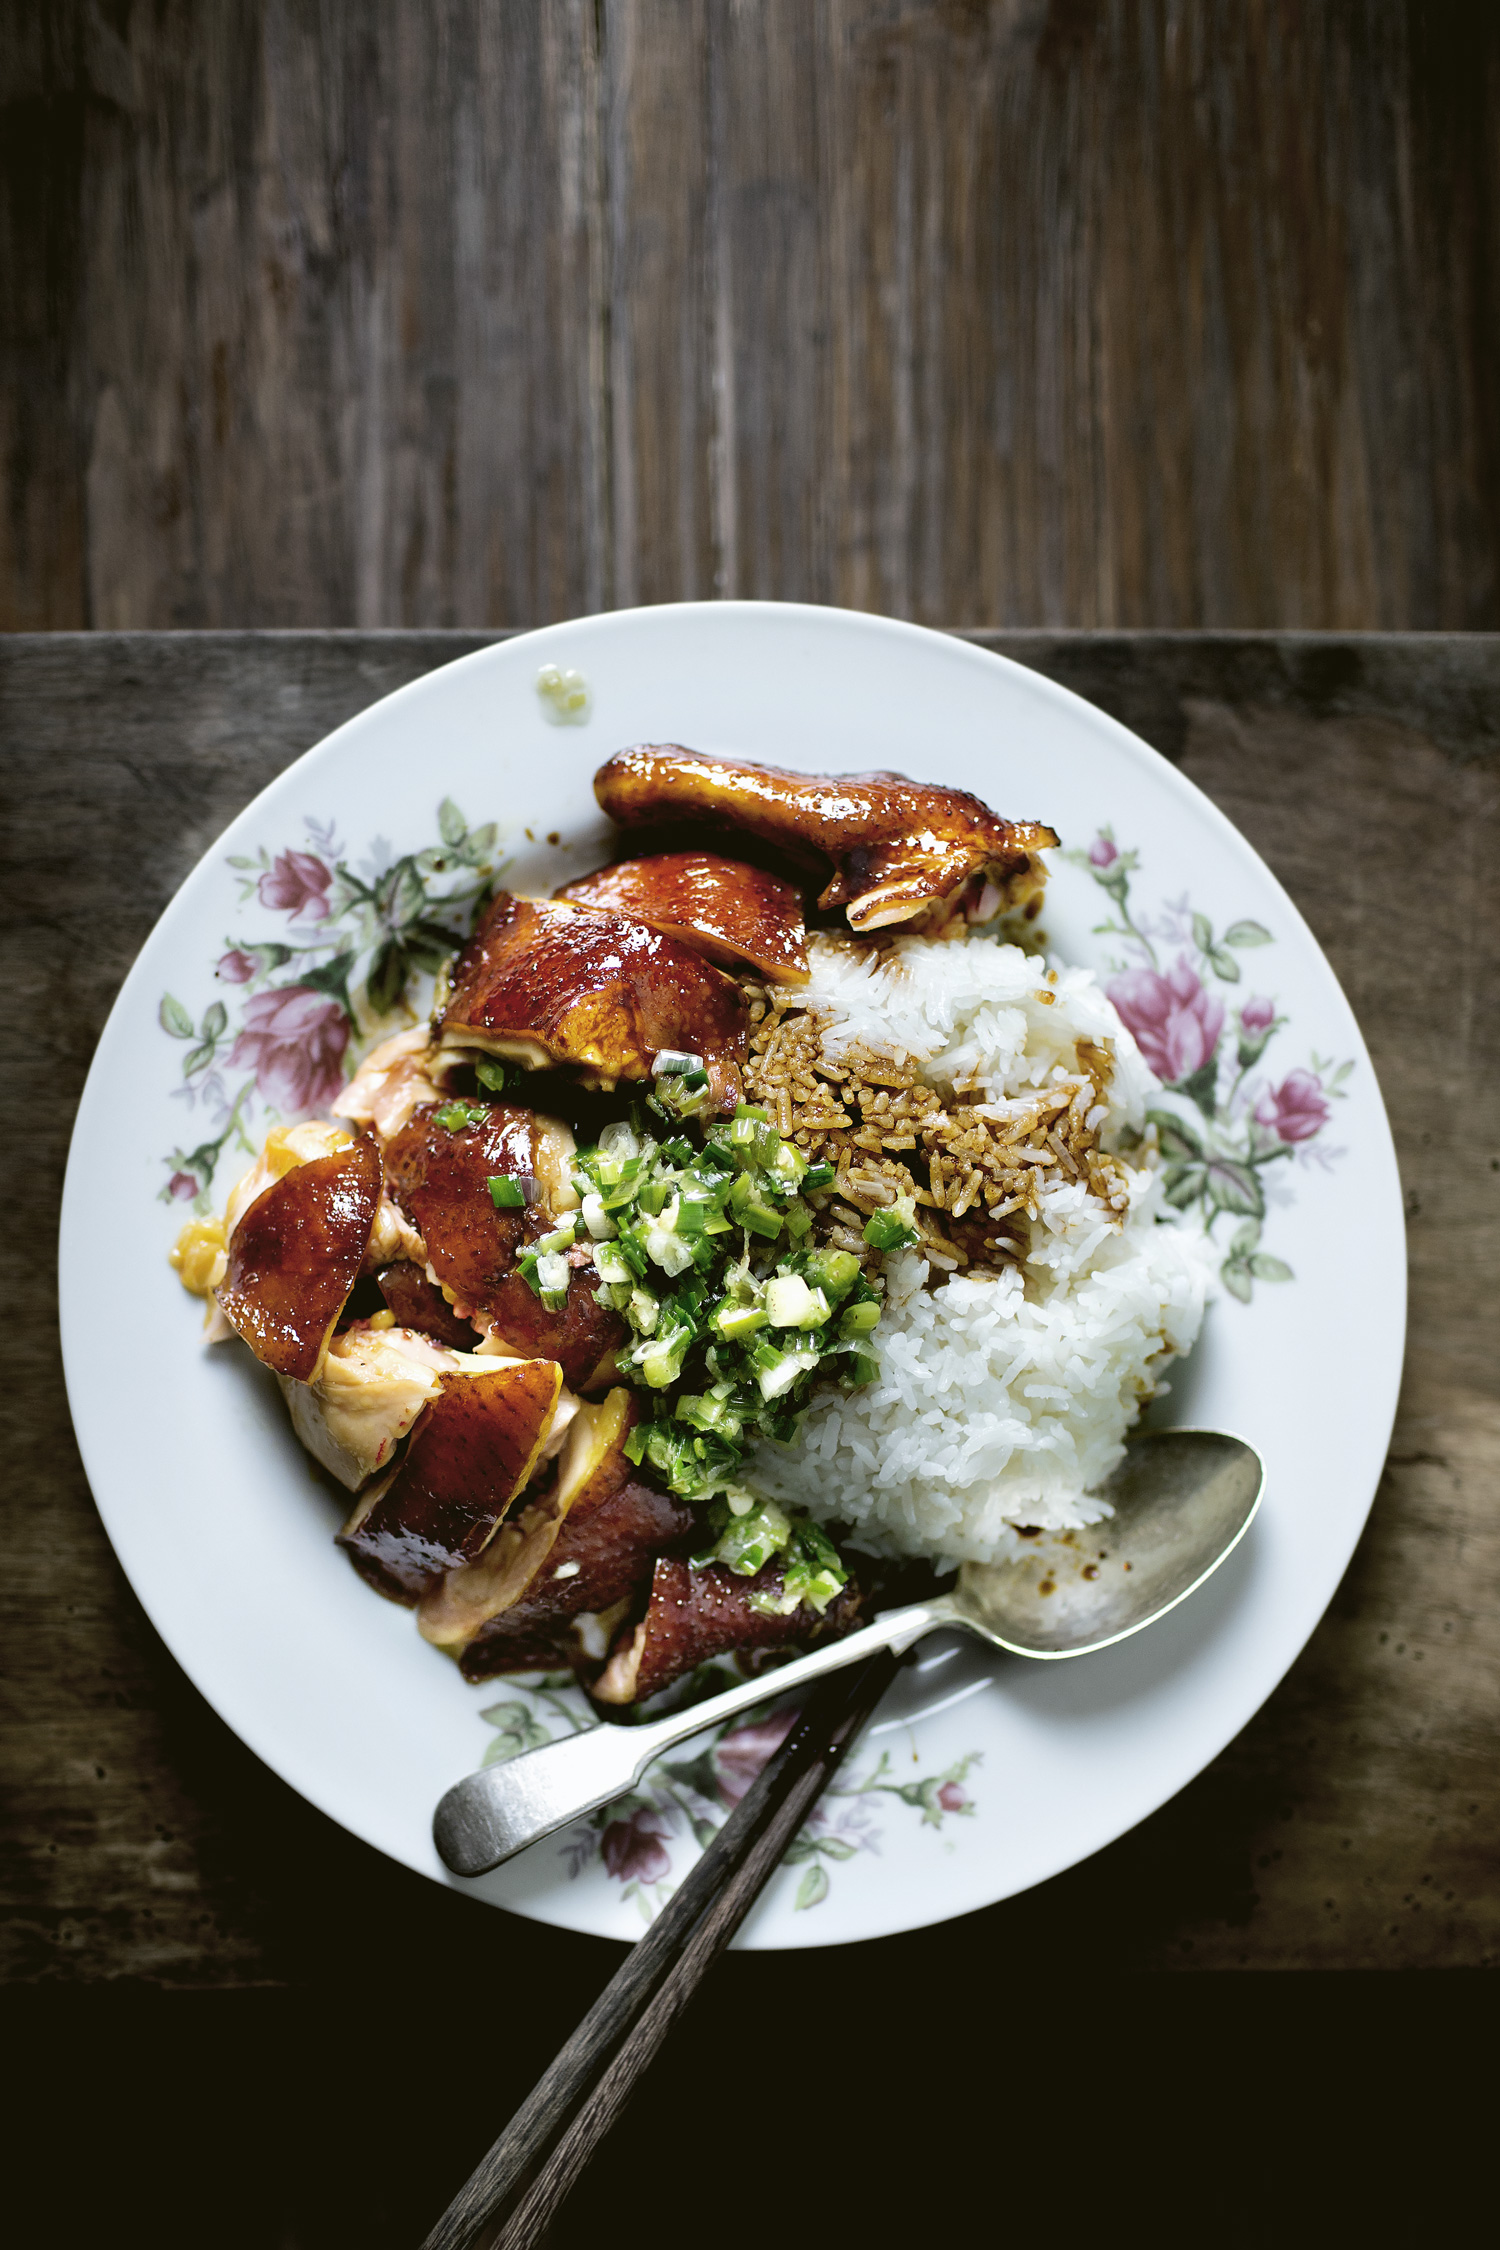
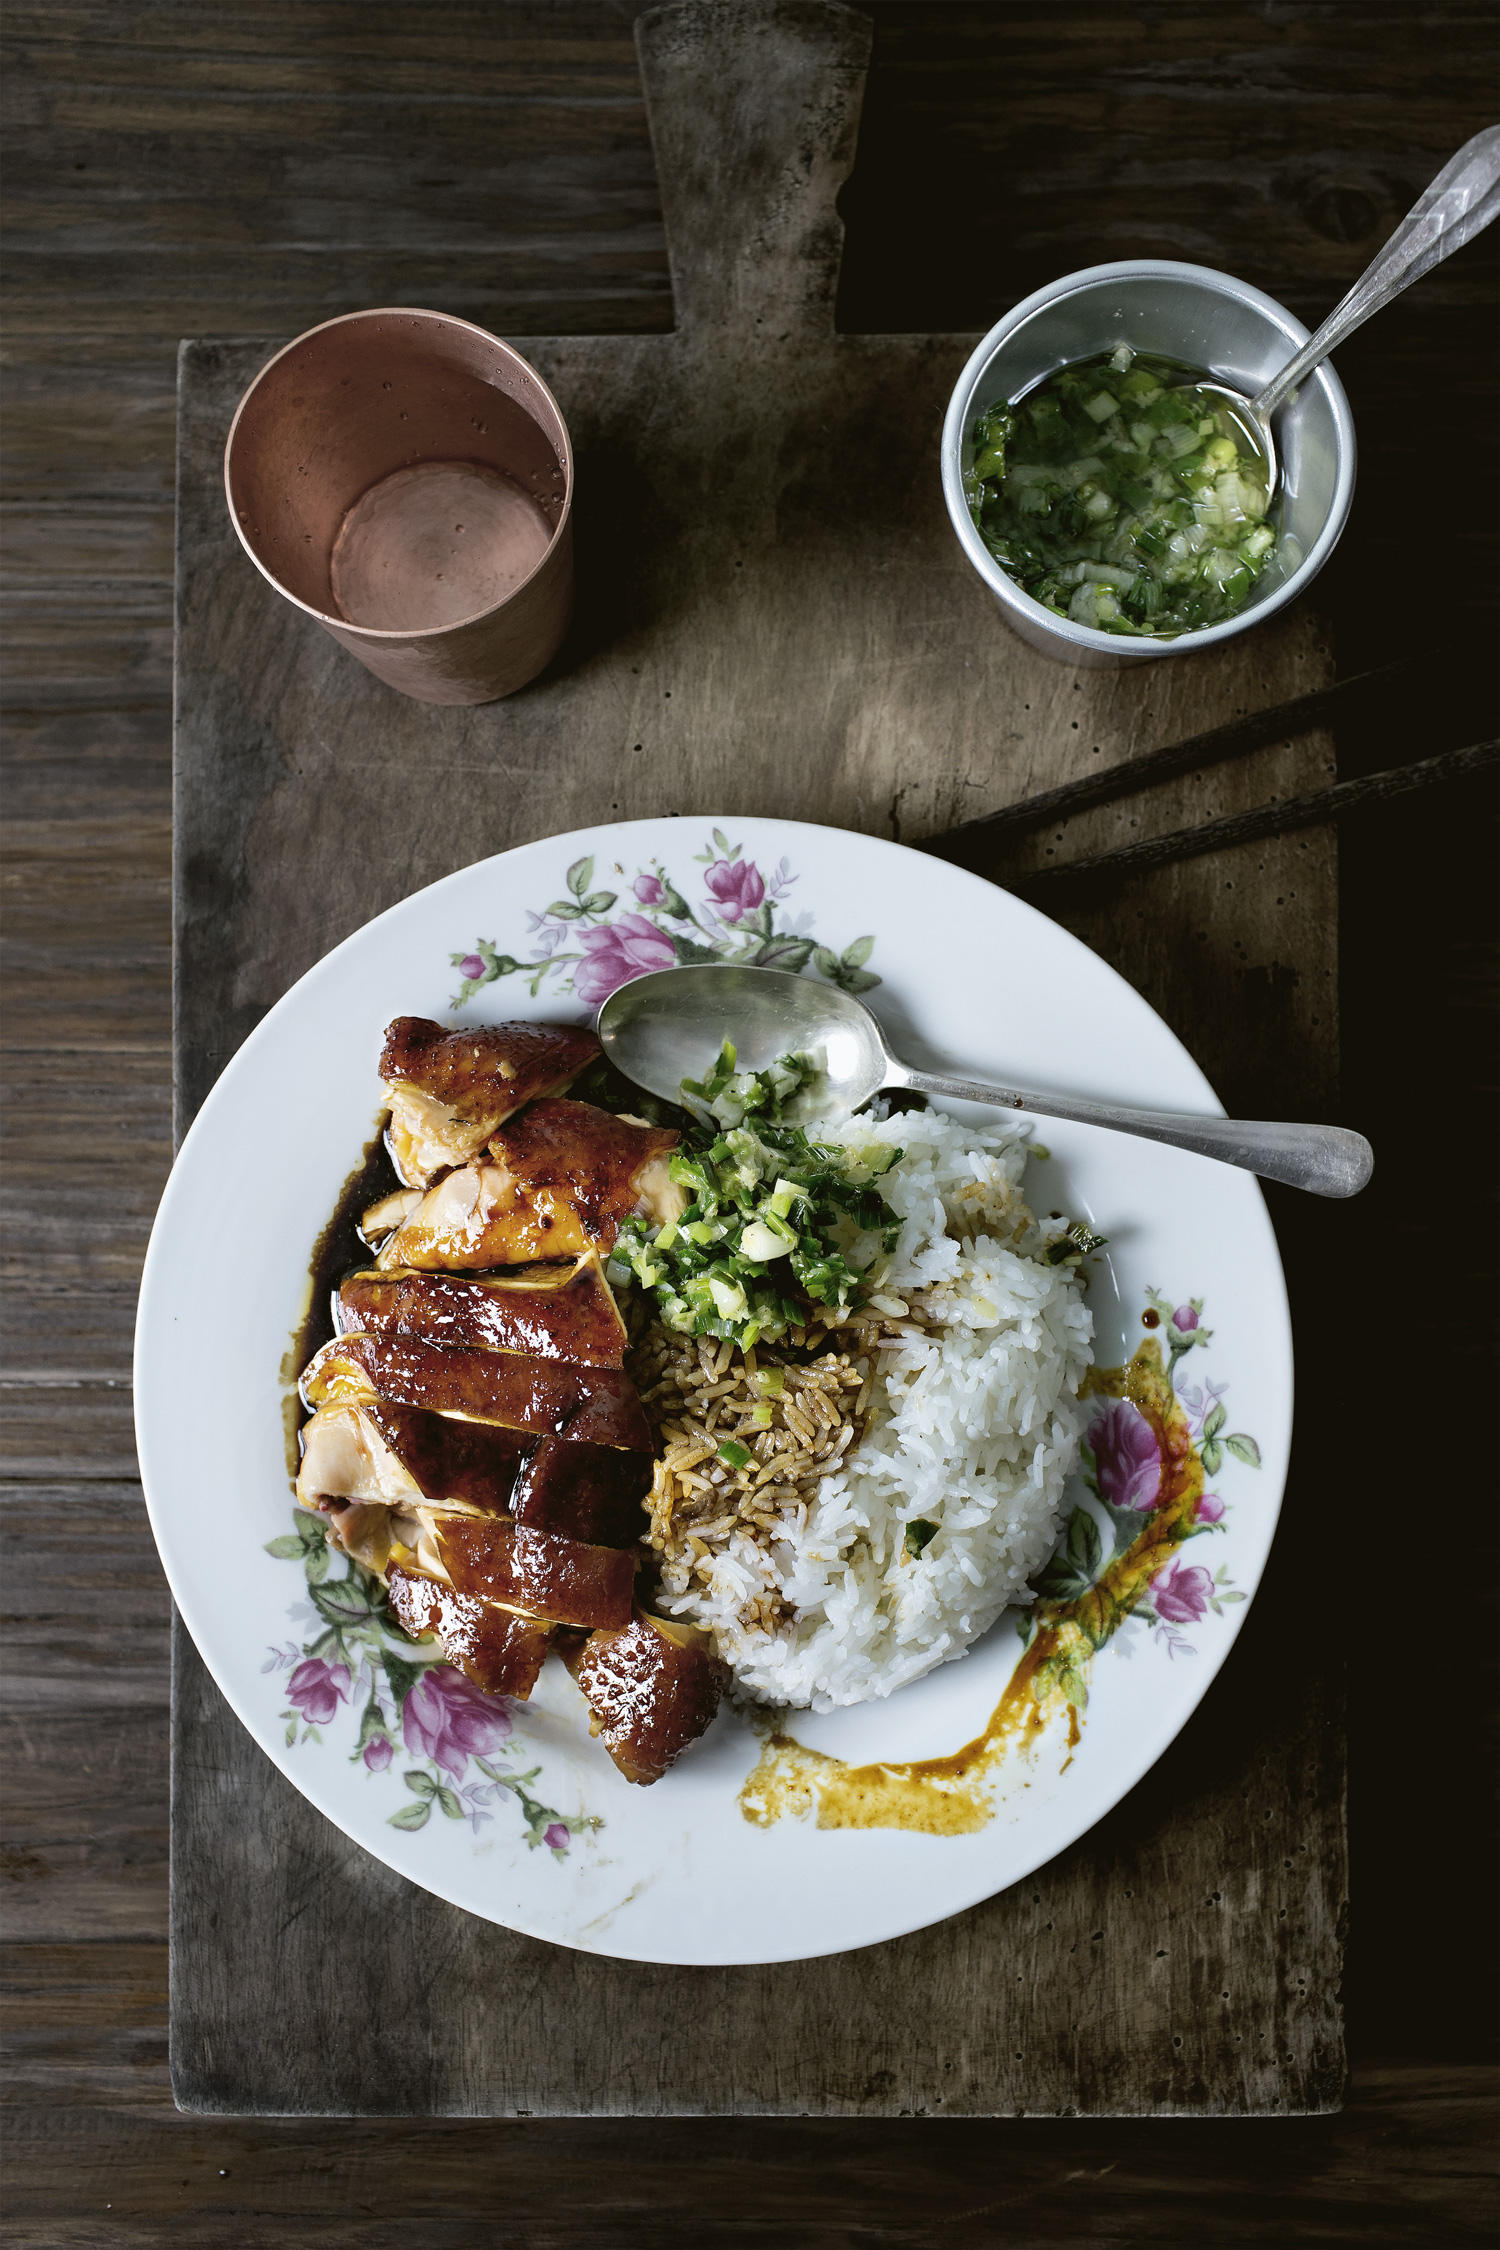
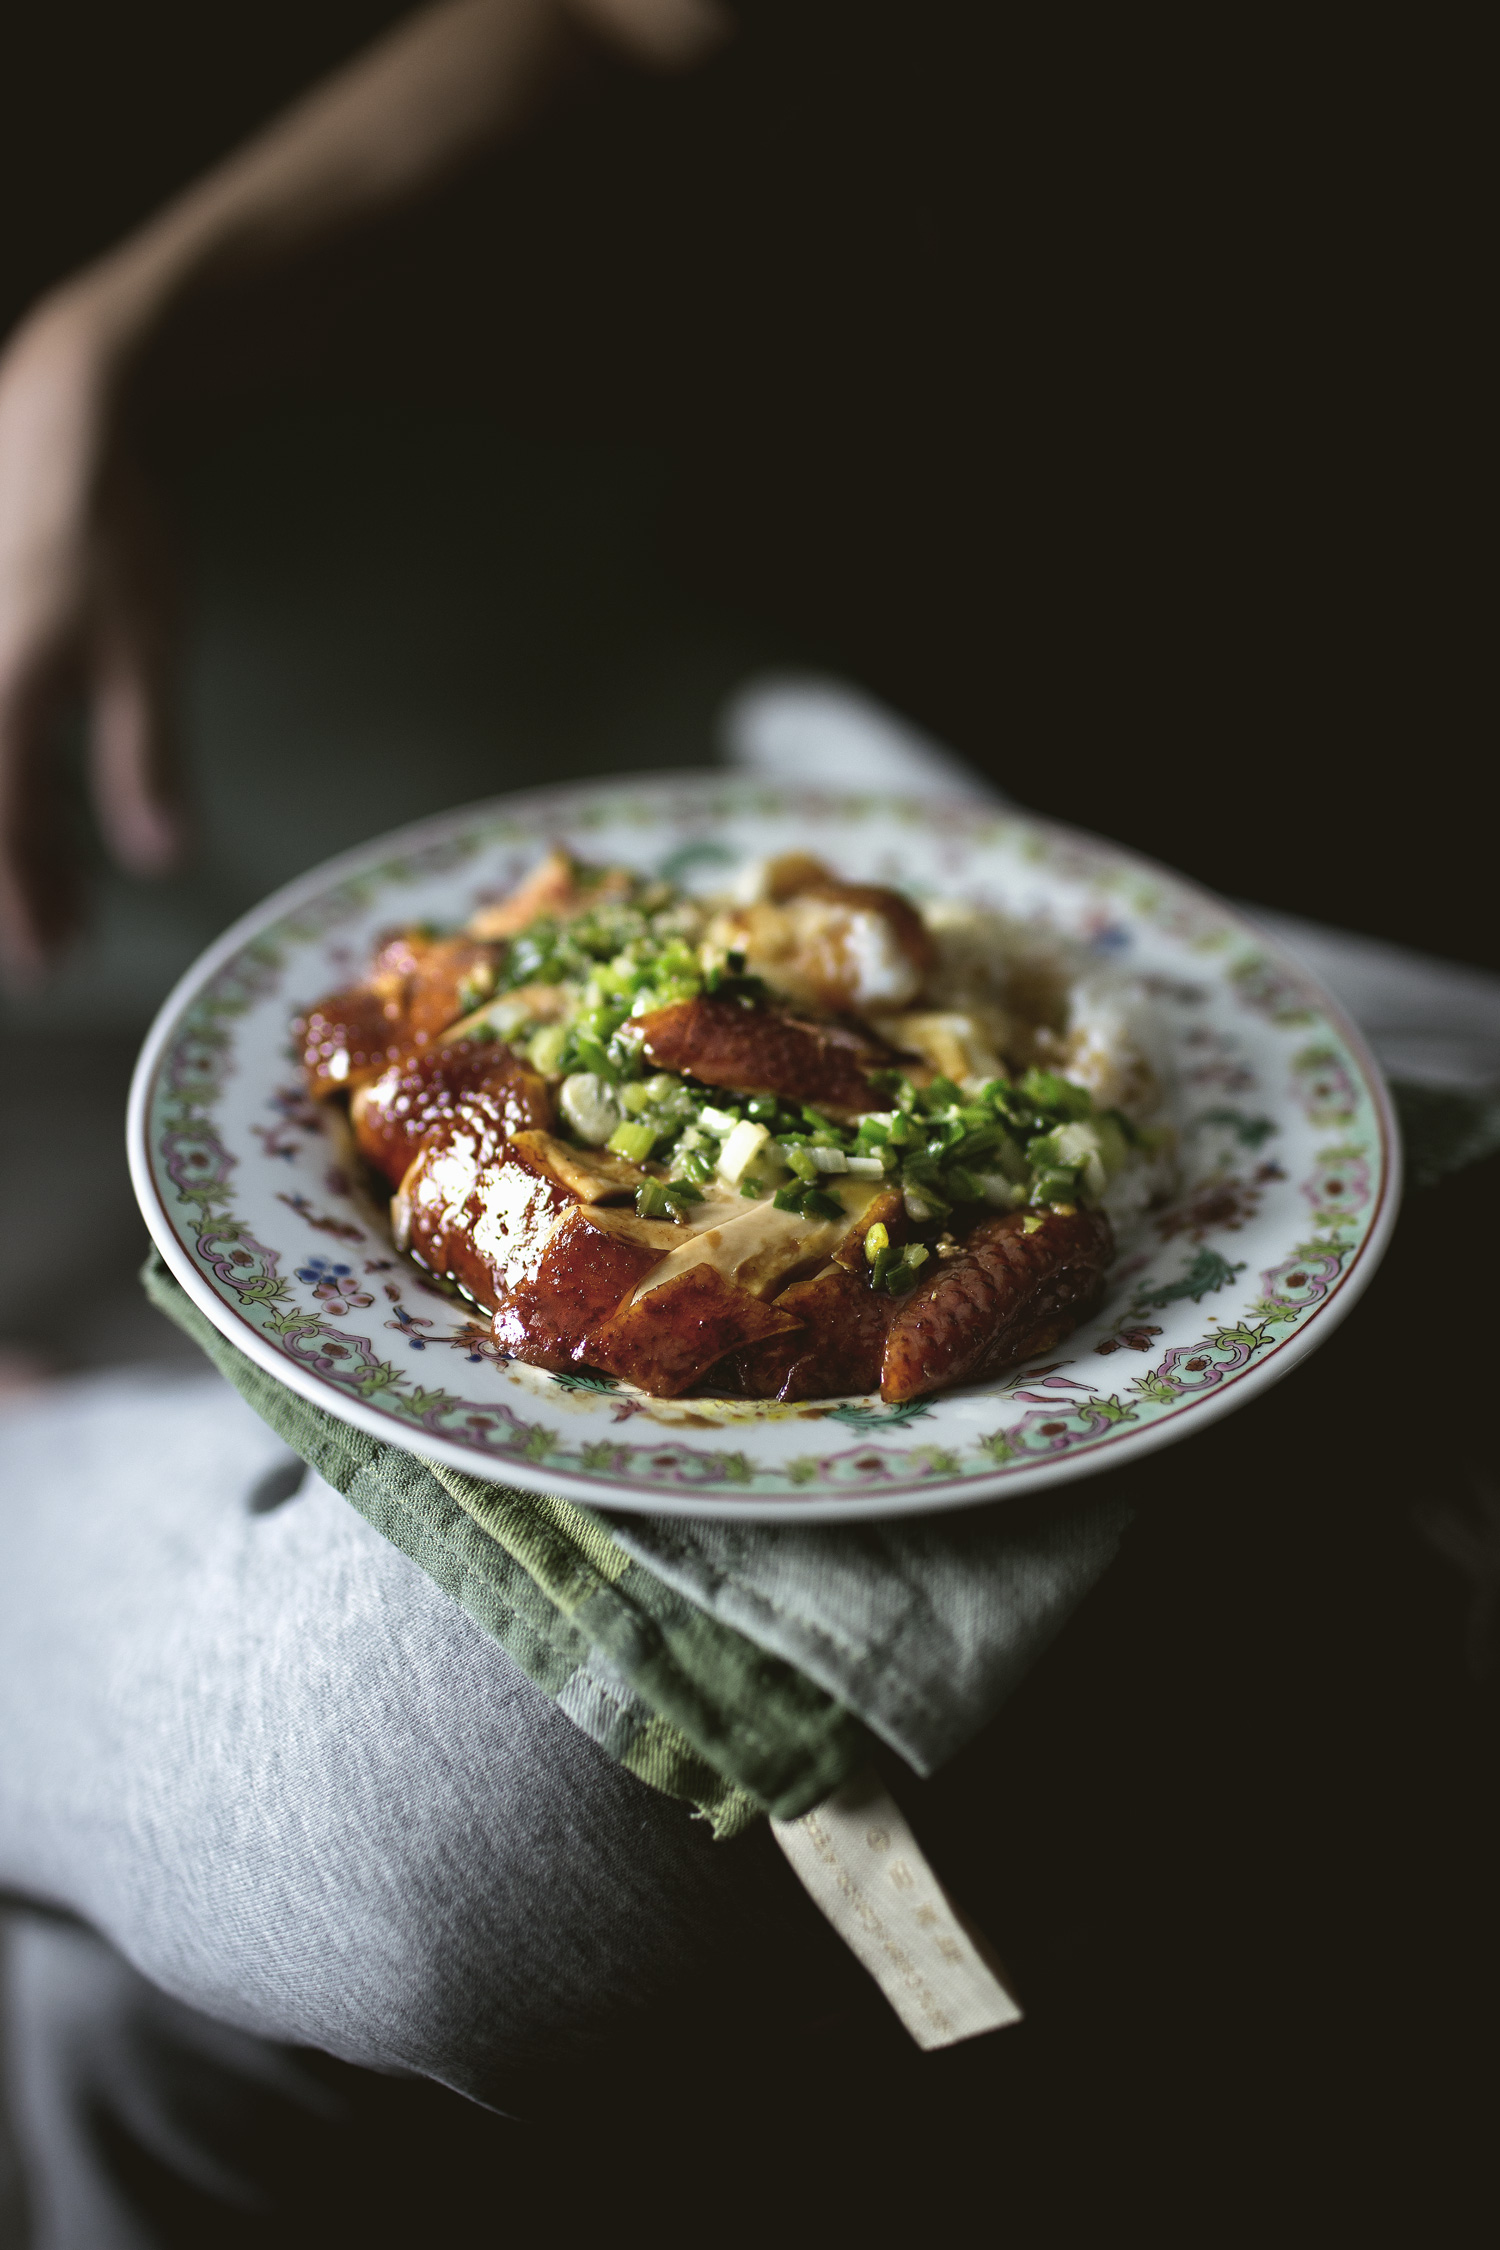
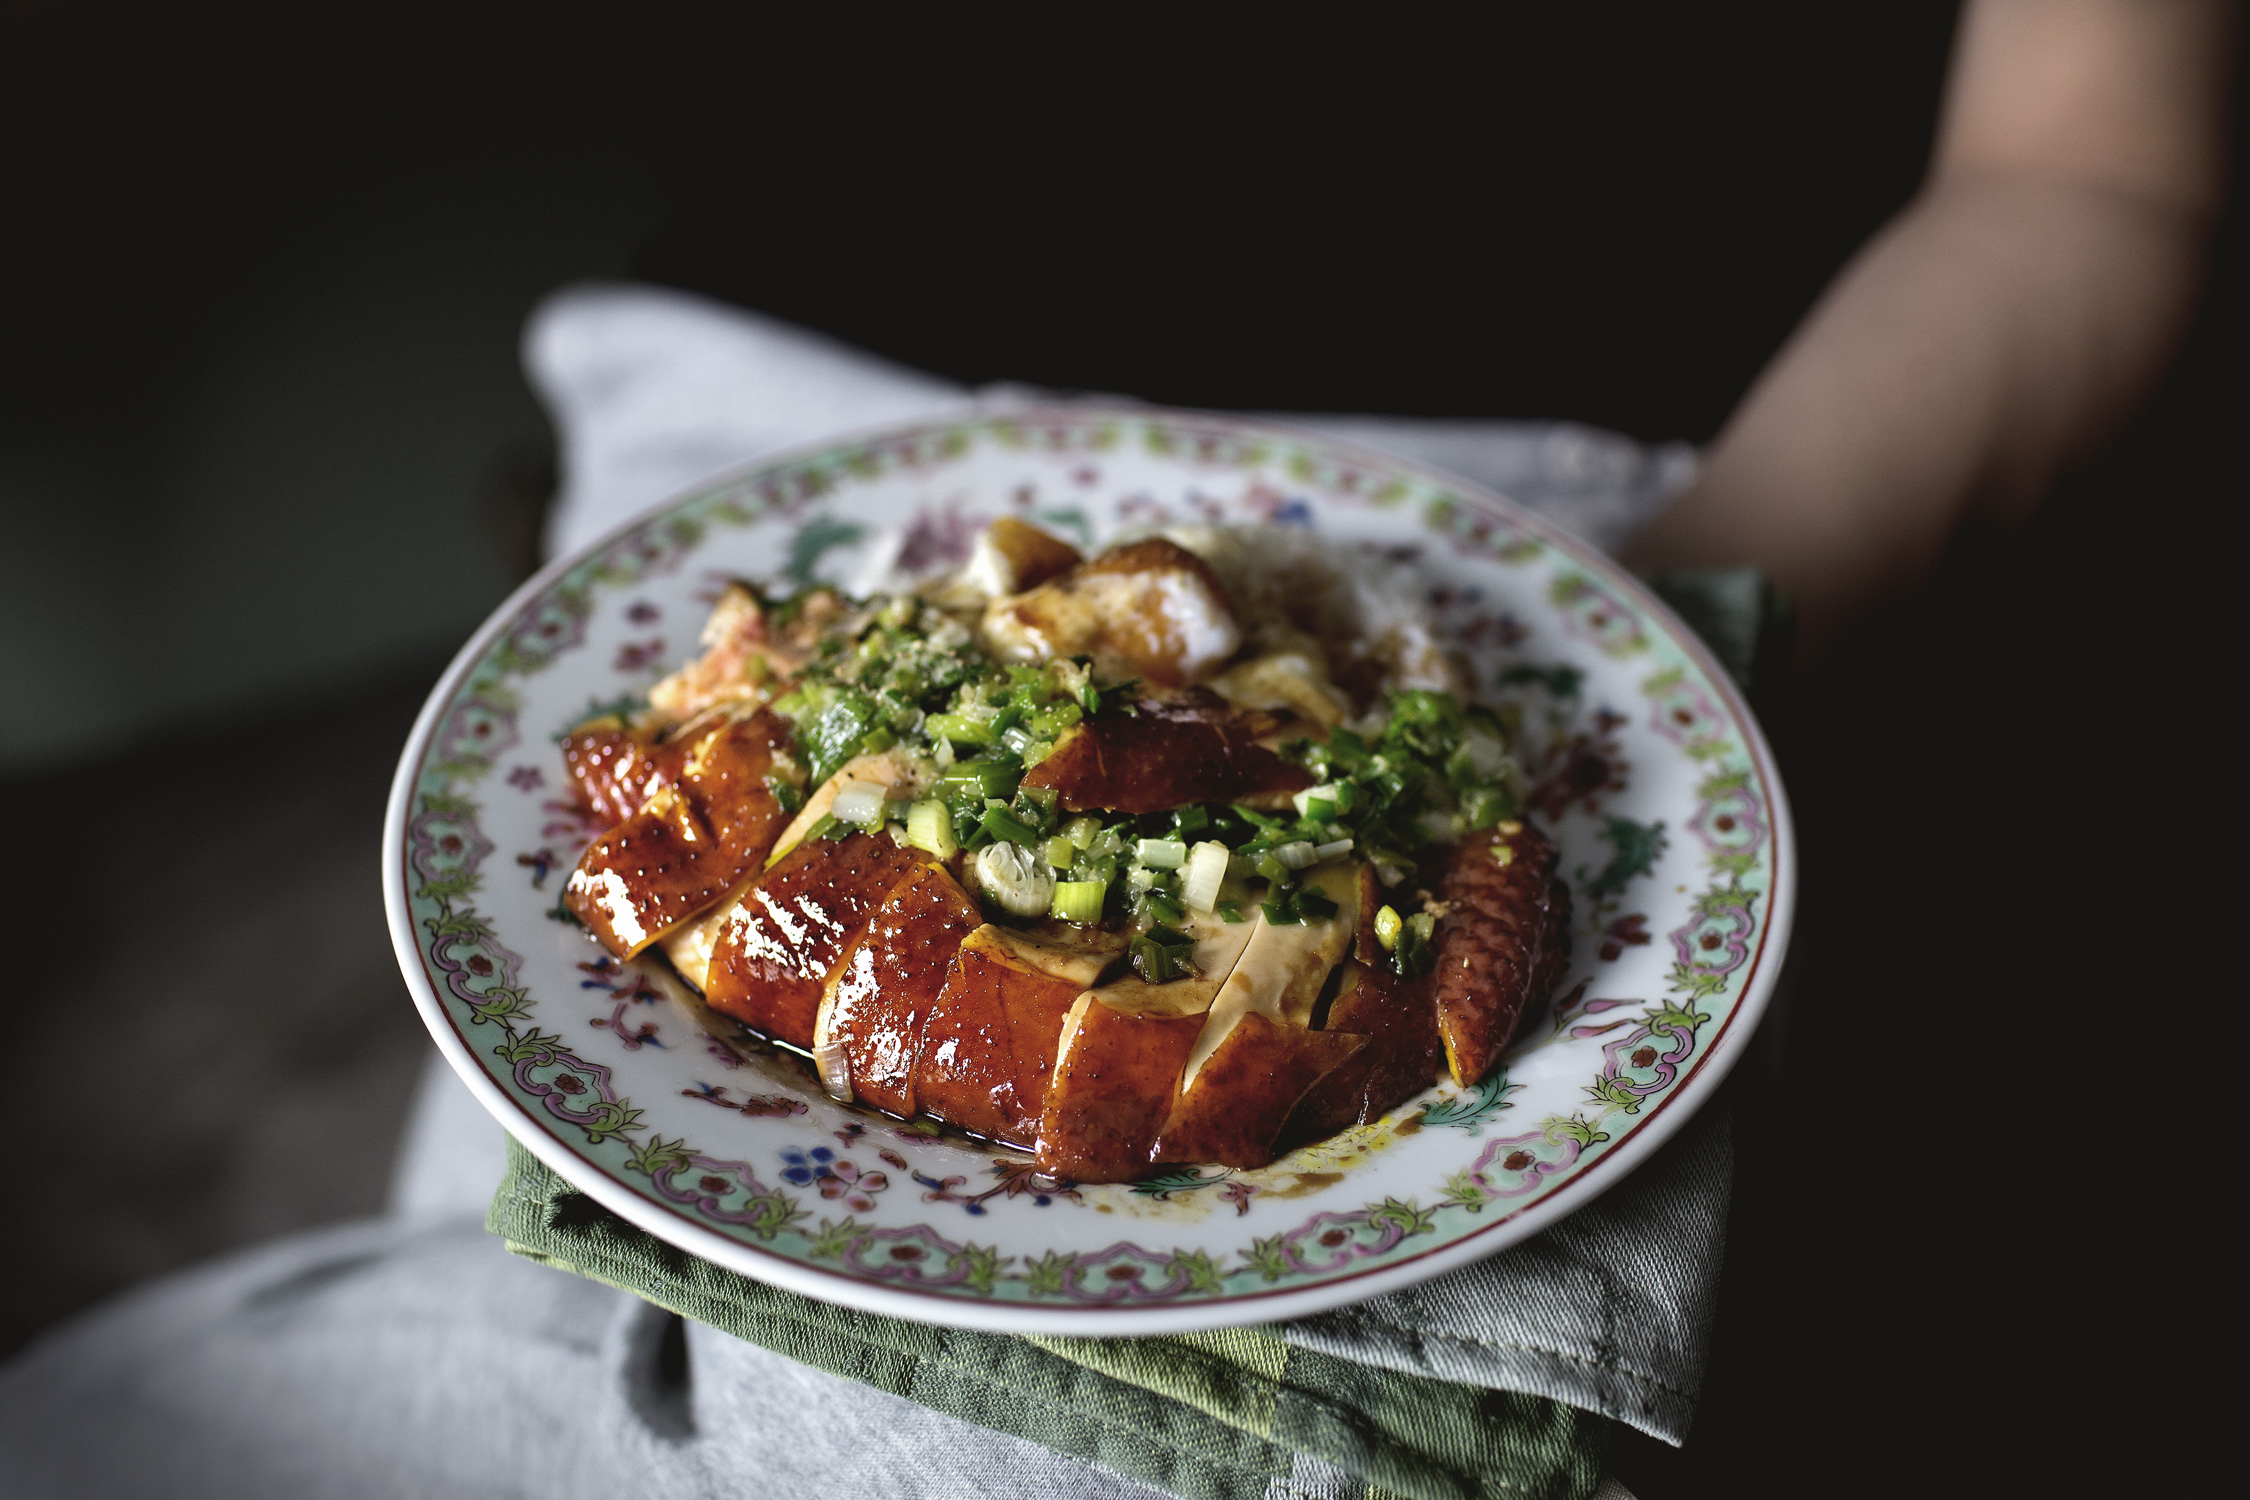
SUPPLE SLOW-COOKED SOY SAUCE CHICKEN RICE

soy-sauce-chicken12

Sometimes ideas arise upon the complete rejection of another.  This recipe is a perfect example of such.

The other day (I say “the other day” a lot, which really means “last year”), I was watching this video on YouTube, a michelin-starred chef explaining how to make his “perfect roast chicken”.  Curious, so I watched, as he demonstrated with a straight face on how he cooks his chicken slowly inside a low-temperature oven for 4 hours, then afterwards, finish browning the skin inside a skillet, and after which, injecting the chicken with melted butter.

I mean, is this guy serious?

I don’t even know where to begin.  First of all, the whole notion that one could crisp up a whole, uncut chicken inside a skillet is basically again the laws of physics.  The extremely curvy and maneuvering silhouette of a chicken is exactly the reason why people resort to a three-dimensional heat source to tackle it in the first place.  Steaks, flat.  Chickens, curvy.  Simple logic.  Is he Doctor Manhattan?  Did his pure geniuses allow him to leap into another dimension of space and time to warp his chicken to the skillet?  Of course not!  That patchy-browned chicken looked like it just suffered from a skin-graft.  But you know what, even if, just because I’m nice, even if one could disobey the laws of physics and pull this whole thing off, why would I spend 4 hours of slow-cooking in the pursuit of supple meats, just so I can over-cook it later while I roll it around a super hot skillet like a total moron?  “Not too long in the skillet.” he said.  Yeah, like you mean just long enough to color the outer patch of the thighs plus to realize that this is complete idiocy?  No injection of butter can help you, my friend.

Can you believe this guy….

But wait a second now…. there there there….

Even though his low-oven chicken method is, in my humble opinion, not the answer for crispy skin roast chickens, it would actually… work perfectly for something else.

I don’t know if you know, but there is a whole other branch of philosophy on cooking chicken where crispy skins are actually not the holy grail.  Instead, it’s the extremely supple, juicy, and almost silky slick texture of the meat that reigns supreme.  And this dish called soy sauce chicken, seen hanging inside the steamy windows of Cantonese restaurants everywhere in the world, is where cooks put their relentless pursuit for such texture to the test.

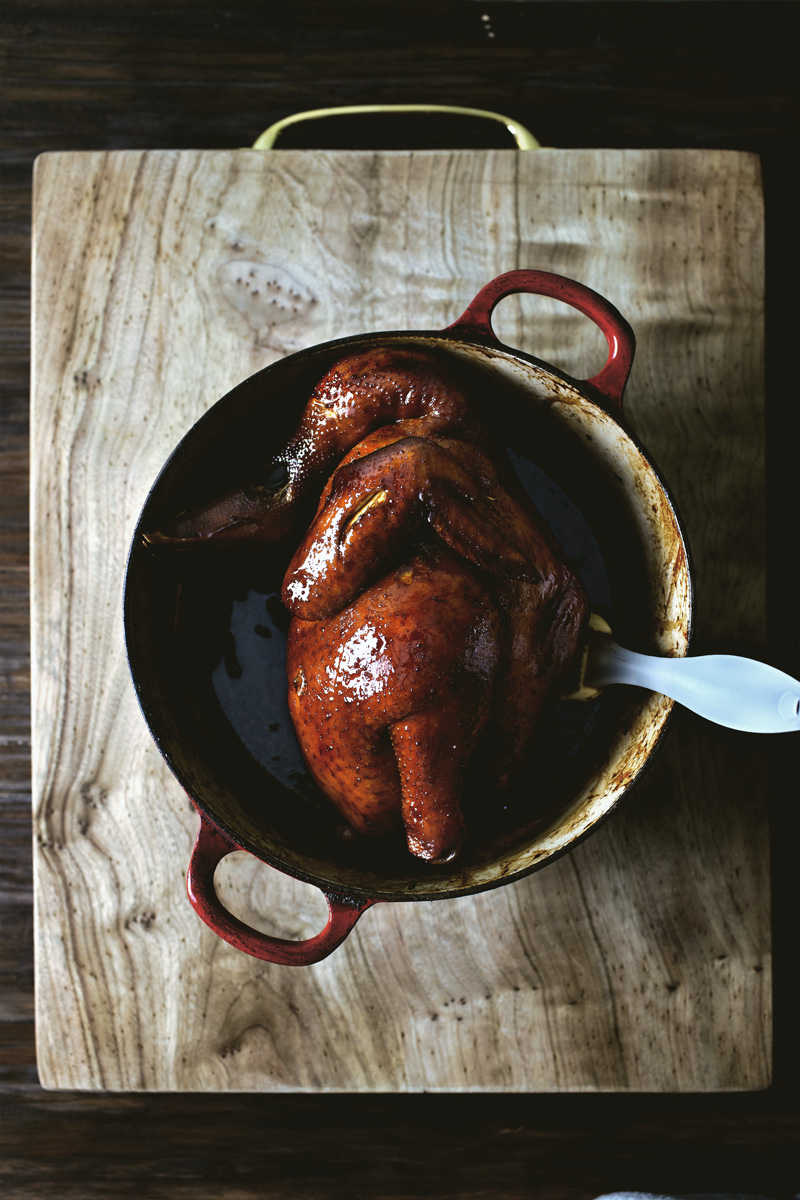
Traditionally, the chickens are cooked inside a pot filled with a shallow, simmering layer of soy sauce-mixture, turning every so often until the skins take on a deep amber sheen and the meats are cooked to perfection, after which it’s hung to cool down to room temperature in order for the salty skins to tighten and become elastic, and the meats to become “jelled” almost.  Not that this traditional method doesn’t work, but it has its flaws.  First, again, uneven heat source, making it that much more difficult to cook the chicken evenly.  Second, the risk of burning, which requires the cook to stand-by and babysit the chick as it matures safely into perfection.

A low temperature oven, solves both.

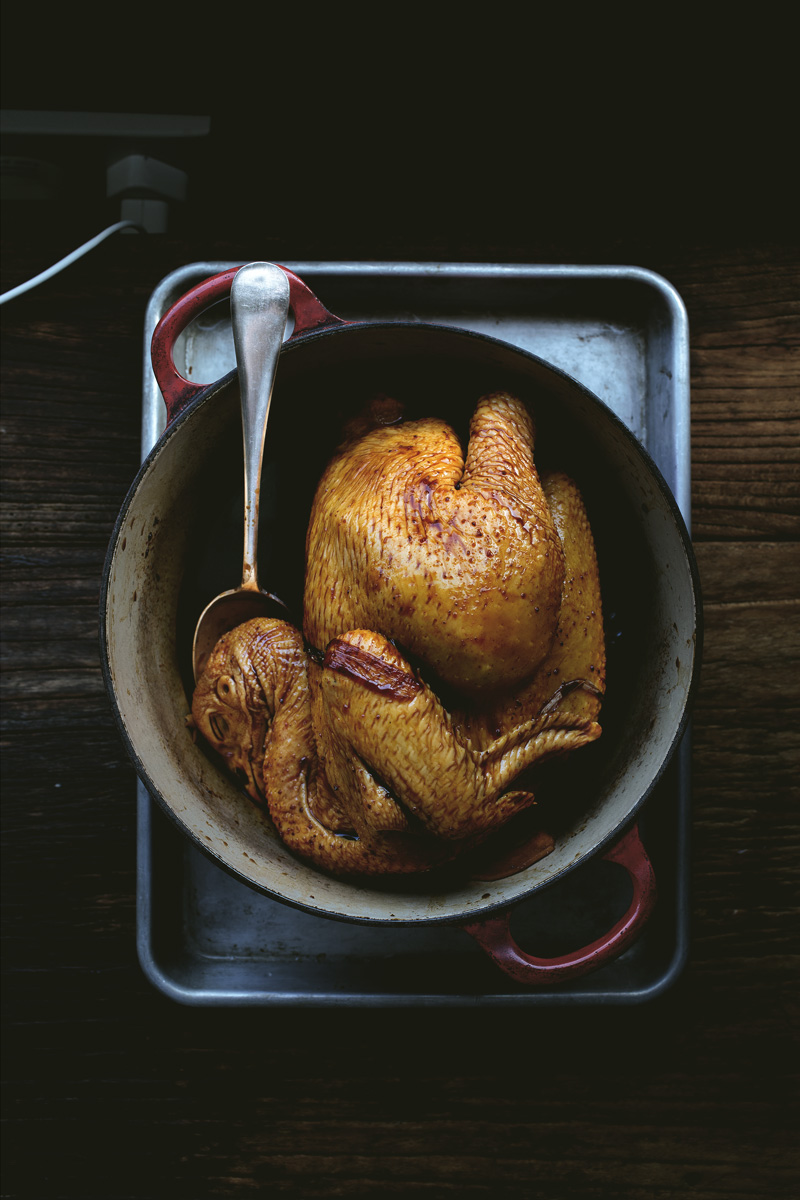
The whole chicken encased in its own skin inside a low oven is almost functioning as a sous-vide operation, and on top of which, the coating of that deeply savory and aromatic soy sauce mixture never gets burnt, but instead, gets condensed and caramelized on every inch of the skin as the meats slowly and gently comes of age.  The result, on first trial, is perfectly, and I mean perfectly silky and luscious chicken meats that literally slips down my throat, wth firm and salivatingly salty skins that, in my mind, goes head to head with crispy.

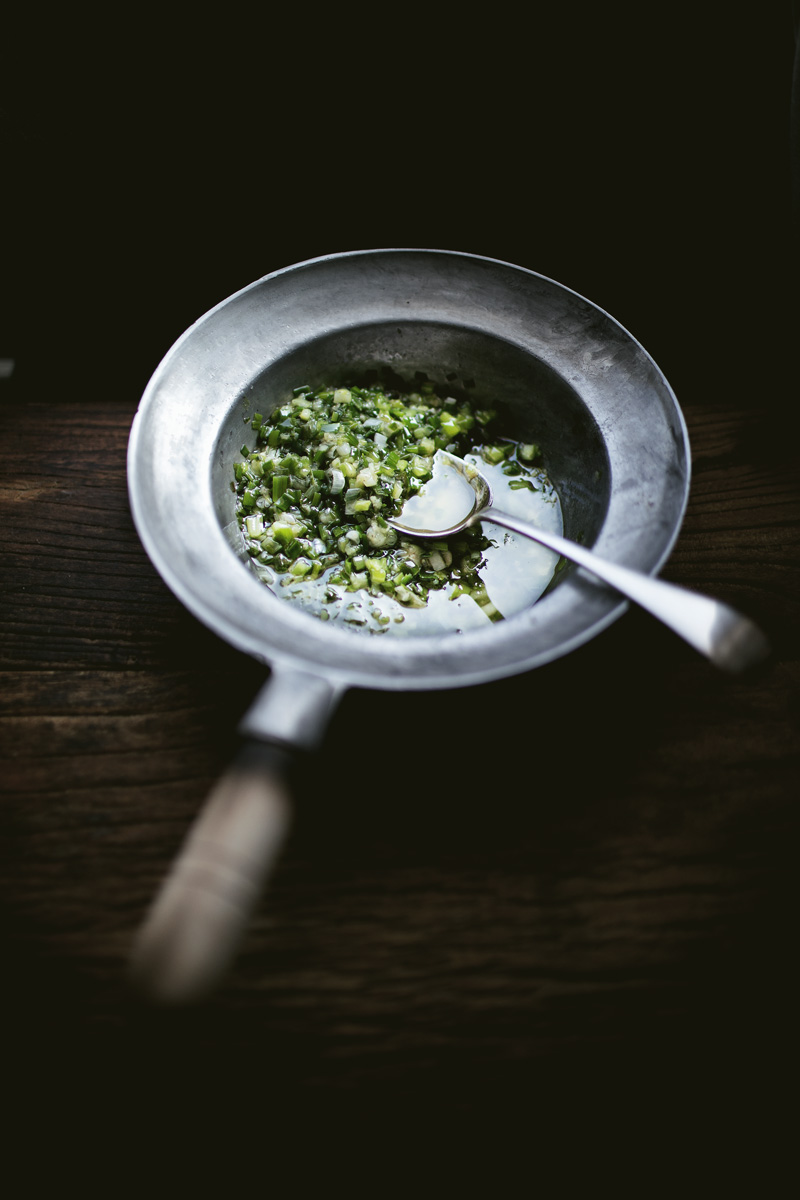
The dish is served with hot steamed rice, a good moistening from the strained sauce, and scallion oil, which is the part that will hear no objection from me.

soy-sauce-chicken01
soy-sauce-chicken02
soy-sauce-chicken03
soy-sauce-chicken04
soy-sauce-chicken05

CRISPY SKINS ARE NOT THE HOLY GRAIL.

BUT INSTEAD, IT’S THE EXTREMELY SUPPLE, JUICY, AND ALMOST SILKY SLICK TEXTURE OF THE MEATS THAT REIGN SUPREME

soy-sauce-chicken13
soy-sauce-chicken11
soy-sauce-chicken14

soy-sauce-chicken15

*UPDATED 2017/06/02: Added an internal temperature for the chicken for perfect doneness.

SLOW-COOKED SOY SAUCE CHICKEN RICE

Ingredients

    SOY SAUCE CHICKEN:
  • 1 small-size (1.2 to 1.4 kg/2.5 to 3 lbs) free-range chicken (weight includes the head)
  • 2 (45 grams) scallions, cut into chunks
  • 1" (20 grams) ginger, sliced
  • 2 star anise
  • 1/2 cup (118 grams) soy sauce
  • 1/4 cup (60 grams) unsalted chicken stock
  • 2 tbsp (30 grams) dark soy sauce
  • 2 tbsp (30 grams) shaoxing wine
  • 2 tbsp (30 grams) rock sugar, or light brown sugar
  • 1 tbsp oyster sauce
  • 2 tsp ground mushroom powder (see note)
  • 1 tsp smoked paprika
  • 1/8 tsp ground black pepper
  • SCALLION OIL:
  • 2 cups (120 grams) finely diced scallions
  • 2 tsp grated ginger
  • 1 tsp salt
  • 1/4 tsp ground white pepper
  • 1/2 cup (105 grams) canola oil
  • STEAMED JASMINE RICE TO SERVE

Instructions

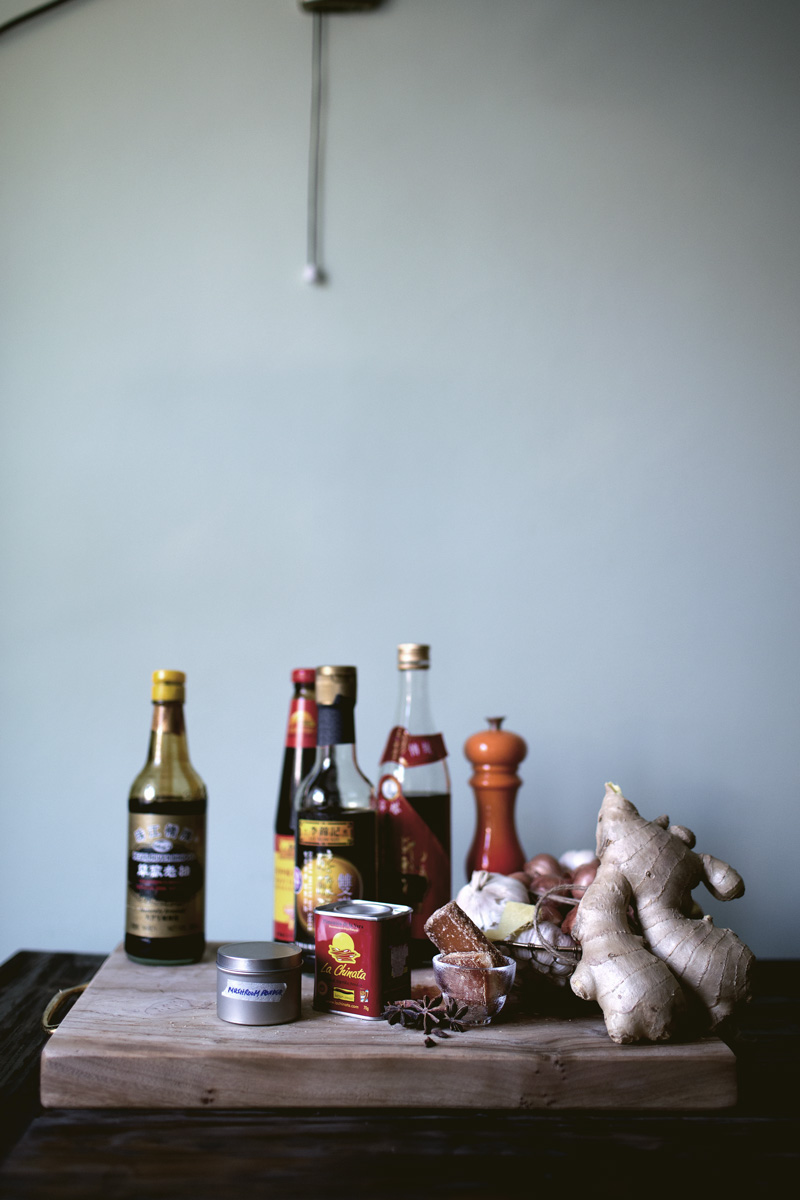
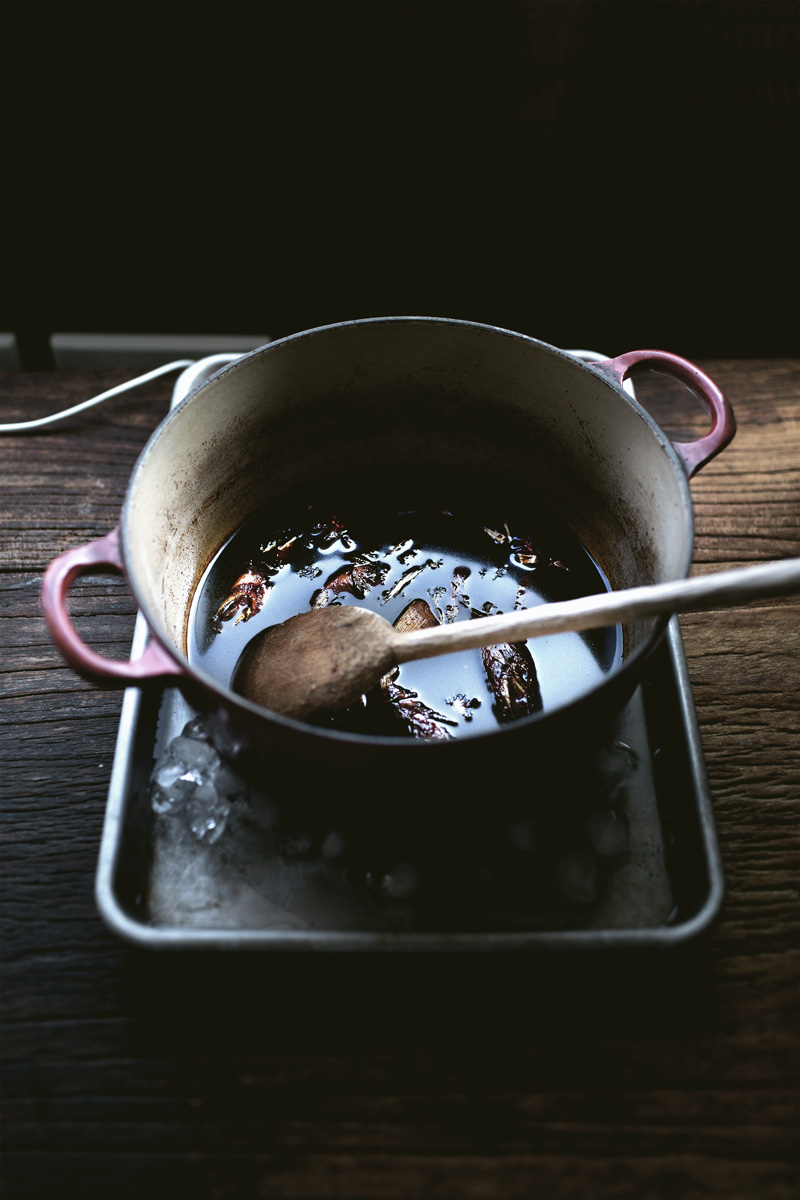
  1. TO PREPARE THE CHICKEN: This dish should be done with small-size chickens. Asian chickens tend to come with the neck and head attached. If yours doesn't, then it should weight even less (around 1 kg/2 lbs). In a pot, combine scallion, ginger, star anise, soy sauce, chicken stock, dark soy sauce, shaoxing wine, rock sugar, oyster sauce, mushroom powder, smoked paprika and black pepper. Bring to a simmer to cook for 5 min, then place the pot over ice to cool down to room-temperature.
  2. I marinated the chicken directly inside the pot, but I would recommend doing it in a large zip-lock bag, because it allows more surface area to be submerged in the marinate. So, place the chicken and the soy sauce-mixture inside a large zip-lock bag, and rub until coated evenly. Transfer to the fridge to marinate overnight (recommended), or at least 4 hours. Either way, turn the chicken once in a while, and remove from the fridge 2 hours before cooking.
  3. PREPARE SCALLION OIL: Place diced scallion, grated ginger, salt and ground white pepper in a large bowl. Heat canola oil in a pot over high heat until it just starts to smoke a little, then pour it evenly over the scallion-mixture. It will sizzle enthusiastically. Stir the mixture evenly with a spoon while hot, then let rest for at least 2 hours before using.
  4. TO COOK THE CHICKEN: Preheat the oven on 300 F/150 C. Choose a pot that will fit the chicken neatly without too much empty space. Remove the chicken from the zip-lock bag, then transfer the marinate into the pot. Bring it to a simmer over medium heat, then add the chicken inside. After turning it once or twice to be coated, transfer the pot inside the oven, UNCOVERED. Every 15 min, come back to it and turn the chicken, basting/brushing the sauce evenly over every surface, then return the pot back in the oven. The chicken will be perfectly done with a beautiful sheen after about 55 to 60 min, until the internal temperature around inner thighs reaches 172 F/ 77 C.
  5. KEEP IN MIND that this timing is for a small chicken about 2-plus lbs. I haven't done it with large chickens (and wouldn't want to), but just purely guessing, I would add 20 more minutes to every 1 extra lb, but go by the internal temperature just to be safe. ALSO, when I say "perfectly done", I mean it as really supple meats with a bit of pink inside the bones.
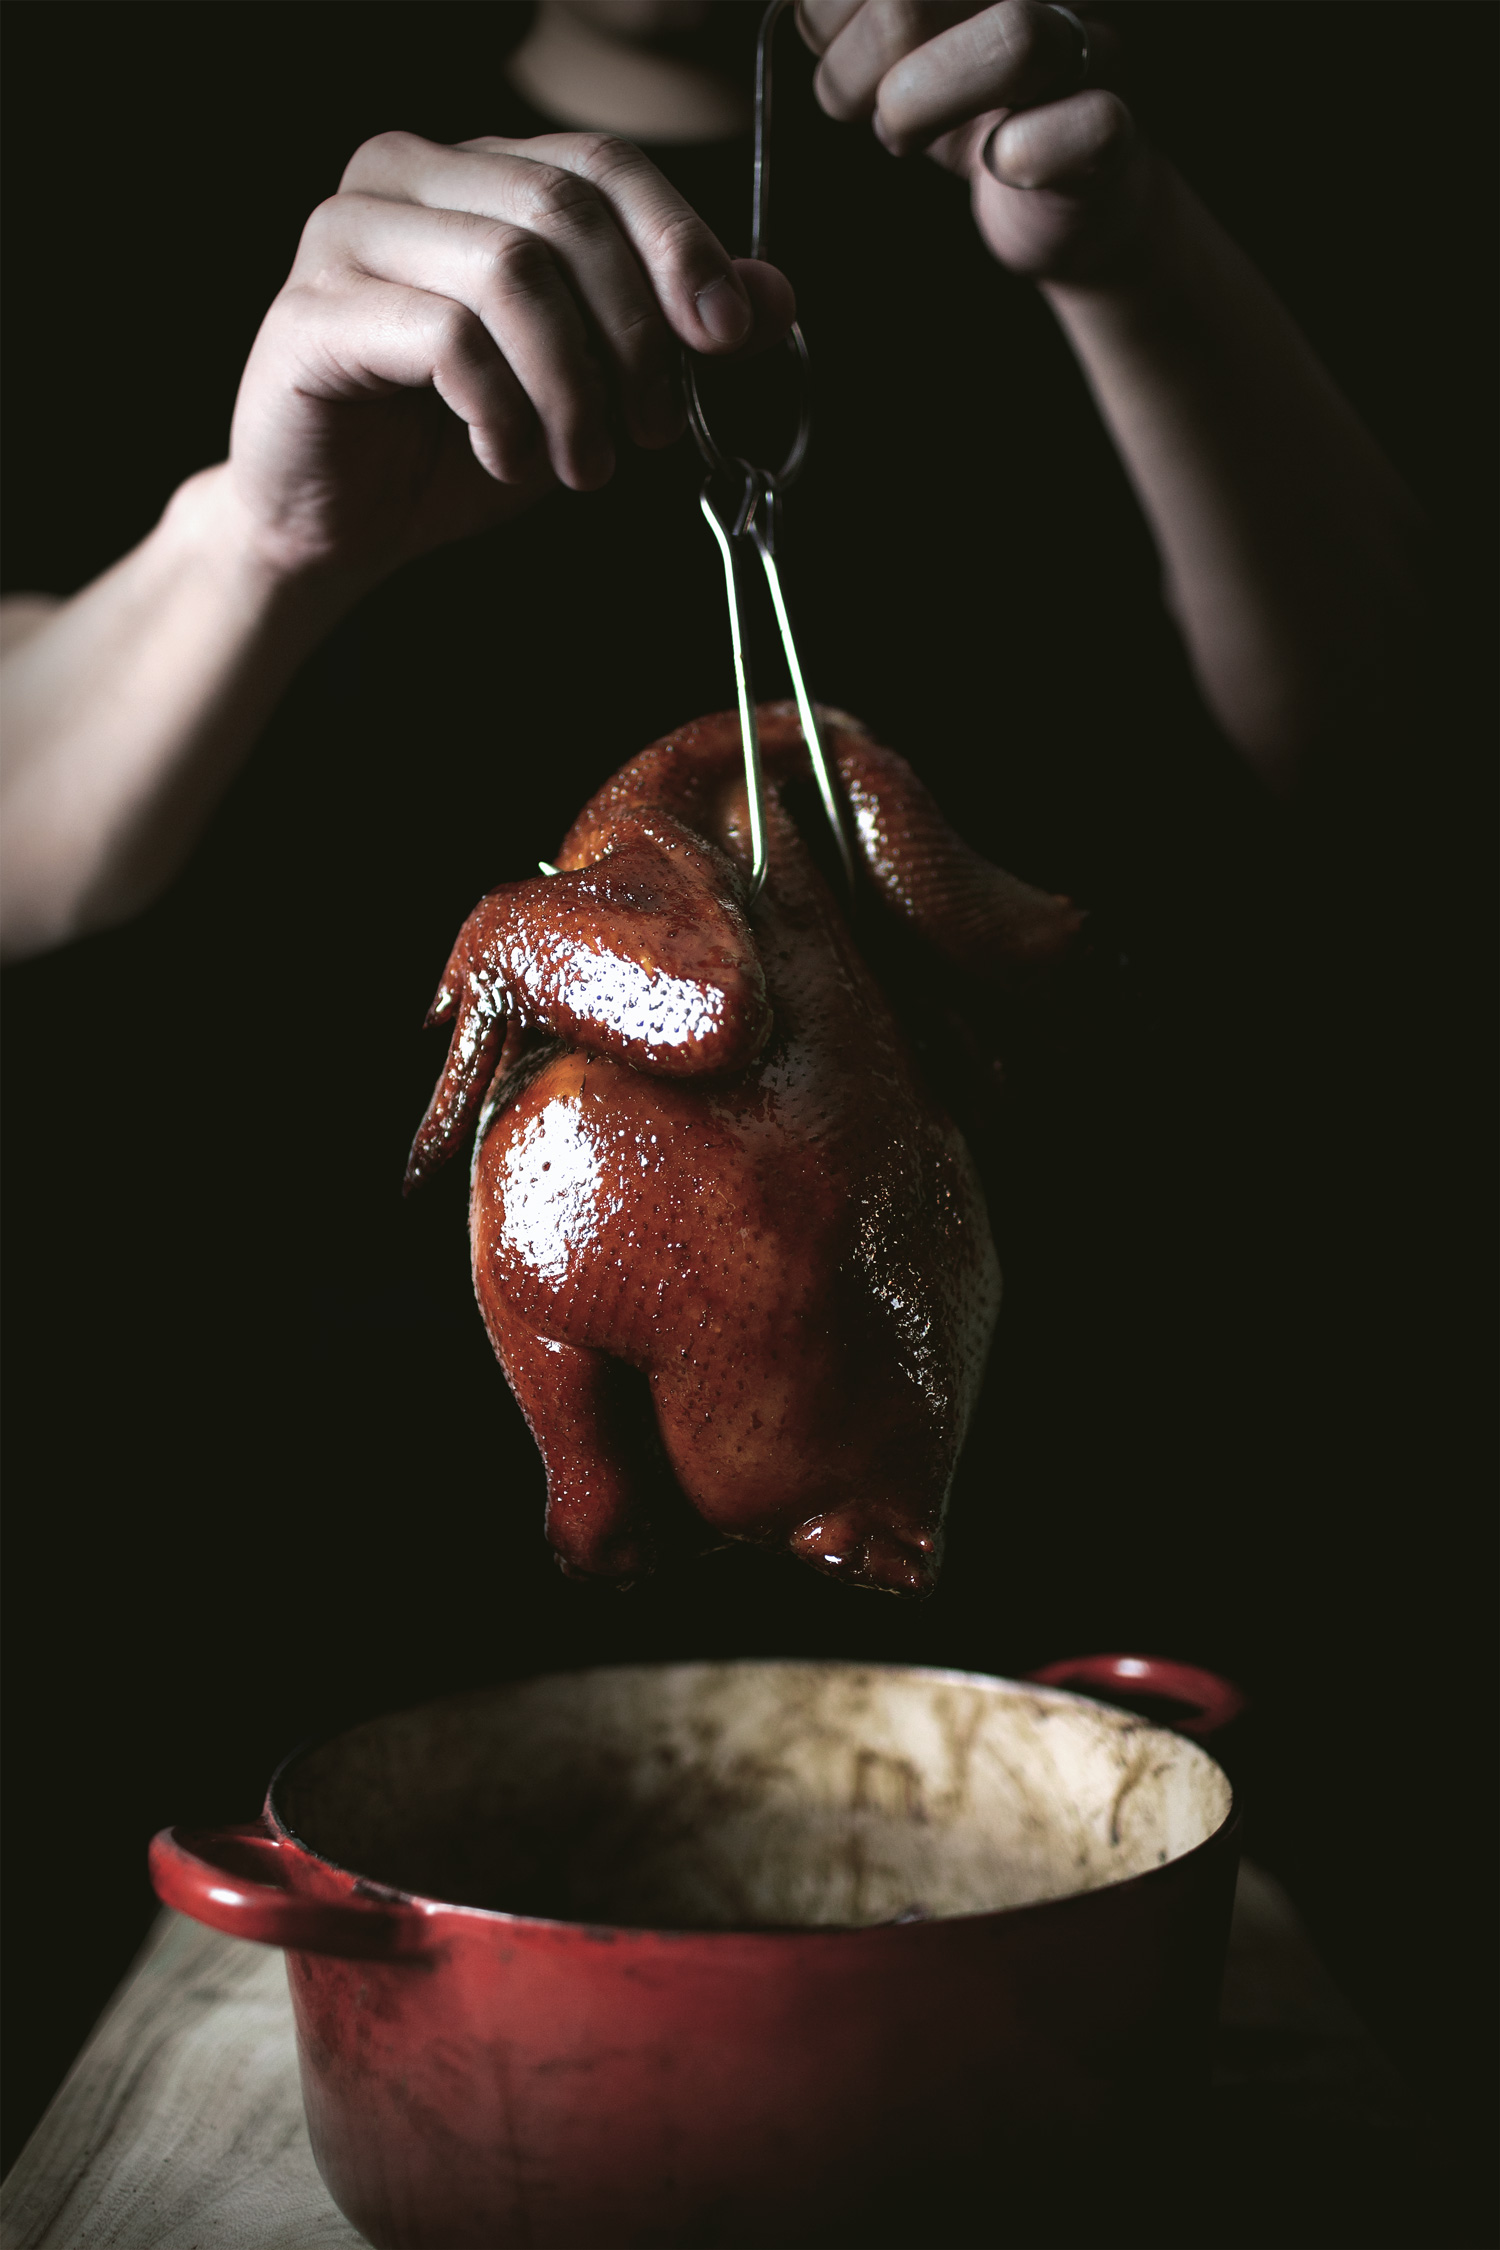
  6. After the chicken's cooked, hang it either by kitchen-twines around its wings or with meat-hooks, then brush the skin thinly with vegetable oil (keeps it shiny and prevents drying). Let it cool down to room-temperature. Strain the sauce, pressing on the solids to extract as much liquid as you can, then discard the solids. Add 2~3 tbsp of chicken stock to the sauce to thin out the saltiness, set aside.
  7. To serve, cut the chicken in small pieces and place over steamed jasmine rice. Ladle everything with the sauce and a good dollop of scallion oil. Sprinkle with ground white pepper.

Notes

The chicken is served at room-temperature over hot rice.

To make mushroom powder, simply grind dried shitake mushrooms in spice-grinder until finely ground.

http://cj8.98d.mwp.accessdomain.com/2016/09/20/supple-slow-cooked-soy-sauce-chicken-rice/
Continue Reading

SANDY OLD MAN ON X’MAS


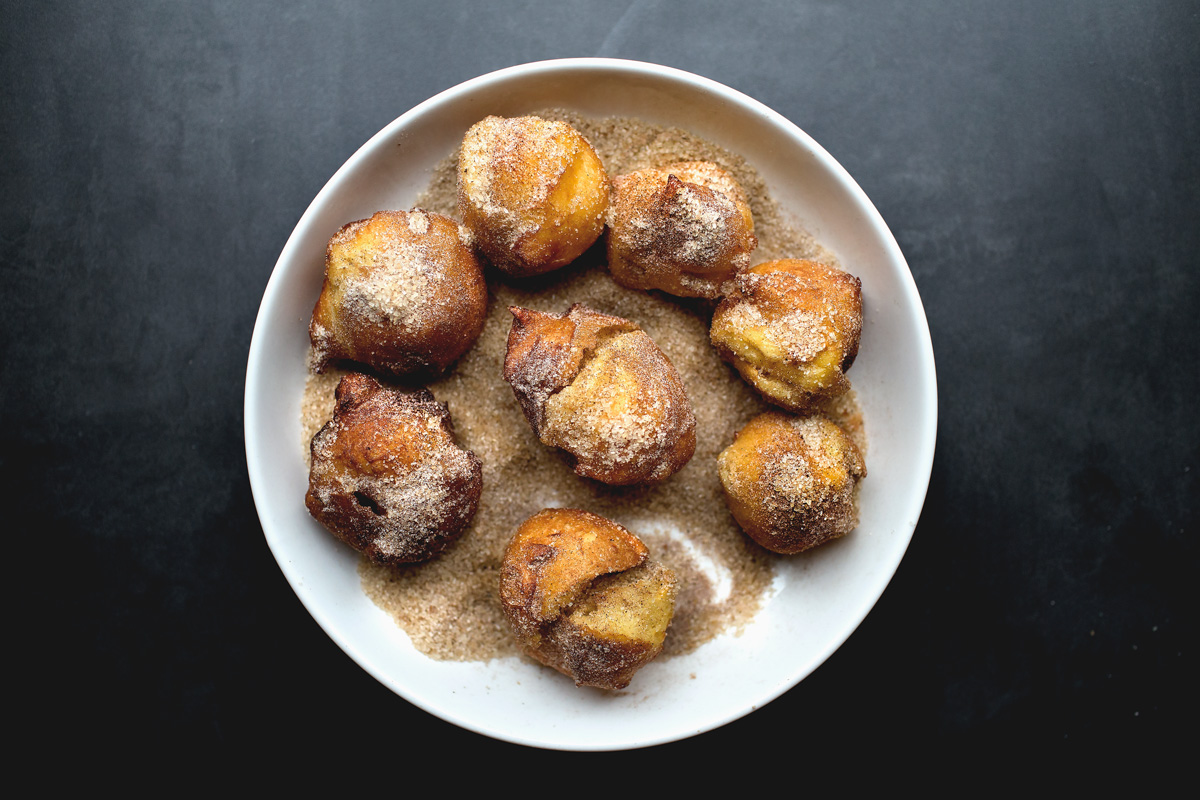
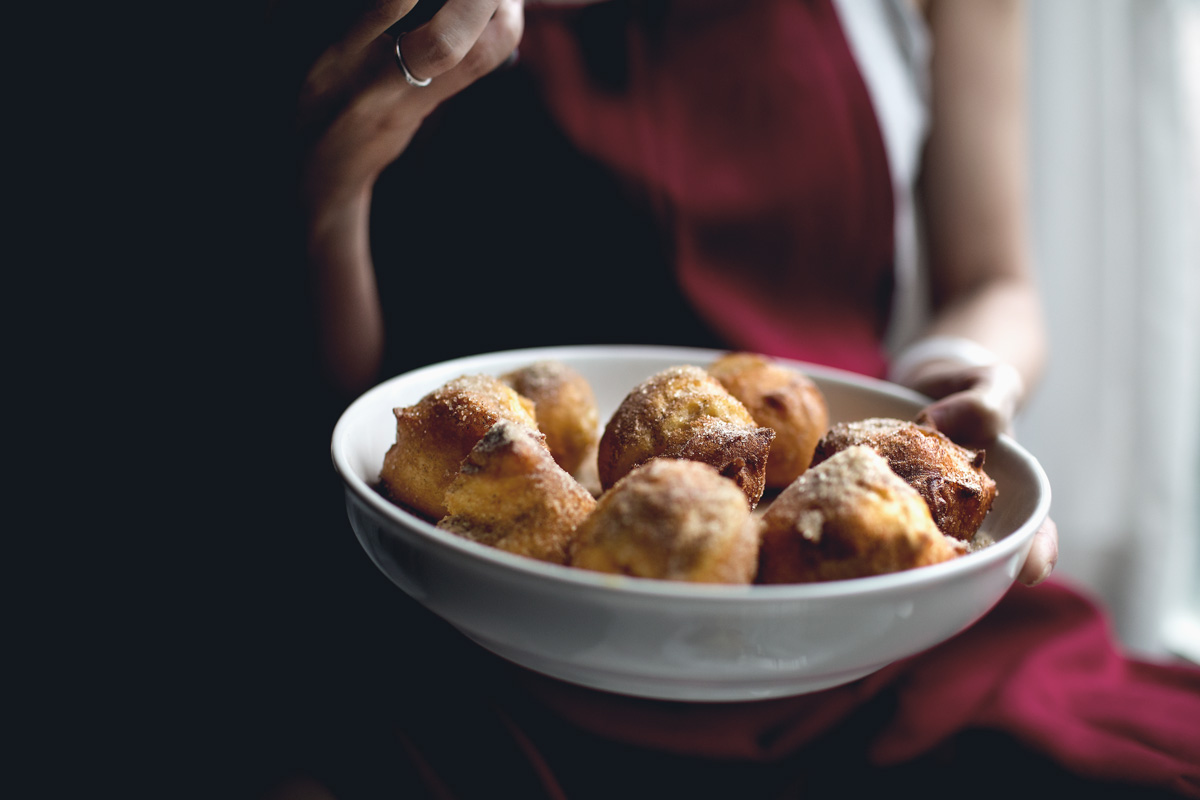
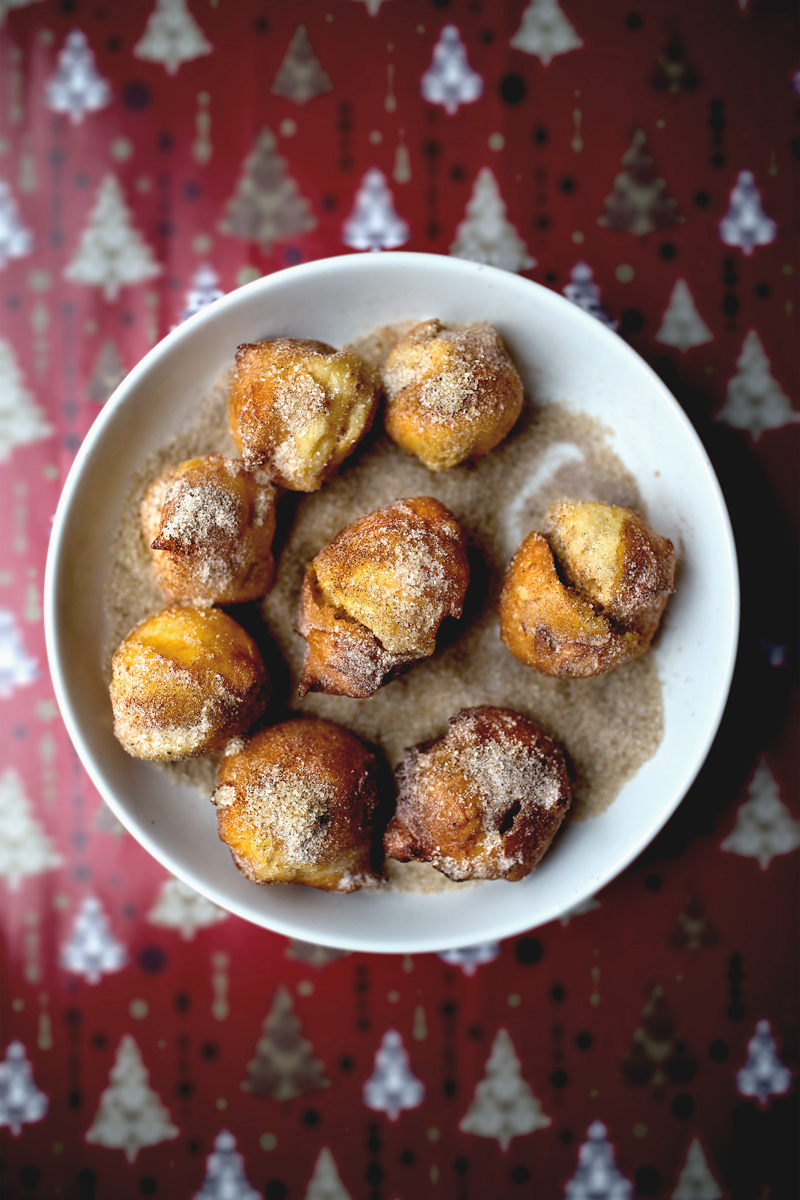
ONCE THESE PIPING HOT, LIGHT AND AIRY DONUTS HIT WHAT I CALL THE “CHRISTMAS SAND”, THE HOUSE WILL INSTANTLY SMELL LIKE SWEET, BUTTERY AND EGGY HOLIDAY SPIRIT.

Quickly leaving you today with something awesome I discovered in Hong Kong.  And it comes with a funny name, too, called Sandy Old Man!

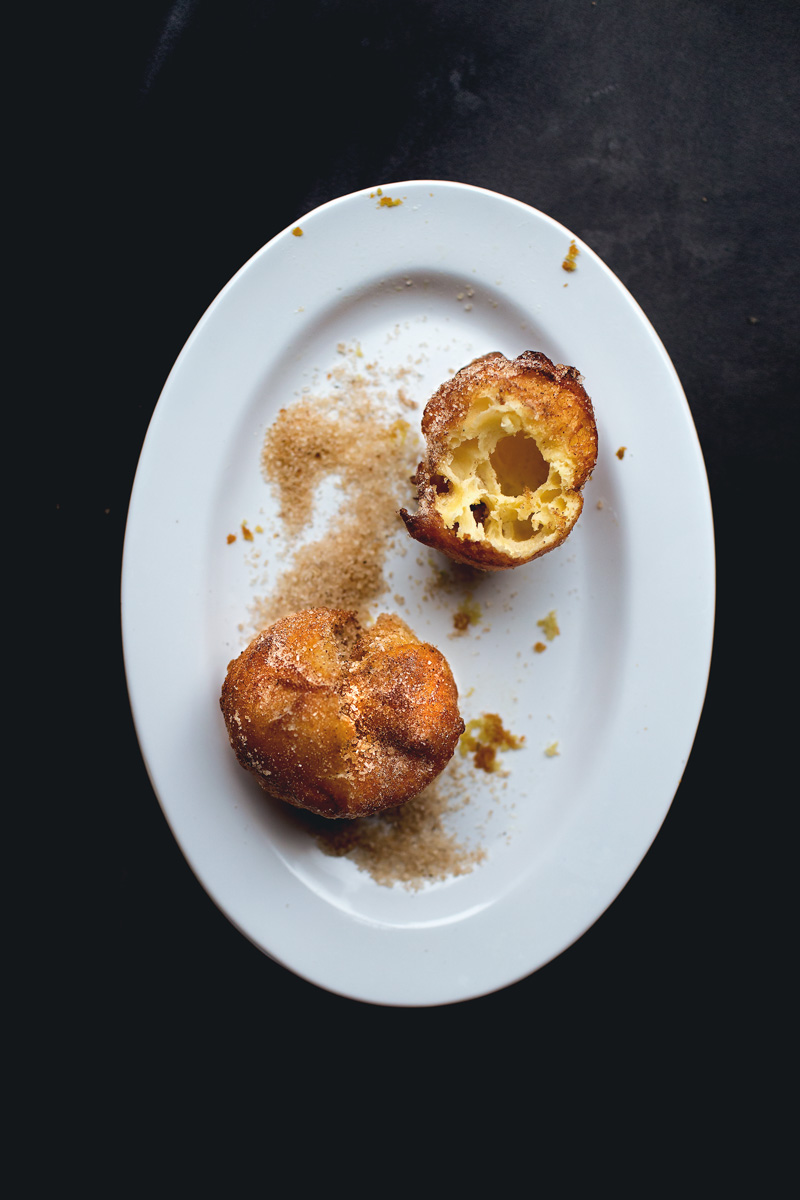
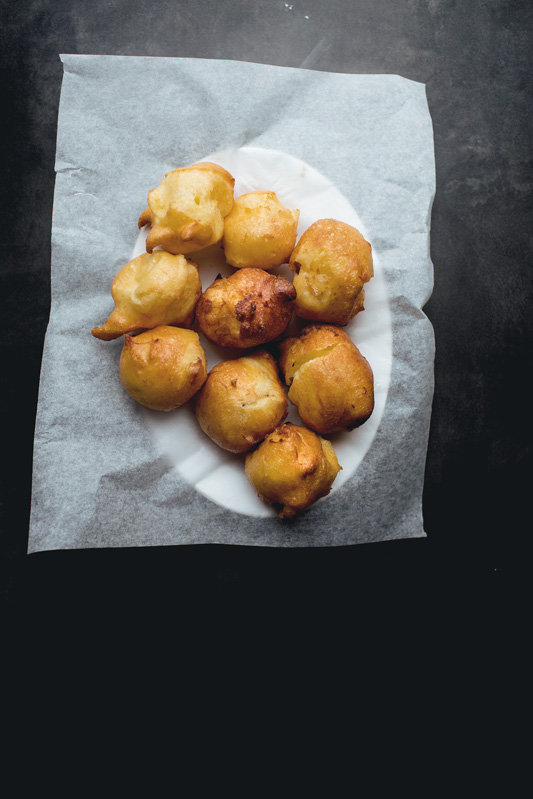
I found it at a traditional Catonese-style pastry shop and thought to myself that it was just donuts, but as I bit into the sugar coated fried dough, this little fella instantly sank into an airy sponge with soft and almost custardy interiors.  After some much needed research, turned out that this thing which they call “Sandy Old Man”, are essentially pâte à choux donuts!  By frying this classic cream puff-dough, you get a slight crispier exterior with almost hallow interior, permeating a salivating aroma of eggs and butter.

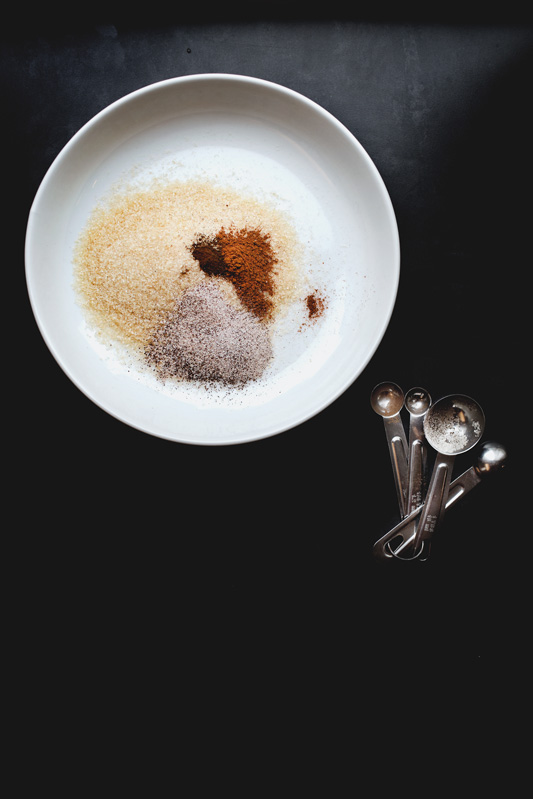
Traditionally Sandy Old Man are only coated in granulated sugar, but come on, it’s Christmas.  Granulated sugar turns into light brown sugar, then festivity turns into a pinch of ground cinnamon, cloves and a slight sprinkle of salt.  Once the piping hot, light and airy donuts hit what I call the “Christmas sand”, the house will instantly smell like sweet, buttery and eggy holiday spirit.

I’ll take this sandy old man over Santa any day.

  
sandy-old-man-01
sandy-old-man-02
sandy-old-man-03
sandy-old-man-04
sandy-old-man-06
sandy-old-man-08

UPDTAE 2015/12/14:  The original measurement of 1/2 cup of flour worked for me, but because many had commented that their batter was too thin, I adjusted the recipe to 1/2 cup + 2 tbsp.

UPDATE 2016/01/11:  About comments that mentioned the batter was too thin – I tested the recipe again (added some weight measurements in the recipe, too) and it worked great with me.  Please note the “dough” should actually resemble a very thick batter.  By the way, I also just found out from my trip to Lisbon that these actually came from Portugal originally, and are called “sonhos” there which sounds  a lot like “sandy old man” in Chinese!  All makes sense now… :)

SANDY OLD MAN ON X’MAS

Ingredients

    BATTER:
  • 1/2 cup (118 grams) water
  • 3 tbsp (42 grams) unsalted butter
  • 2 tsp sugar
  • 1/8 tsp salt
  • 1/2 cup + 2 tbsp (87 grams) all-purpose flour
  • 2 eggs
  • Canola oil for frying
  • X'MAS SAND:
  • 1/2 cup light brown sugar
  • 1/2 tsp ground cinnamon
  • 1/8 tsp cloves
  • 1/4 tsp salt

Instructions

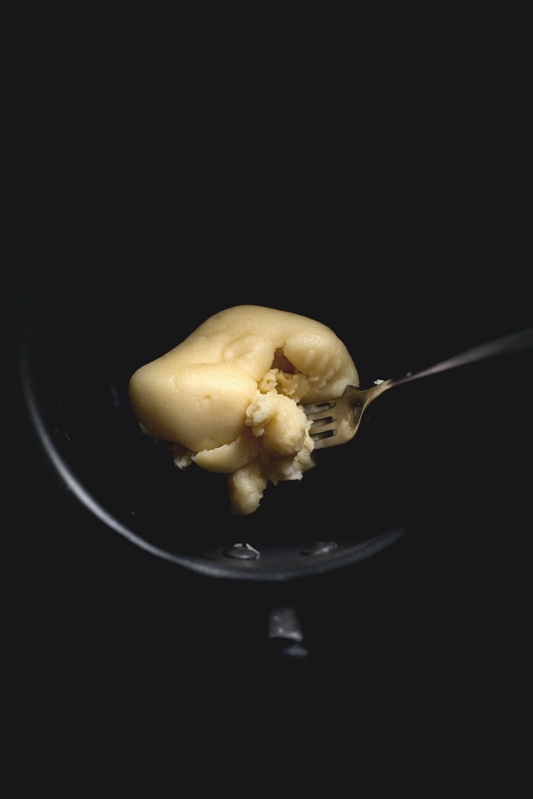
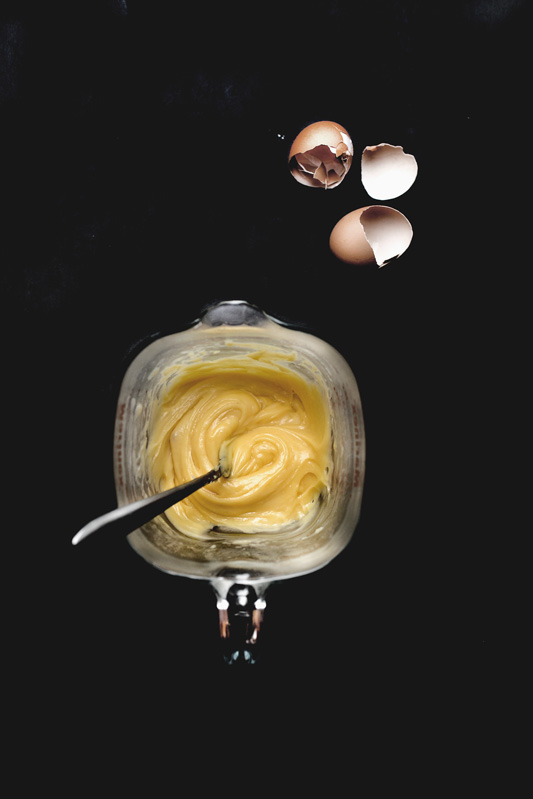
  1. In a small pot over medium-low heat, add water, unsalted butter, sugar and salt, then cook until the water is hot enough to melt the butter (it should not boil). Turn off the heat and add the flour all at once, and stir with a fork until it comes into a smooth and even dough. Transfer the dough to a stand-mixer or into a large bowl, and stir for another min to cool it slightly. Add 1 egg and beat it into the dough until completely lump-free and smooth, then add the second egg and beat until the batter is shiny and smooth.
  2. Add enough canola oil to a small frying pot over medium heat. The oil's ready when it bubbles up gently around an inserted wooden chopstick. Scoop up around 1 tbsp of batter with one spoon, then scrape it gently into the oil with another spoon. Turning constantly and fry until the batter has puffed up (ALMOST DOUBLED in size, and will probably form a crack on the surface) and golden browned on all sides. This should take about 6 min to happen. If the donut browns too quickly before it puffs up, then the oil is too hot, and you should adjust the heat accordingly. Repeat with the rest of the batter.
  3. Drain the donuts thoroughly and set aside on a paper-towel to cool for 1 min, then coat it all over inside evenly mixed X'mas sand. Serve immediately.
http://cj8.98d.mwp.accessdomain.com/2015/12/12/sandy-old-man-on-xmas/

sandy-old-man-07

Continue Reading

HOW TO EASILY SOUS-VIDE IN OVEN, WITH OR WITHOUT WATER

FOR THE PAST 35 YEARS OF SOLEMN HATRED FOR WHITE MEAT, OF CLAWING CHICKEN SAWDUSTS OUT OF MY THROAT, IT MEANS TO TELL ME THAT ALL ALONG, I COULD'VE BEEN EATING THIS SUCCULENCE?!!

IS THIS A JOKE?!!

Let's face it, most of us never took the idea of "sous vide" seriously as a realistic potential in our home-kitchen, now did we?

This French-sounding... European-ish words ("sus-vahyd"?) that refer to vacuum-sealing our ingredients and submerging them under a warm bath for a long period of time, thus resulting in the extraordinarily supple texture in any cuts of meat, okaaay, all sounds as wonderful as having little house-elf who rap us a Kanye song and clean around the house.  Nice, clap clap, but who are we kidding right?  Hey, believe me, I with you.  Or... at least, I was with you... until a few weeks ago I swear.

I mean, as someone who loves to cook to a degree of obsessive nature, I'm all about humping a technique that, legend has it, could transform a cardboard-like piece of chicken breasts into something so juicy and tender that it defies my anti-faith for chicken breasts.  But to acquire such wizardry, well, I'll need a wand of course, and it's called a sous vide-machine.  Thing is I would gladly "sus-vahyd" everything - hey I think it totally makes total sense - IF ONLY I was sitting on a machine that sucks all the air-molecules out of the bags, and another that keeps my tub of water at a constant temperature without asking too many questions.  But guess what, I don't have a sous vide-machine"s", and I'm guessing you probably neither.  I guess, we're all just muggles!  So in the end, the idea all goes back to resembling a fabulous Dobby who raps Kanye → not a realistic potential.  Or is it?

A few weeks ago, I was introduced to Chef Steps, a great blog that promotes "Modernist Cuisines for home-cooks", and at the top of its honorable agenda, is the mission to teach everyone how to sous vide at home, without any machines that is.  It gave me hope, it really did.  I considered it as an invitation into Hogwars.   So I immediately dove into the first experiment, which was to tightly wrap salmon in a zip-lock bag and cook it in a pot of 120 F/50 C water that they said could be maintained over the stove...  Okay, I would elaborate the experience in meticulous details for you but it could pretty much be summed up in one word, well, impossible.  On gas-stove, on induction-stove... whatever, not even the lowest possible setting/flame could keep a pot of water at 120F/50C without heating it up eventually, not to mention the obvious impracticality and side-effect of babysitting a pot of lukewarm water for 40 min, or worse, hours...  Chefs, it's not you, but it doesn't work on my stoves.

But to their credit, the effort wasn't spent in vain.  The episode curiously reminded me of how, a long time ago, I used to babysit a pot of water in oblivion for my hot spring/onsen eggs, only until the moment when I found out that... wait, I HAVE A HOUSE-ELF!

Ladies and gentlemen, may I introduce you to - Dobby, no, THE OVEN.  Uh-humph, sorry, have you met?  Yeah, it's this really old piece of technology, dinosaur really, that was designed to, guess what, creating an environment at a... yes, constant temperature!  OK, at this point, we're not even gonna pretend that we're "sous vide-ing" anything, which means "under vacuum" in French.  We're not vacuuming anything, but just keeping to the principle of cooking foods under low temperature for a prolonged period of time.   And I don't know if you know this about earth, but in most cases, the temperature of water will eventually level to the temperature of its surroundings.  What it means is that a pot of 120F/50C water sitting inside an oven that is constantly at 120F/50C, will stay at... YES, 120F/50C!!  Do you see where I'm going with this?  Do you?  With a little adjustment to the oven-setting to make up for the heat that goes into cooking our foods, my friends, this is your new kitchen-revelation.

Results... the salmon, was a bite of the softest and warm embracive epiphany you could ever put in your mouth.  I would replace it with how I cooked salmon in this recipe and gladly eat it for the rest of my lives.  Then the chicken breasts... what chicken breasts?  It transformed the chicken breasts into something... not of this earth, okay.  This is not chicken breasts, not even chicken, because planet earth does not breed this type of animal which has an unbelievable texture as if a chicken screwed a water-balloon and had a baby on Mars that spoke French.  The texture, the suppleness and bounce, is for a lack of better words, infuriating.  It means to tell me that for the past 35 years of solemn hatred for white meat, the chicken-sawdusts that I've been clawing out of my throat, all along, could've been this succulence?!!  Is this a joke?!!  

But to my own surprise, amidst the simultaneous anguish and enlightenment, the wizardry didn't stop here.  Remember my sauna eggs?  A little experiment I conducted based on the theory that, with a little adjustments in temperature and cooking-time (difference in air and water heat-conductivity and such boring sciences, blah blah blah), the same water-bath results can be replicated by using dry-heat only as well.  But does it work with things other than eggs?  YES.  The chicken breasts and salmon cooked inside a water-bath in the oven, VS the same ingredients being cooked simply wrapped up in parchment in dry heat at a different temperature/time, are essentially, undistinguishable.

You can "sous vide" in the oven, with or without water-bath.

So here, my friends, fuck being muggles, come to Hogwarts with me.  With a simple thermometer and oven thermometer, let's do magic.  I will continue this experiment with more ingredients and do a Part II or perhaps even Part III, but for now, I think you'll be too busy eating - can't believe I'm saying this - chicken breasts.  I guess it's true, nothing is impossible.

READ MORE Continue Reading
HONEY WHIPPED RICOTTA-STUFFED SCONES

ricotta-stuffed-scone-08


THE THICKENED AND EMBRACIVE RICOTTA-MASCARPONE MOISTENS THE CRUMBS LIKE A SCONE CARRYING ITS OWN CLOTTED-CREAM

  
ricotta-stuffed-scone-01
ricotta-stuffed-scone-02
ricotta-stuffed-scone-03
ricotta-stuffed-scone-04
ricotta-stuffed-scone-05
ricotta-stuffed-scone-06
  

Sometimes, we wait for the perfect recipe-publishing moment to present itself.  Iced dairies to fend off the heat in August… festivities to baste in the spirit of October… chocolates to sweeten the tones of February, and austerities to bring in those bikini-lines in May.  Recipes, like romance, like good stories.  I get it.  But sometimes, most times actually, the birth of a certain recipe comes as forcefully and inevitably as the bad news it carries.  Sometimes, we just have to make something, quite simply, because it’s Monday.

I hate Mondays.  And please note, that coming from someone who is technically unemployed, that is saying a lot.  Because Monday feels like standing at the bottom of an endless stairwell, and a monkey is holding a $20-bill at the top.  Monday feels like watching the prelude of a documentary on counting alphabets in a foreign language without subtitles.  Monday feels like powering through the infuriating hunger on the last day of a juice-cleanse, but only that it is still the first day.  Monday feels like a brand new sandbag.  Monday makes my coffee tired.  So even though I’ve came up with this buttery scone stuffed with honey-whipped ricotta a while back, and have been waiting for the perfect timing to tell you all about it, it dawned on me that today, which is a Monday, is actually when your joy-deprived souls will need it the most.

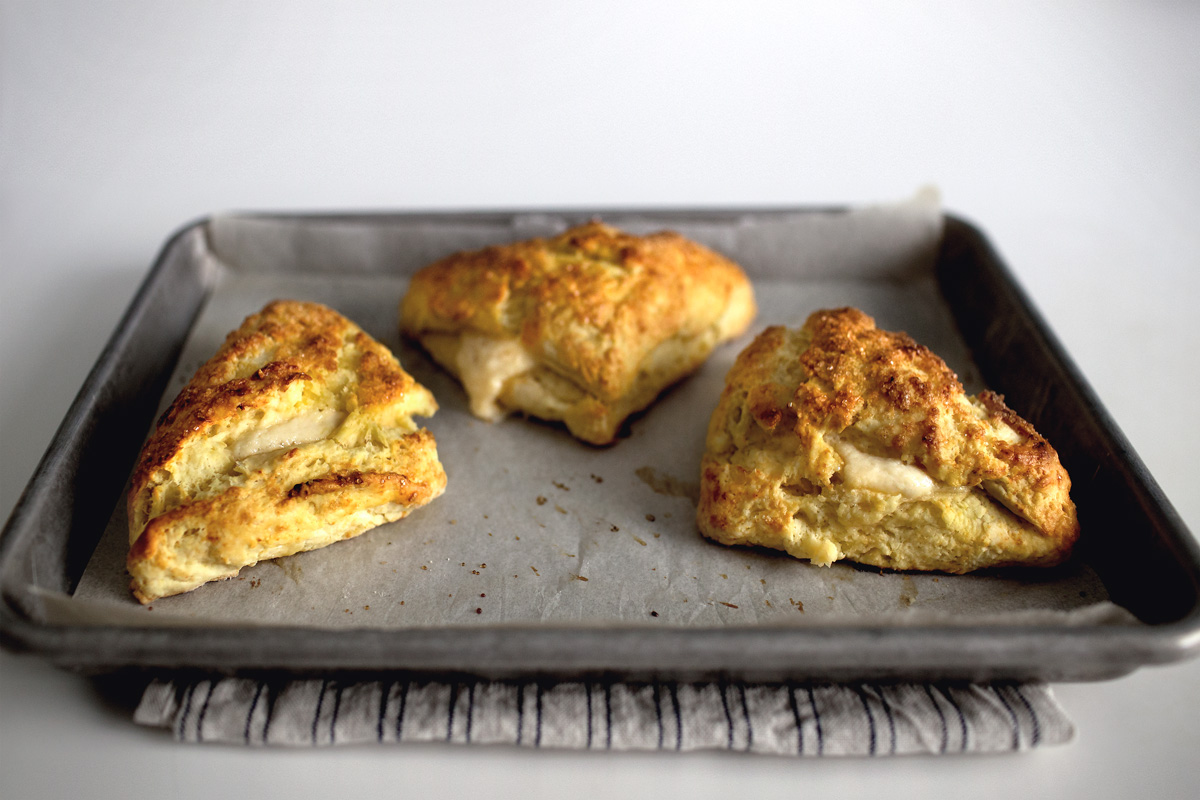
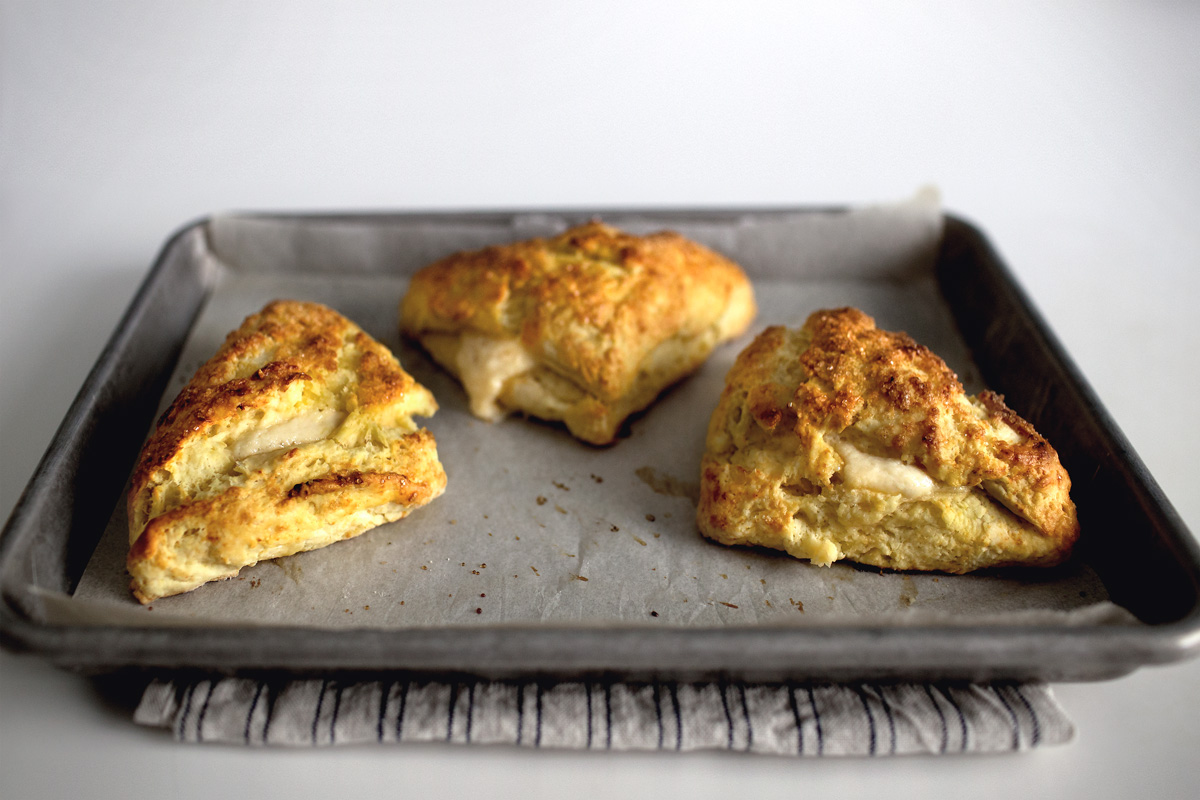
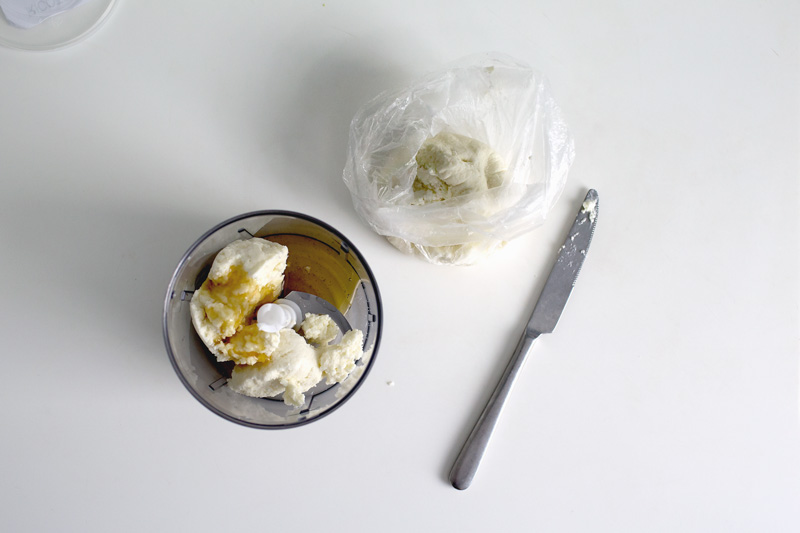
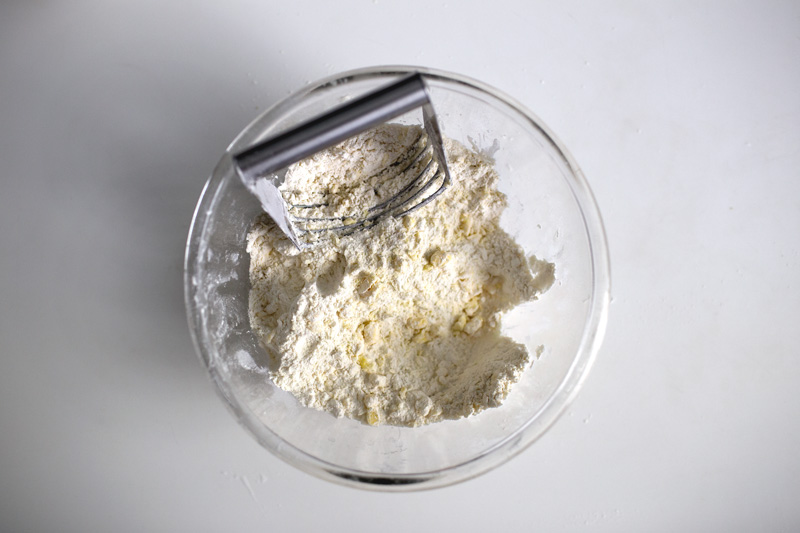
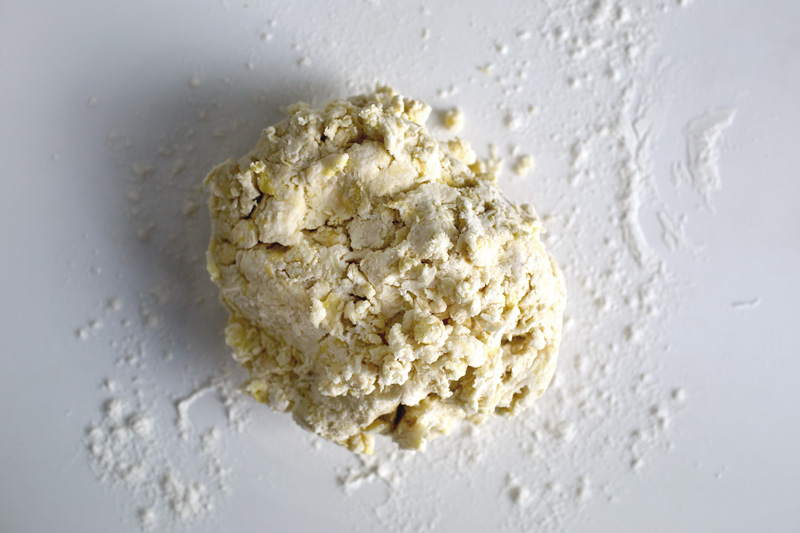
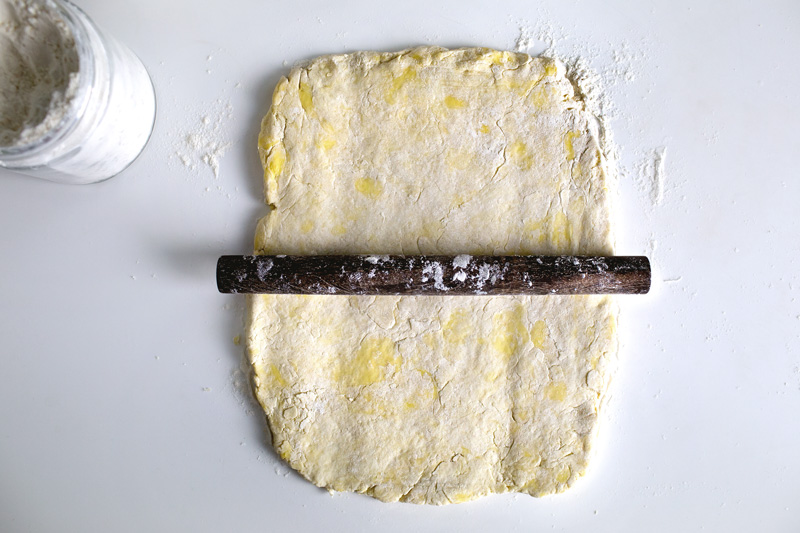
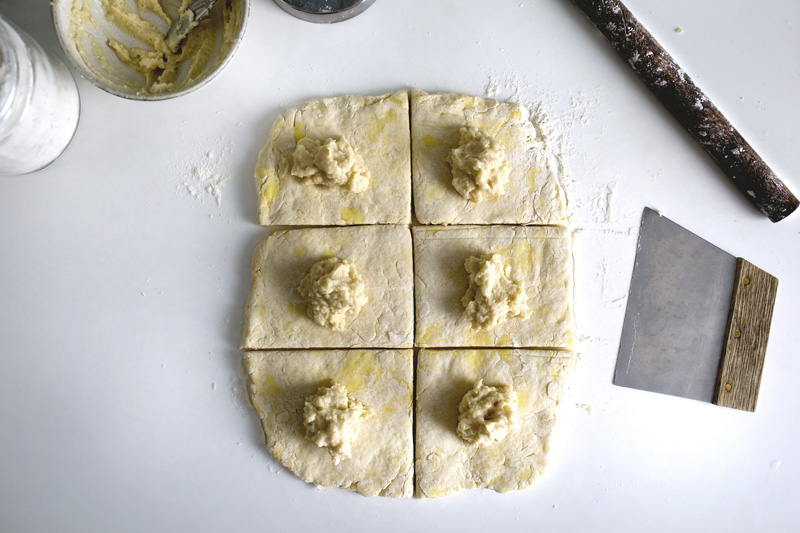
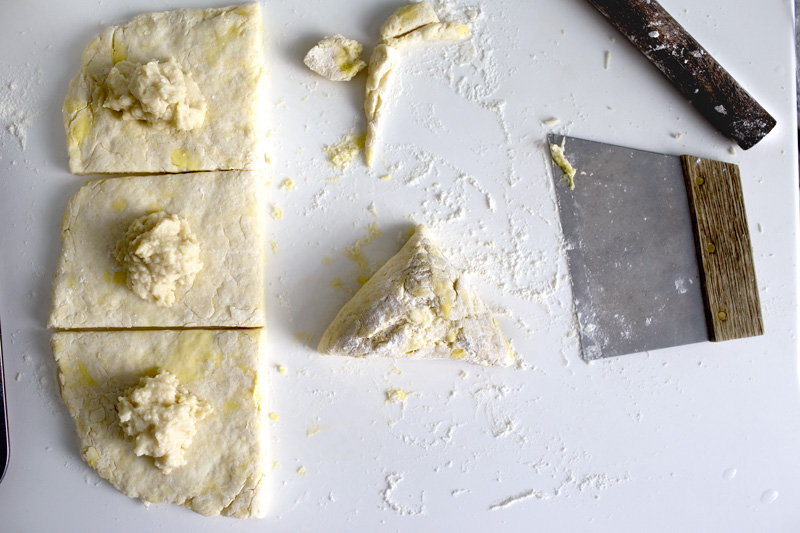
This time-tested, my go-to scone-dough (or biscuit dough, whatever, who knows the difference really) is crispy and flakey on the surface, but its moist and crumbly interior houses a good dollop of creamy, slightly salty, zesty whole milk ricotta whipped with mascarpone and floral honey.  Eaten hot out of the oven, the oozy filling bursts enthusiastically to lift your most stagnant Monday-blues.  Eaten cooled with rewarded patience, and the thickened and embracive ricotta-mascarpone will moisten the crumbs like a scone carrying its own clotted cream.  I don’t know about you, but my Monday is nearing its end, and I haven’t yet raised the first thought to smash my computer on the pale wall.  And I say no human should go another Monday without it.

  
READ MORE

Continue Reading
HOW TO ACTUALLY COOK PERFECT RICE WITHOUT A RICE-COOKER

IMG_9127

LET’S SET THE RECORD STRAIGHT, ONCE AND FOR ALL…  DON’T YOU EVER, EVER, AND I MEAN NEVER EVER, BOIL YOUR SUSHI RICE

There are a lot of rumours out there about cooking rice without a rice-cooker.  And when I say “rice” in this particular case, I’m specifically referring to the Asian short-grain white rice, or mostly known as, the Japanese sushi rice (but not exclusively for making sushi).  Whether or not you grew up cooking/eating this type of rice, that for every different reasons, the idea of cooking it on the stove can be a very confusing matter.  Because if you did, like every other sensible Asians out there, you’ve been deferring this task to a trusty rice-cooker and the idea of doing it without one, for as long as you’ve been eating rice, has never even occur to you as a potential reality.  But if you didn’t, like every other typical non-Asians out there without a rice-cooker, the assortment of instructions for cooking this type of rice on the stove with bare flames and pots, is a maze laid out with conflicting informations, false promises, and more often than not, guaranteed failures.

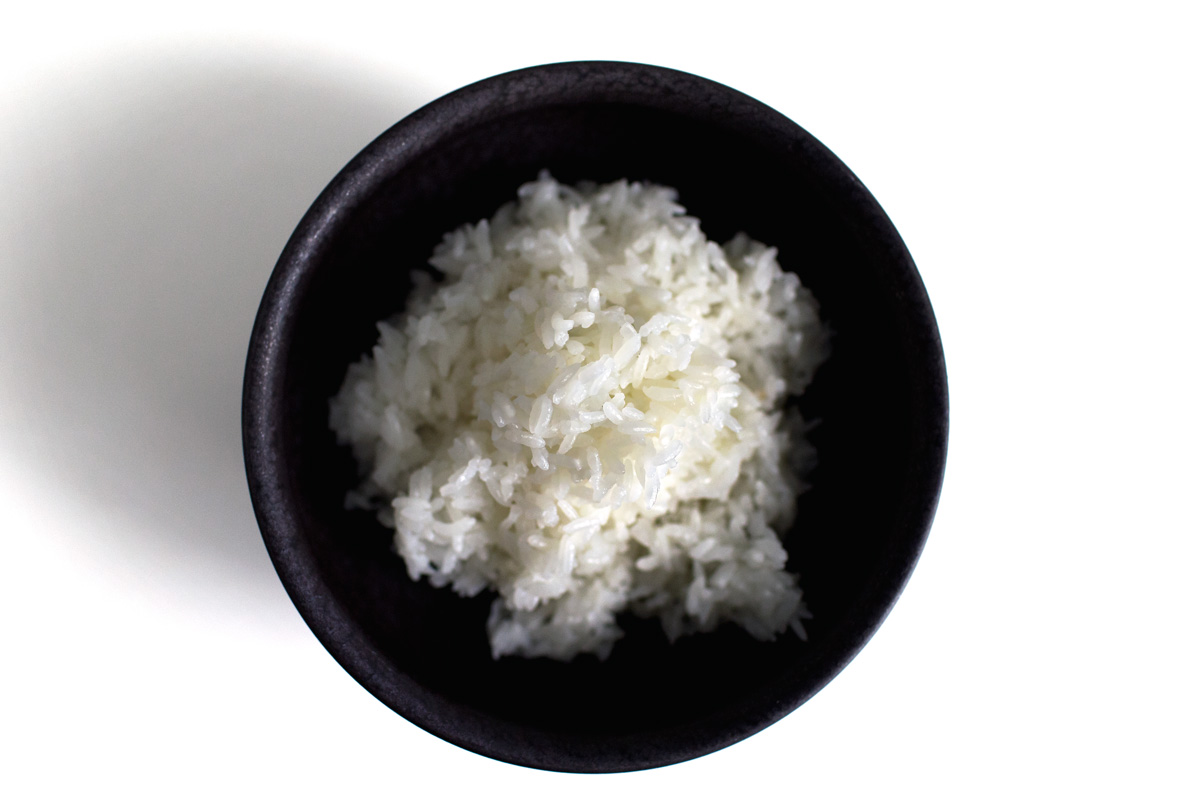
And when I say “failure” in this particular case, I’m specifically referring to anything but the state of its optimal textures.  Look, it’s fairly easy to cook rice, or anything for that matter, until it’s no longer raw and passably edible, but it’s something else entirely to do it properly.  Asian short-grain rice/sushi rice, when cooked properly, should glisten with a gentle shimmer on the surface, where every grains are consistent with a soft but bouncy mouthfeel, moistly sticky but ease gracefully into individual selves when being chewed.  Now this, this is not something easily obtainable, not even for some less competent rice-cookers out there, let alone if you did it on the stove following many of the wrong directions online, which is to say, almost all of them.

So today, let’s set the record straight, once and for all.  Here’s how to actually cook sushi rice on the stove.

THE CORRECT RATIO AND TOOLS

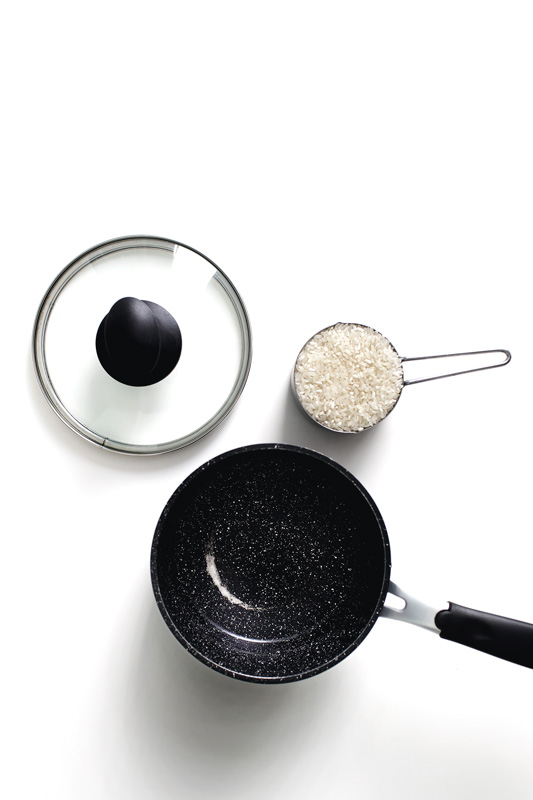
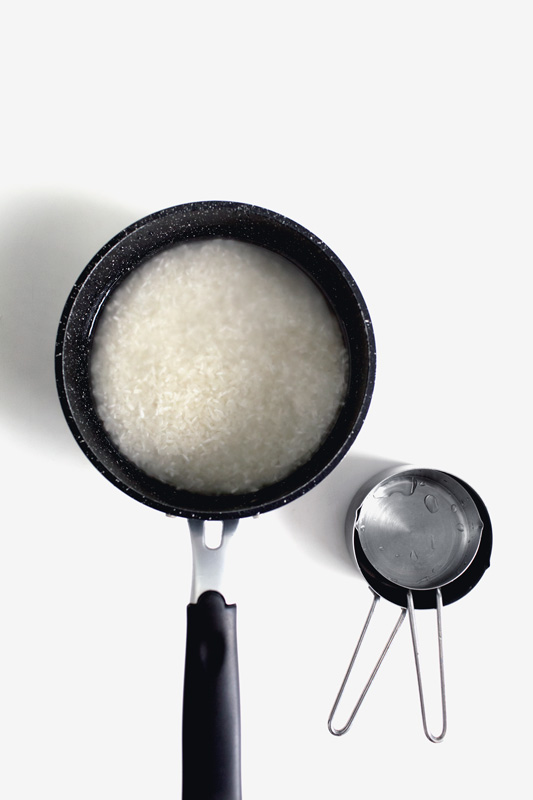
The ratio between rice : water is perhaps the single, most confusing information on cooking sushi rice.  Most recipes out there ranges from 1 : 1.1 (too much water) to 1 : 1.5 (waaaaay too much water!).  But the correct ratio should always, and I mean always, be 1 part rice : 1 part water BY VOLUME.  Always!  It doesn’t matter if you are cooking rice for sushi, or just for plain eating.  Always. And when it comes to the right pot, I would highly suggest using a small, heavy-bottomed non-stick pot with clear glass lid.  There is a reason why all rice-cookers uses a non-stick inner-bowl, because when rice sticks (and it will stick), it breaks.  Broken rice = bad rice.  Then, instead of flying blind, the clear glass lid allows you to get a good idea of what’s going on inside.  Also, we don’t want a steam-hole for the lid, so if yours comes with one, simply block it with a damp paper-towel.  So:

Makes about 4 cups cooked rice:

  • 2 cups (400 grams) Asian short-grain white rice, or Japanese sushi rice
  • 2 cups (429 grams) water

UPDATE 2015/08/04:  You may be able to tell that the type of rice used in this particular example, was a typical Asian short-grain rice, which took 15 min in STEP 2.  But if you were using an even stubbier short-grain variety, specifically for making sushi, with a wider and rounder body, then please increase the duration of STEP 2 to 20 min.

* The instruction is for 2 cups of rice only.  Anything more or less by 1/2 cup will require adjustments on the cooking time.

UPDATE 2015/12/1:  Months after I tested this recipe on the gas-stove, I finally had a chance to test it on induction stove, and the heat-setting turned out to be a bit different.  It seems that induction stove requires a slightly higher setting to reach the description of each steps.  In STEP 2, instead of 1~2 for heat-setting (on a scale of 10), induction stove needs around 3~4.  Then for STEP 3, instead of 2~3, induction stove needs around 5~6.  So whatever stove you’re using, adjust the heat-setting to get you to the description for each steps, instead of relying on absolute heat-settings.

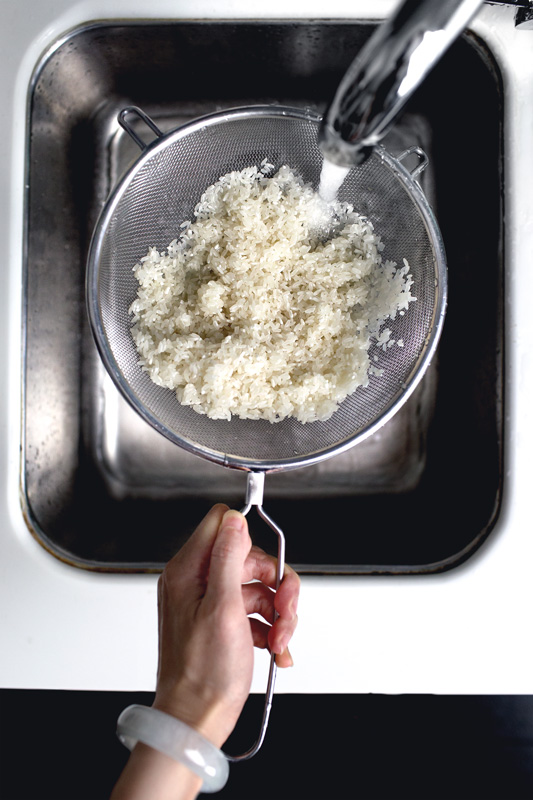
STEP 1:  Put the rice in a large sieve, then rinse under running cold water.  Gently rub the rice between your fingers, removing the excess starch, until the water runs clear.  Drain very very well, until the last drop of water seem to have been shaken off, then transfer the rice to heavy-bottomed non-stick pot.  Add the water and give it a stir, then put on the lid (if there’s a steam-hole, block it with a small piece of damp paper-towel.

IMG_9093
IMG_9097
IMG_9099
READ MORE

Continue Reading
THE PARADOX OF ICE CREAM-SPRING ROLL W GROUND PEANUT BRITTLE

ice-cream-spring-roll23

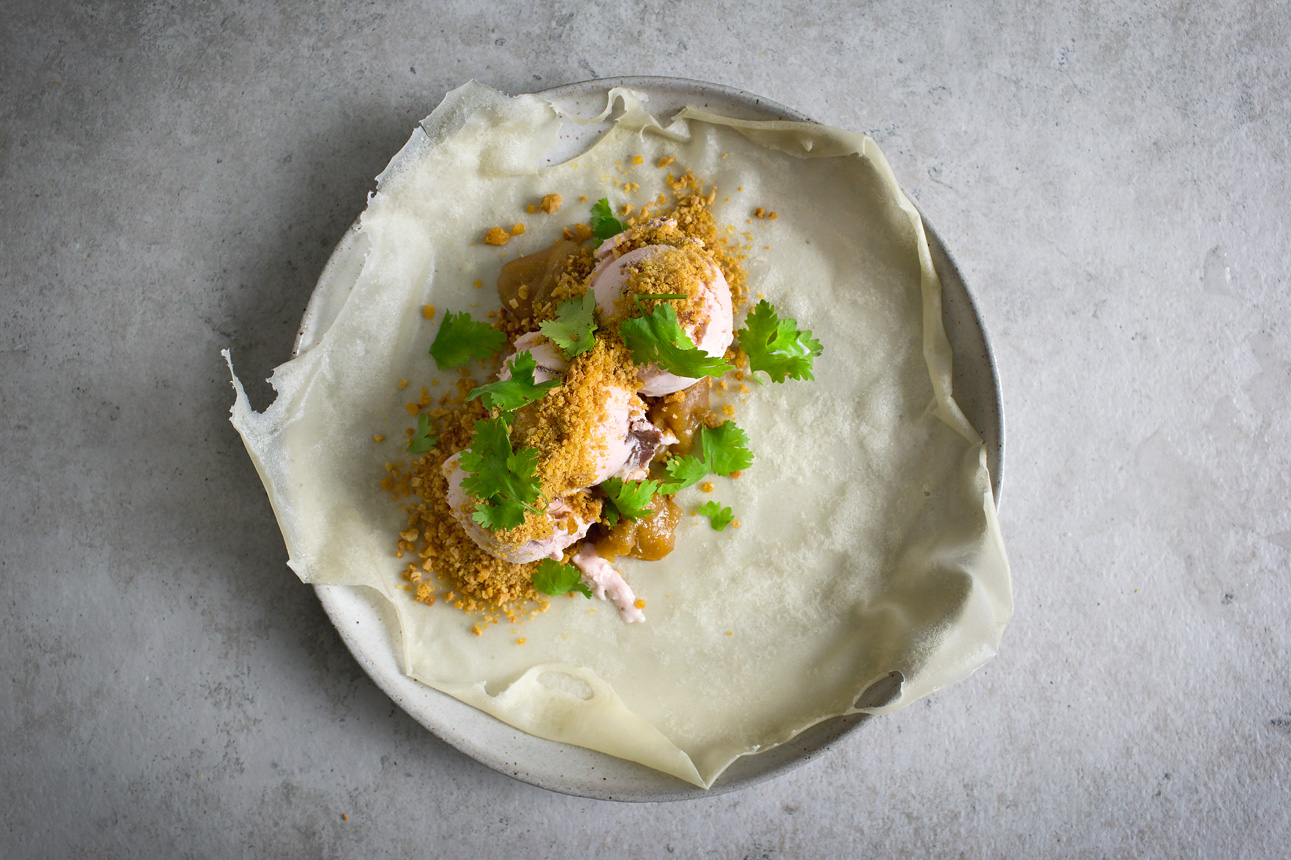
…BUT IT DOESN’T STOP THERE.  THE REAL MIND-BLOWING PART IS THE LAST DESCENDING SPRIGS OF THE UNIMAGINABLE… FRESH CILANTRO LEAVES

If you were those who like to travel to unfamiliar places, see unfamiliar pictures, eat unfamiliar things, chances are that for many times, you have been caught up in moments where I’d like to call – the encounters of food paradox.  Foods that don’t make sense, shouldn’t make sense, but the moment we put one in our mouth, the argument between logics and instincts all quiets down, and the only sensation left with any capacity for thoughts, is how defiantly delicious it stood against our prejudice.   It changes everything, on top of the very least, our palette henceforth, will never be the same.  This post, I hope, is about exactly that.

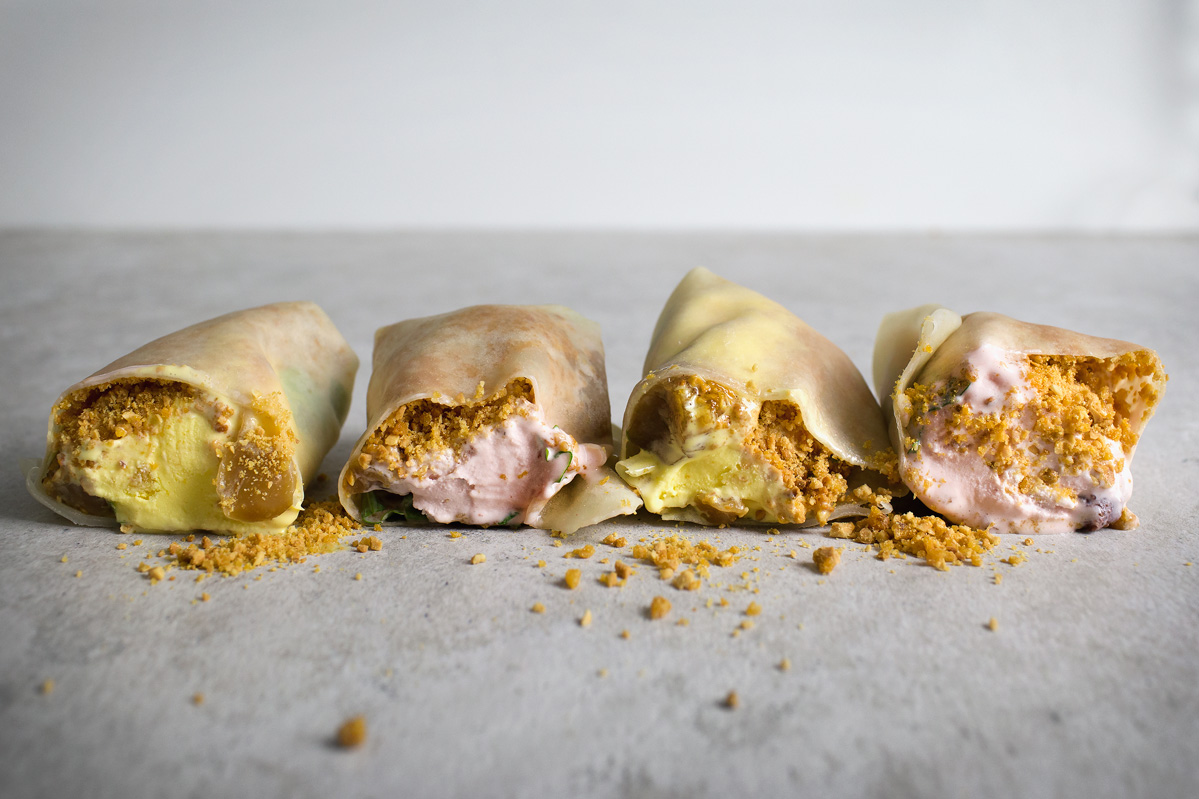
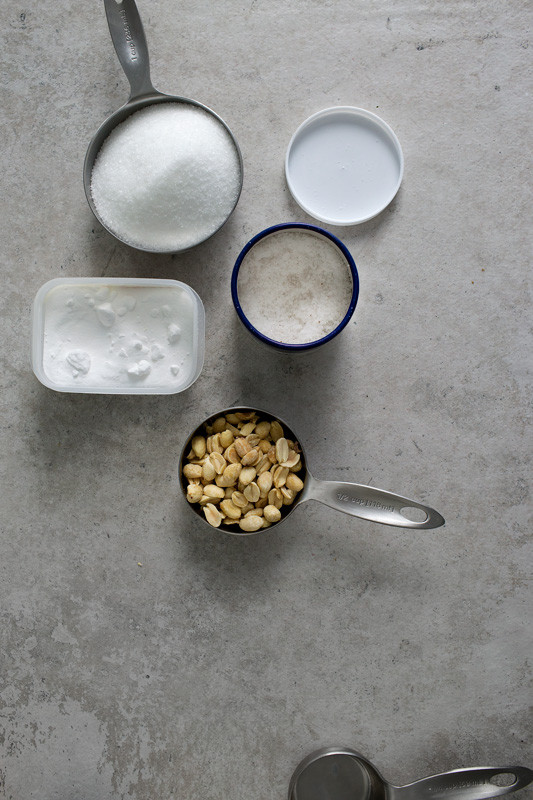
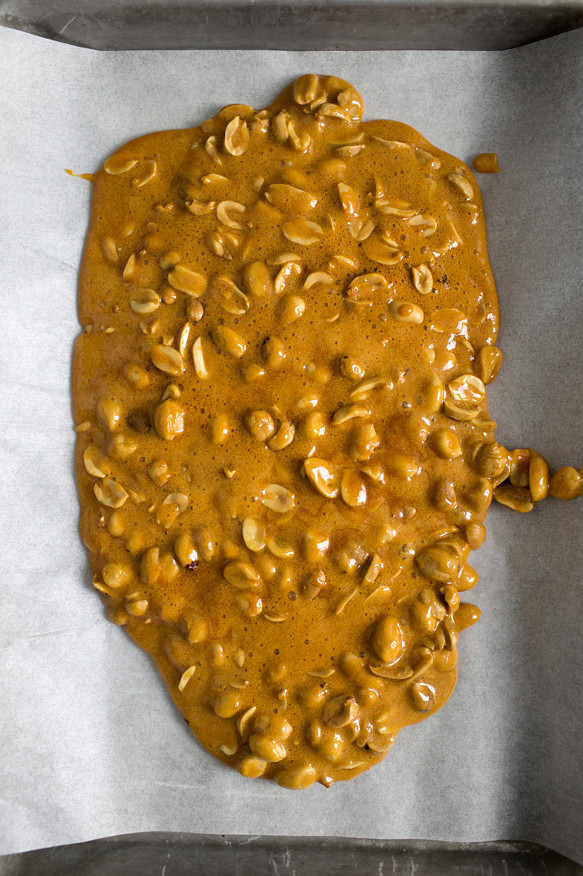
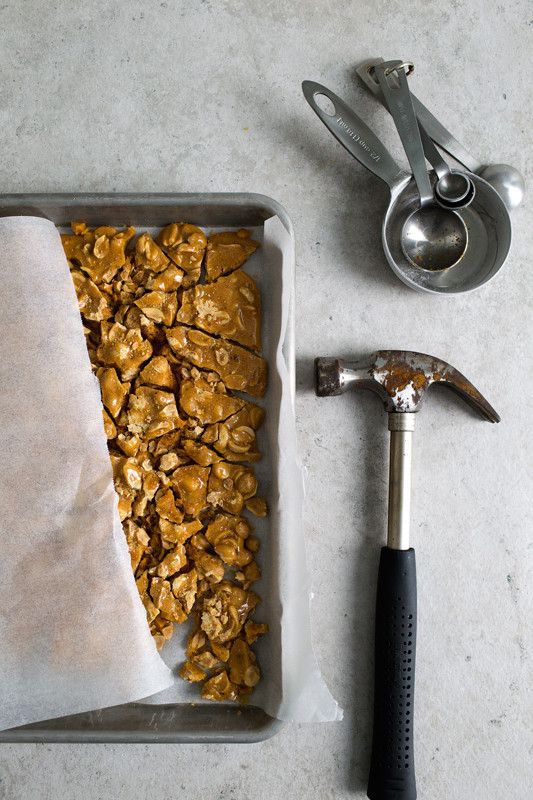
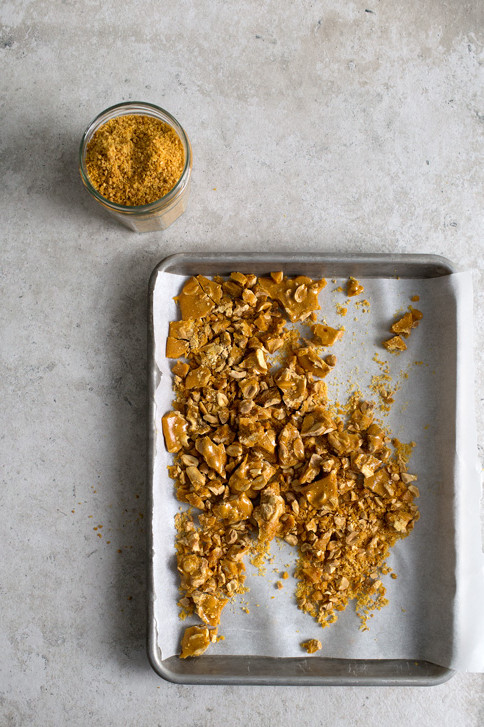
I have been longing to find a way, an accessible angle, to tell you about a thing called, ice cream-spring roll.  It’s a common street-food in Taiwan, not particularly flashy or groundbreaking.  In fact, among the immensely competitive and ever evolving Taiwanese street-foodscape, one may even argue, standard stuff.  But if you have no affiliation with the food-culture from this island proud for nothing but, the concept of this ice cream-spring roll, with its deceivingly predictable name, may just very well be your next big revelation.  Up front, what is expected surely is that there’s ice creams, most likely local flavours like taro or mango but could also include strawberry and vanilla, which are rolled inside a chewy crepe made with simply flour, water and salt.  No innovation there.  But to make things more interesting, a tall pile of sweet nutty and salty ” sandy streusels” is being shaved directly from a ginormous brick of peanut and caramel brittle, matching its proportion to the ice creams to almost 1:2.  The shaved/ground peanut caramel brittle alone, already completely push the texture and flavour of the spring roll to another dimension, but, it doesn’t stop there.  The real mind-blowing part, is the last descending sprigs of the unimaginable, the last to belong in the dessert isle, the controversially pungent… fresh cilantro leaves.  What?!  

You know I would describe it to you if I could.  I’d say it’s melty, creamy, sandy and crunchy all encased inside a film of chewiness.  I’d say that it’s sweet with pops of saltiness, the permeation of powdered peanuts and caramel and a whiff of herbs in the back-note.  But for the life of me, I cannot describe to you the immense confusion upon the impact of the first bite, then the gentle surrendering into the next, then a breeze of exhilaration on the last.  So I won’t.  You’ll have to try this one out yourself.  Because, that’s the beauty of a food-paradox isn’t it?  One that does and should be lived outside the limitation of words.  Maybe you’ll hate it.  Maybe you’ll love it.  Whatever it is, we will celebrate the forever-forward exploration that is eating.

ice-cream-spring-roll01
ice-cream-spring-roll02
ice-cream-spring-roll05
ice-cream-spring-roll07
READ MORE

Continue Reading
M(Y) SHANGHAI’S COLD WONTONS IN SPICY PEANUT SAUCE

image

YOUR ULTIMATE REVENGE TOWARDS THE COMING ASS-BINDING HEATWAVES

A REFRESHINGLY PLEASURABLE PAIN, BEST SERVED COLD

It might say something about me, perhaps not in the most positive light, whenever I fell for a Chinese dish-inspiration from half way around the world while living right inside the epicenter of it all, where the “real things” are or so they say.  What kind of a food-blogger, who eats and breathes right off of the ground-zero of a very old, very diverse and rapidly morphing food-culture often generalized as “Chinese foods”, would cook you a Chinese dish that comes from an Instagram of a New Yorker who took it at a restaurant that are, out of all places, in Brooklyn. Lazy?  Perhaps.  Utter dumb luck?  That’s for sure.  Because you see, without this inconvenient loop around the globe it has traveled, the inspiration for this down-home Shanghainese summer snack, in one form or another, would have otherwise never found its way to melt in my warm embrace.  And this is, I guess especially for those who have experienced living abroad, a perfectly explainable social phenomenon.

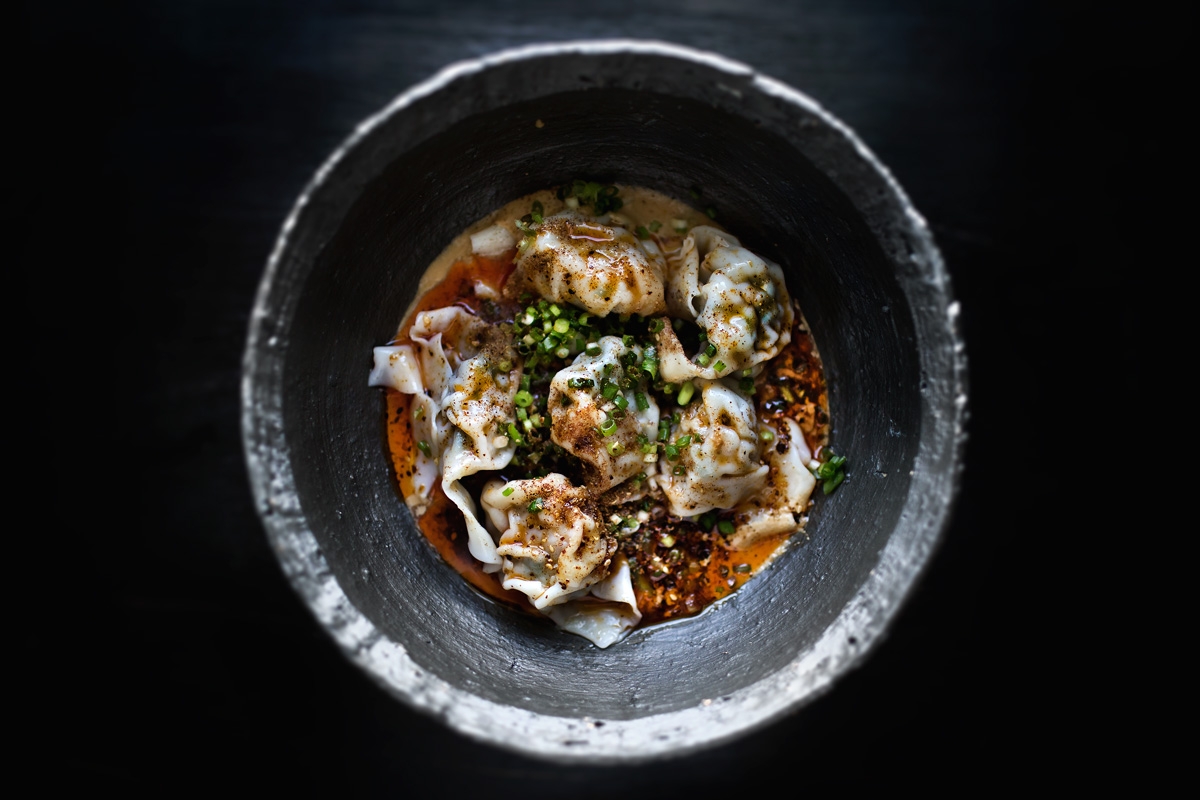
Thing is, I believe across all cultures, that the restaurants indigenous to where they are located, often times with great effort, focus on serving what they perceive as “restaurant-style/worthy” dishes only.  It is a limiting but reasonable box that excludes the slightly less glamorous, homemade gems that are more commonly celebrated within the contentment of one’s own home.  It really isn’t hard to understand why.  Just imagine, that it would also seem odd, if not lazy, to see PB&J on the menu of a respectable American restaurant sitting in the heart of Manhattan, no?  However, when the citizens of such comfort are residing in a foreign land, say, a Shanghainese in Brooklyn, and decided to open a restaurant to selfishly serve his/her personal home-sickness, then guess what, dishes like these start to pop up.  And my friends, dishes like these, are always my favourite kind to eat.  Take this for example, M Shanghai’s wontons in spicy peanut sauce.   Something that I would have taken gladly from its bare and natural implications – burning hot pork wontons slurped cautiously from an even more inflammable pool of peanut sauce and chili oil – let alone after the discovery of its true, counterintuitive ingenuity over a much needed research.  It turns out (whether or not this is how it’s served in Brooklyn) that this fabulous summer-snack regrettably overlooked in most-if-not-all Shanghai restaurants in Beijing, is actually… eaten cold.

image
wonton-in-spicy-peanut-sauce02
wonton-in-spicy-peanut-sauce03
READ MORE

Continue Reading
BEIJING DRUNK-FOOD, JIANBING

jian-bing15

WITHOUT THE BRAVERY FROM WITHIN A BEER CAN… YOU CAN NOW MAKE THIS SIGNATURE BEIJING STREET-FOOD AT HOME

What the hell’s this?  Well… let me refresh it for you.

If you have ever lived or travelled to Beijing.  It was nightfall.  Granted that you should be excused by the overwhelming remorse that soon followed the moment you stepped out of the airport, you thought, it would be in your best redeeming interest to hang out with some old or newly acquainted companions for a night of bad behaviors around the Work’s Stadium in Chaoyang District.  After what probably felt like a mirage of flying alcohols, soul-murdering-ly bad musics, and an unbroken stream of ugly faces, you woke up the day after, half-alive, with a banging headache and wondering how the hell did last night end.  While other histories were less certain or best left forgotten, chances were, whether you remembered it fully or from the swamp of broken memories, that without even knowing what it was called, you ended it with this.
This, this is called jian-bing.

Here, before I say anything more, I want you to listen carefully.  It is not, your fault.  We’ve all done it.  We’ve all, for more than once, either unconsciously or with full consent, stood under the dingy lightbulbs from a hygienically suspicious food-stall in a notoriously poisonous country, and ate this thingy that highly resembled a french crepe on one side, but marbled with beaten egg on the other, made by someone reaching into buckets of some things that both screamed highly dubious at best.  Yes, that was a long sentence, because I just wanted to rip it off fast like a bandage for you.  It’s ok, my friend.  It’s just a Beijing thing.  It probably didn’t hurt you as bad as you thought it would.  It probably, if memories are slowly coming back, tasted much better even in the haze of your drunken skepticism.  Between it’s thin, soft and slightly chewy body, there was the appetizing aroma of a skillet-fried egg, the pungent and salty punch from the smothering of chili sauce, and to your surprise, a shattering and crunchy contrast from an unknown source that you were too drunk to identify.  Most likely, it was actually, really really tasty.  And dare I say, it has probably, been missed.

Now, without the bravery from within a beer can, or the risk of losing a liver, you can make this signature Beijing street-food at home, knowing that none of the ingredients contains traces of stray cats.  Ha ha, just kidding.

No I’m not.

jian-bing01
jian-bing04
READ MORE

Continue Reading