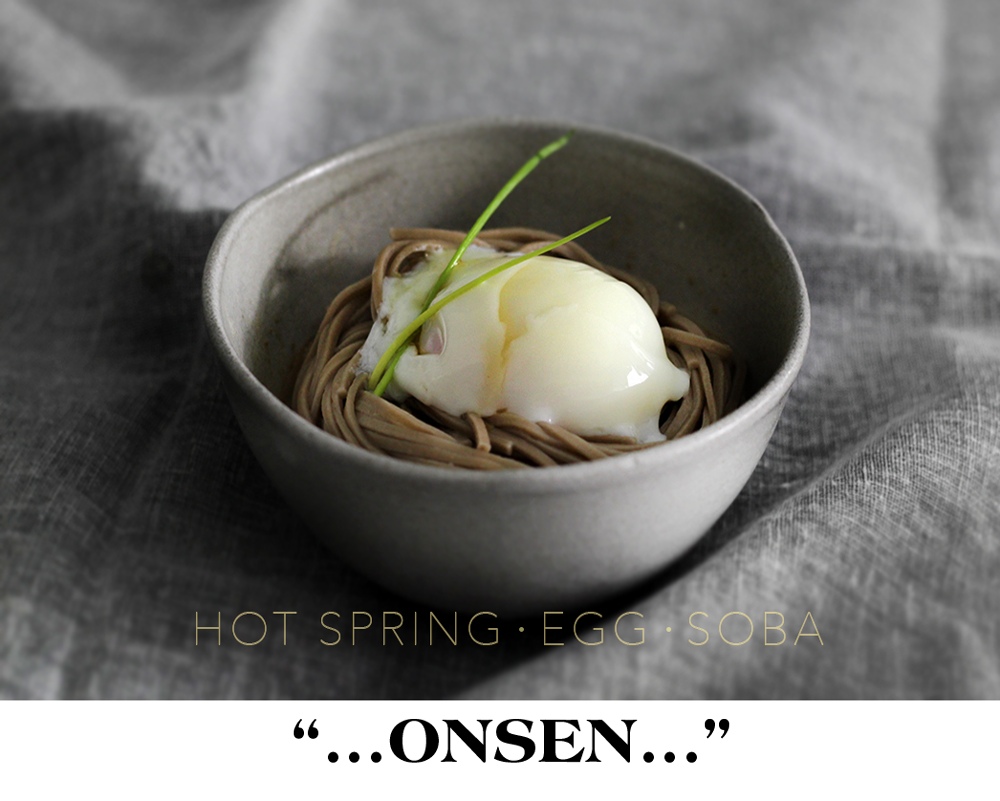
hot spring egg (revisited) soba
I just got home from a short family trip to the Izu Peninsula in Japan, where they proudly call the home of “onsen”, means hot spring. As usual at times like this, I will leave you with a swift post and a recipe that I have featured before but thought some of you may be interested in an easier technique.
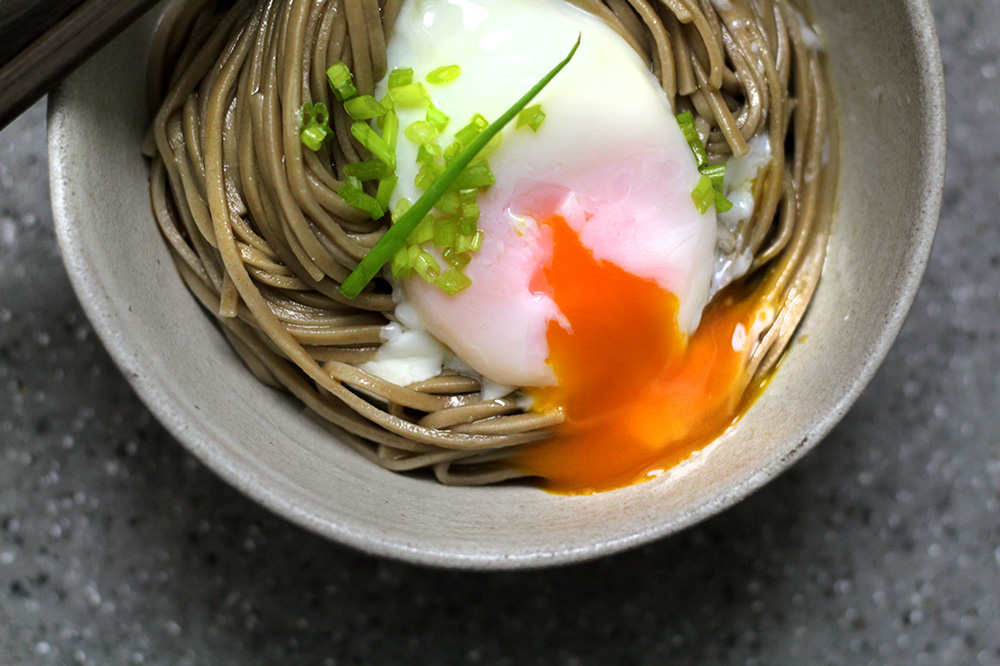
A hot spring egg is an egg that is cooked in a constant low temperature and when it’s cracked open, the entire egg slides out as one medium-rare perfection. In my previous post, I talked about how to do this by stationing by the stove and meticulously monitoring the water temperature. Submerging the eggs in 158ºF/70ºC water for 21 minutes will give you the perfect result, which then I realized is a lot more work than what people are willing to invest in terms of cooking an egg.
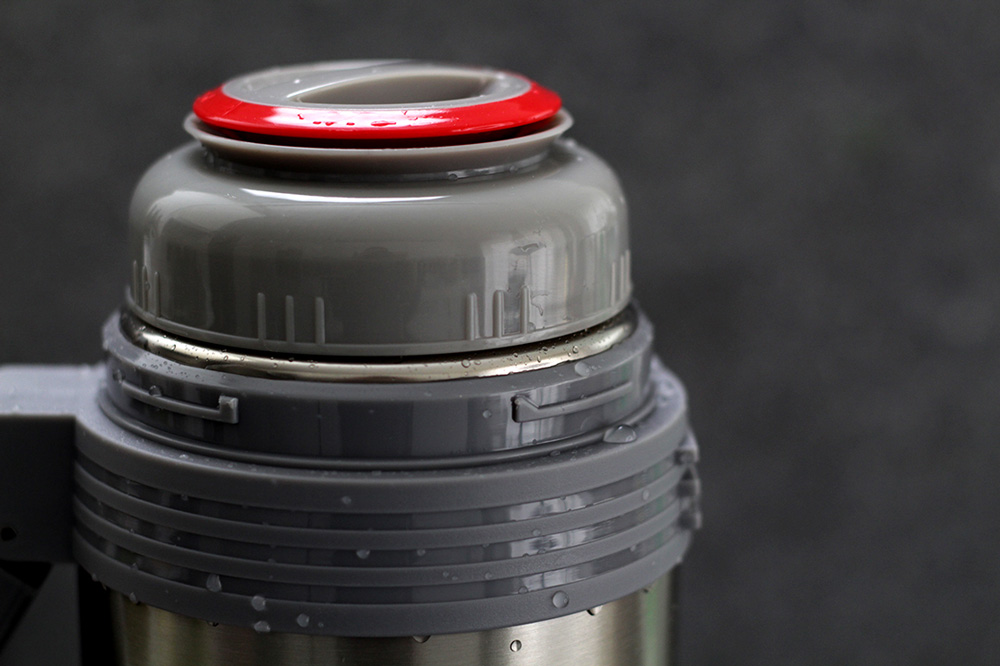
So here is an easier way… sort of, if you happen to have a large thermo-water-bottle. You will still need a thermometer to do this for the sake of accuracy but it allows you to walk away from the operation for things that are equally important… like removing blackheads on your nose. And once the eggs are done and cooled down completely, they can be kept in the fridge for days to come, readily available for a healthy snack in the middle of the day. One such as this.
Ingredients:
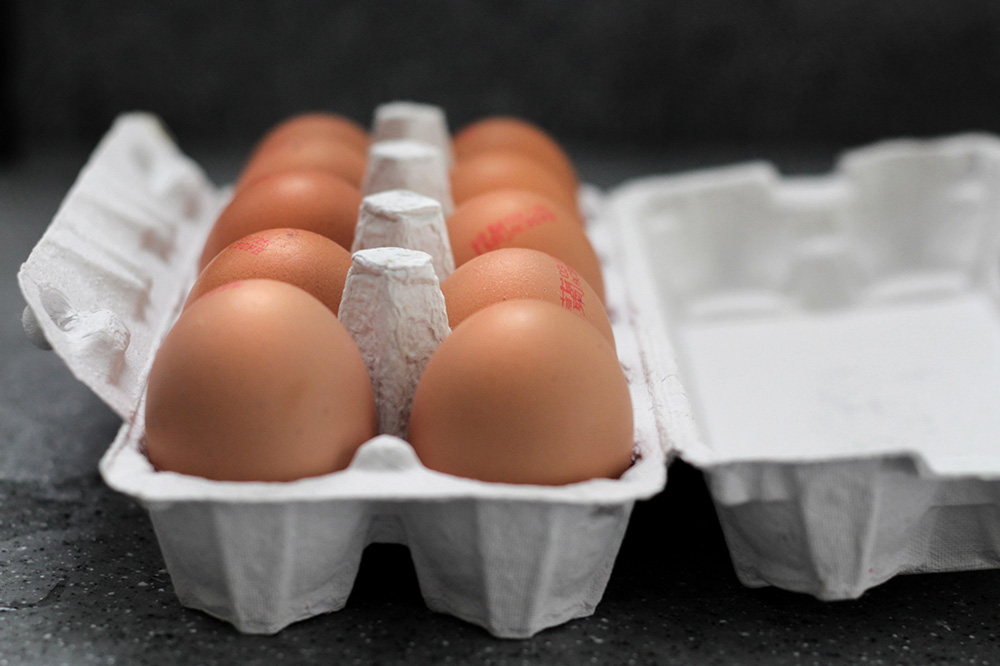
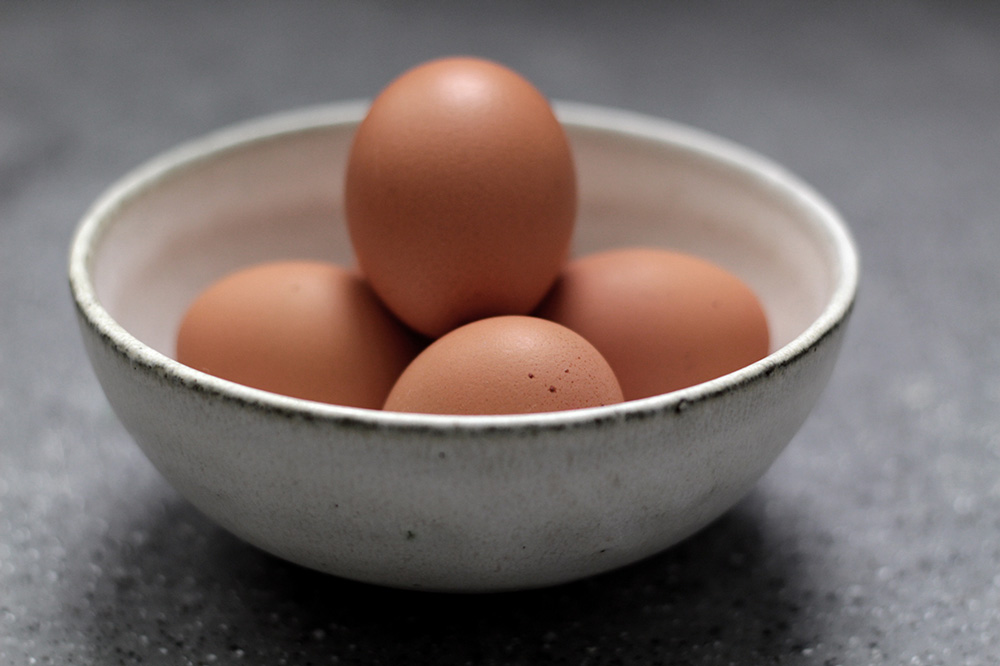
- 5 medium-size free-range eggs
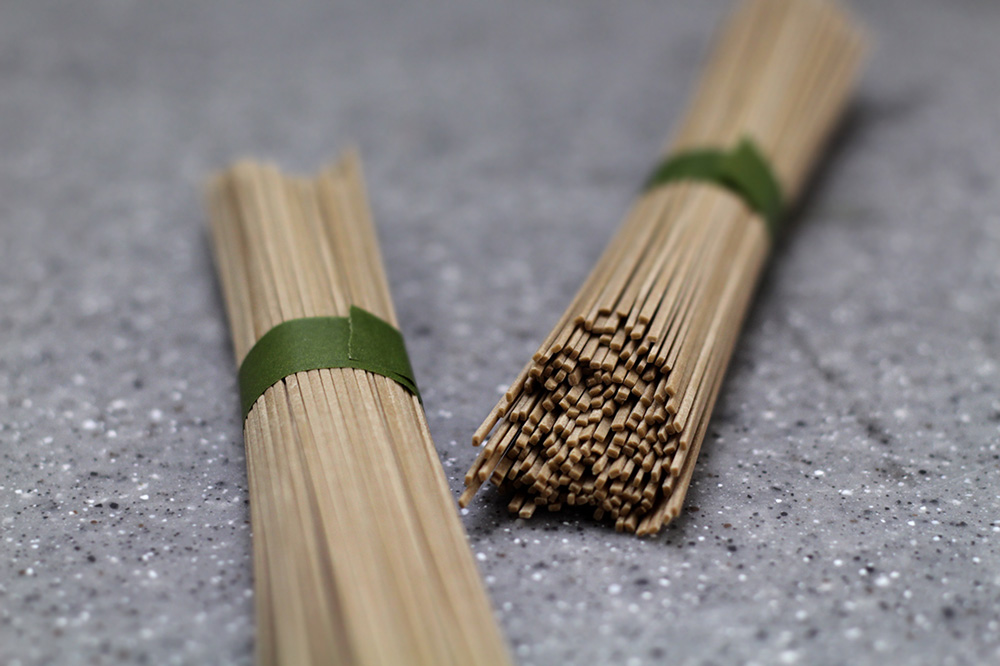
- 1 serving of Japanese dry soba (buckwheat noodle)
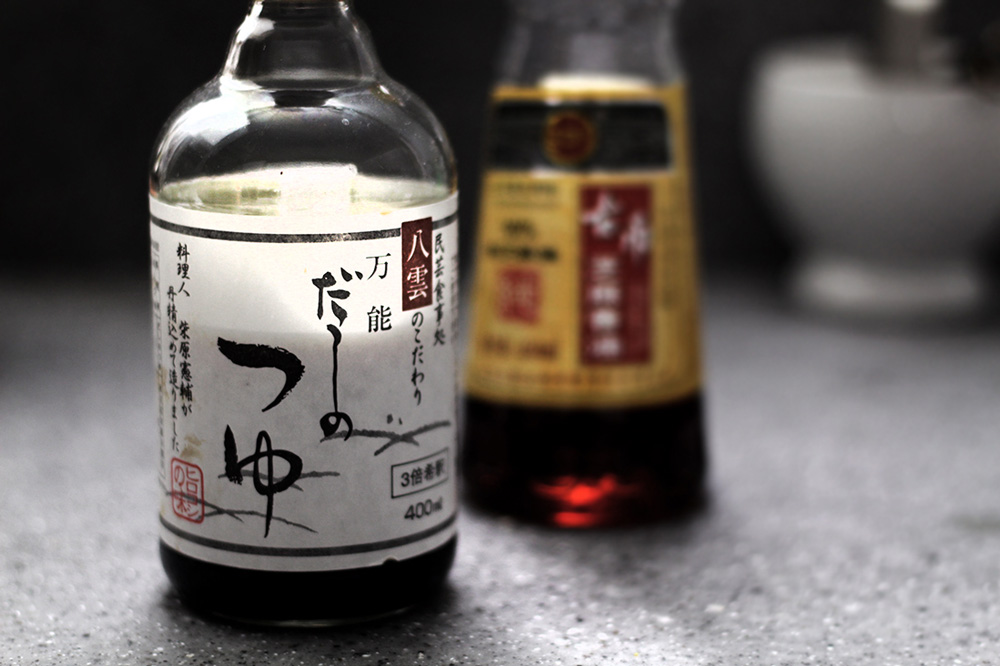
- 2~4 tbsp of soba sauce (soba tsuyu), depending on the brands
- 1 tsp of toasted sesame oil
- A few sprigs of finely diced chives
You will need a large thermo-water bottle, at least 1600 ml in volume. If your bottle is smaller, you will need to reduce the number of eggs accordingly.
First, bring a large pot of water (enough to fill the bottle) to boil. Pour the boiling water into the bottle and close the lid. Let the bottle warm up for 10 min.
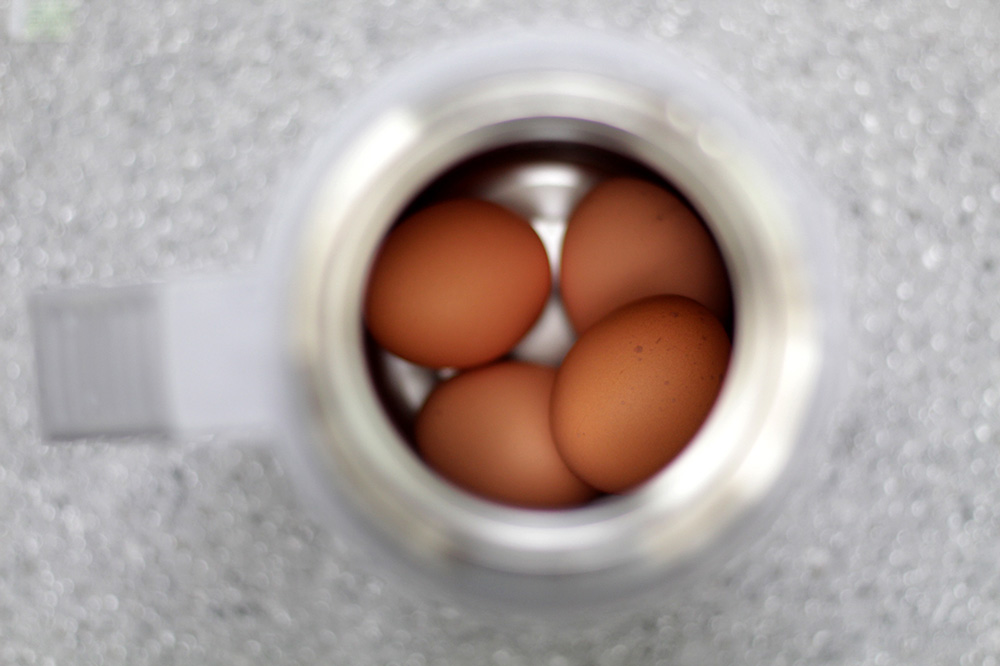
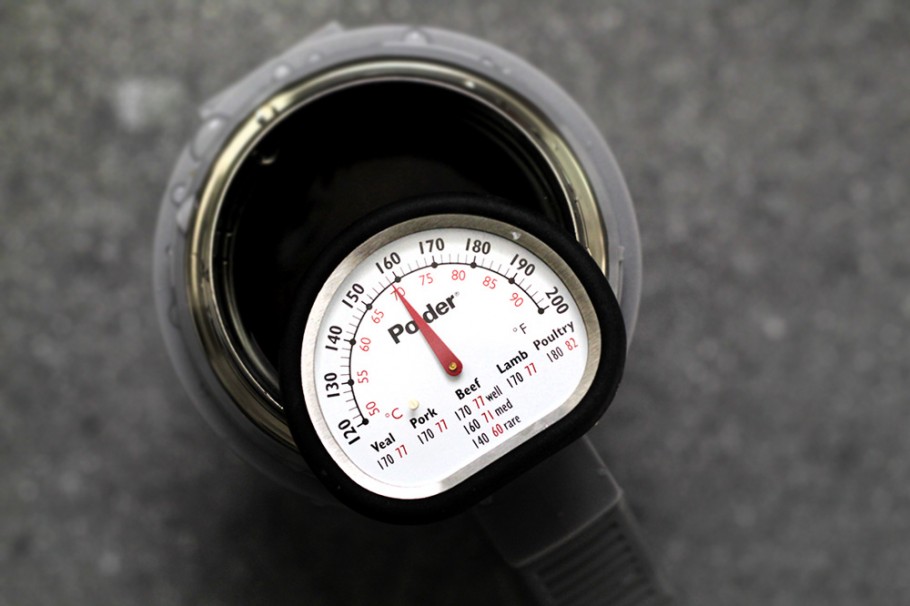
Meanwhile, refill the pot with water and bring it to a temperature of 168ºF/75ºC. We want the temperature to be slightly higher than 70ºC to make up for the loss of heat when the eggs go in. Pour the hot water out of the bottle and carefully place in 5 medium-size eggs. Fill the bottle with the 168ºF/75ºC water until it’s full. Close the lid tightly and set the timer at 35 min. Keep a small pot of water at low simmer on the side.
After 15 min, come back to check the water temperature. If it has dropped below 68ºC, pour out 1/2 cup of water and add in 1/2 cup of simmering water to bring the temperature back up. Give the water a little stir and close the lid tightly.
After another 15 min, remove one egg from the bottle and rinse it under cold water. This is going to be a tester egg. Crack the egg open and check the done-ness. The egg should be able to retain its oval shape without falling apart, with opaque egg whites and shiny surface. If the egg appears to be loose and shape-less with translucent egg whites, then bring the water temperature back up to 70ºC by adding simmering water, close the lid and let it sit for another 5~10 min.
It will take a couple of trials to know how your thermo-water-bottle works. For me, it took exactly 32 min and two refill of the simmering water to achieve the perfect done-ness. Once the eggs are done, cool them down immediately by submerging in cold water. Refrigerate until needed.
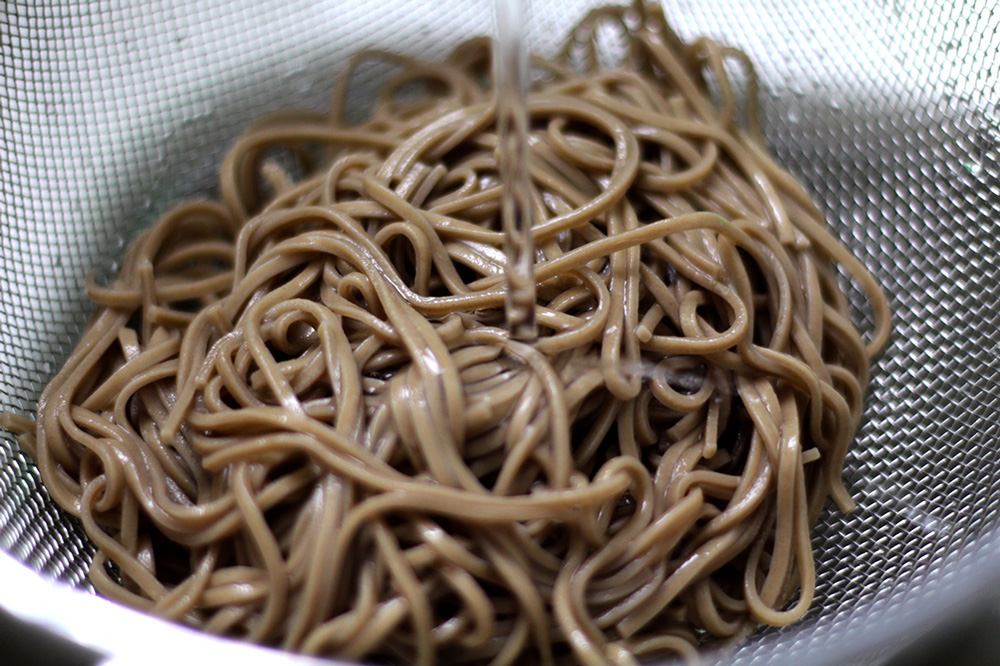
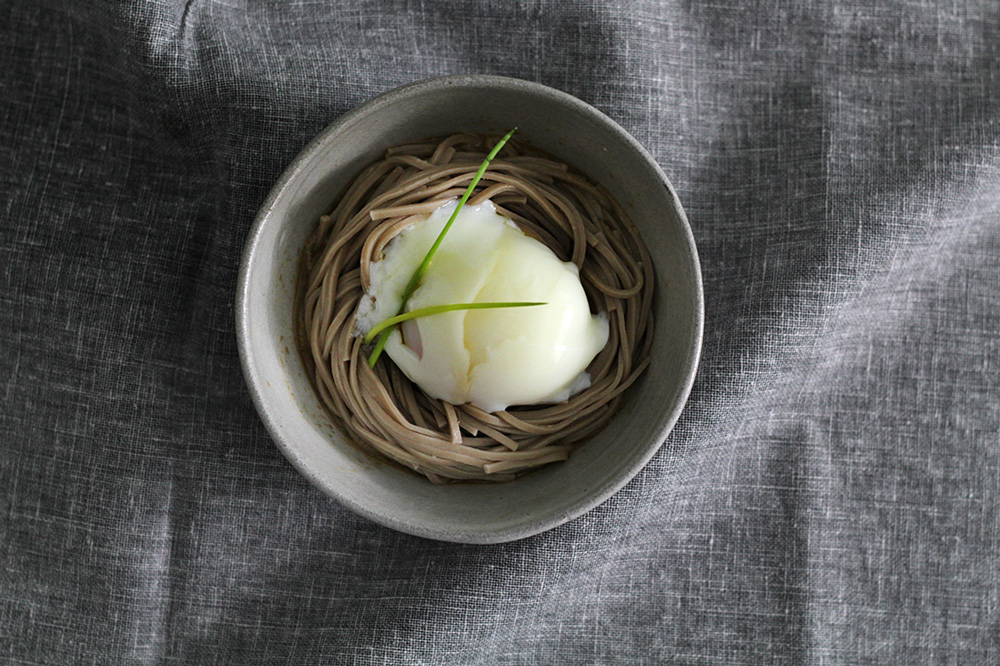
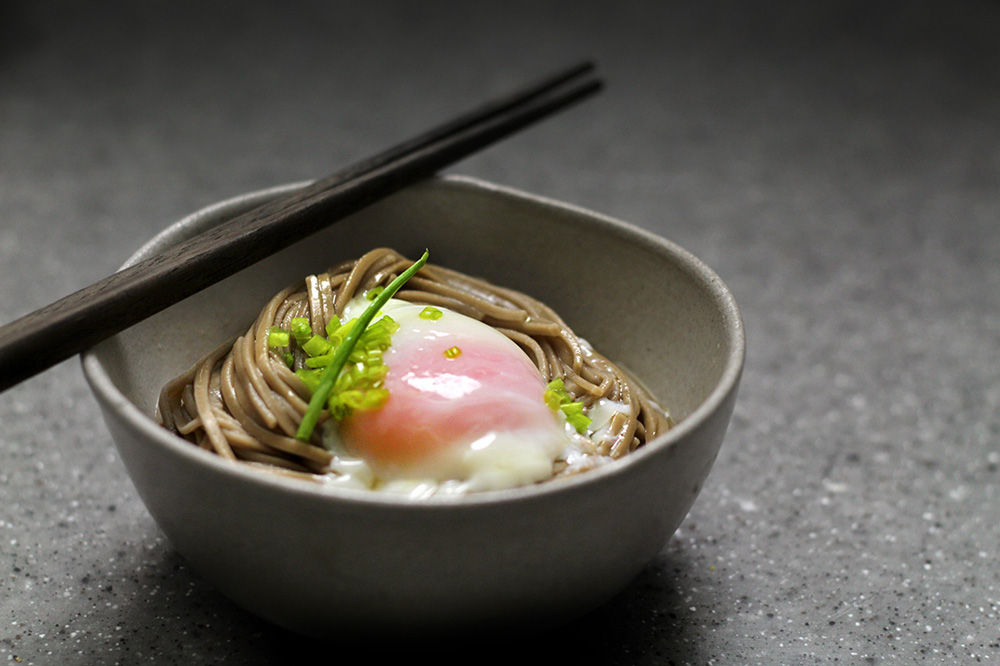
To serve with soba, cook the soba according to the package instruction. Once cooked, rinse it under cold water until completely cooled. Drain it well and set in a bowl. Add 2~4 tbsp of soba tsuyu (different brands yields different concentration, so you’ll have to check the bottle for instructions on how much to dilute it) and enough water to dilute it, plus 1 tsp of sesame oil. Crack a hot spring egg on top and serve with diced chives.


Victoria
04.14.2013at4:30 PMI’ve made onsen tamago many times but never done it this way! So clever!
Leighanna Lucas
04.16.2013at3:43 AMOh. My. Gosh.
That egg on noodle looks heavenly.
Must try this soon.
Thank you for sharing!
bessie
04.16.2013at6:51 AMwow, gorgeous! i will have to try this, i love a runny yolk especially over noodles
Joanne
04.16.2013at12:11 PMOh my gosh it looks delicious and I love the fact you mentioned free range eggs! Just look at the depth of color in the yolk due to a more diversified diet =)
Mandy L.
04.16.2013at1:08 PMThanks guys!
Leighanna, let me know how it goes! I was a little worried that different thermo-bottle retains heat differently which would vary the results and cooking time. Let us know how your thermo-bottle works :) Thanks!
Joanne, definitely! An orange-yolk egg is super important… so it tastes like an EGG!
amanda
05.17.2013at9:48 PMI lurrve your blog and was so excited after seeing this recipe for eggs. I tried it straight away in my Thermos pot and it worked great. However, the last two times I tried it, the yolk was “cooked” to soft boiled consistency, but the whites were very runny. any tips?
Mandy L.
05.18.2013at2:59 AMAmanda, hmmm.. you know from personal experience, that tends to happen when the eggs weren’t like SUPER fresh. You know how raw fresh egg whites sort of stays together as a mass, and not SUPER fresh egg white is much runnier? i would recommend using eggs as fresh as you can possibly find (only a couple days within harvest).
Whereas the yolk being too cooked, I would suggest really monitoring the temperature of the water. If the temperature reads 70 degree celcius on your thermometer but the yolks are still too cooked, then maybe you have to shorten the time they stay in the water. I hope these help.
Lea
07.11.2013at8:38 AMJust made this, and loved it. So simple & delicious! My egg whites came out a bit runny but I had a perfect yolk, which is what counts more in my book… Thanks so much for this recipe!