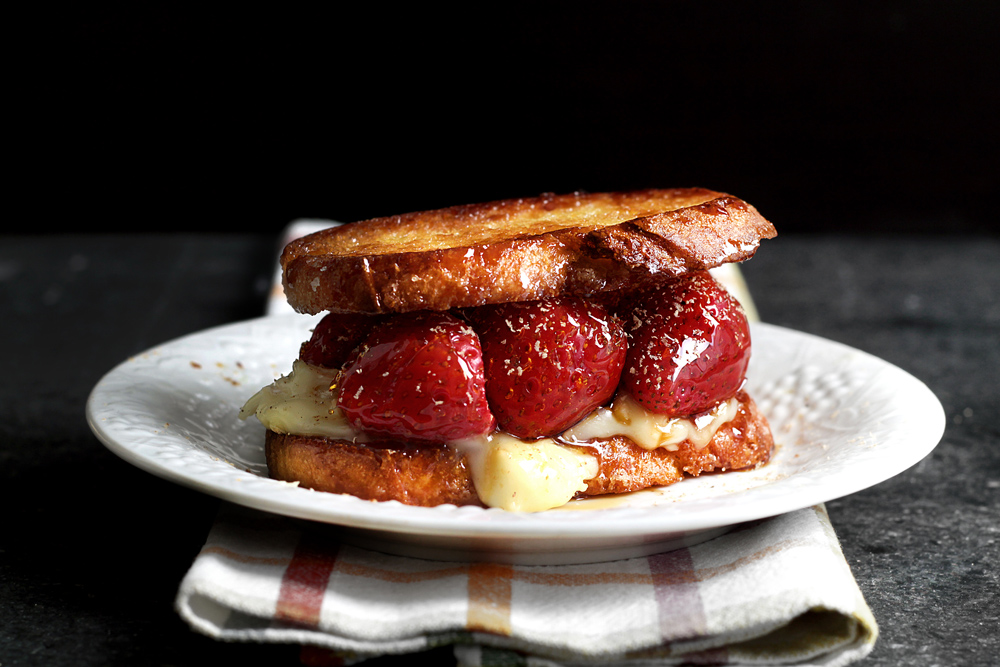
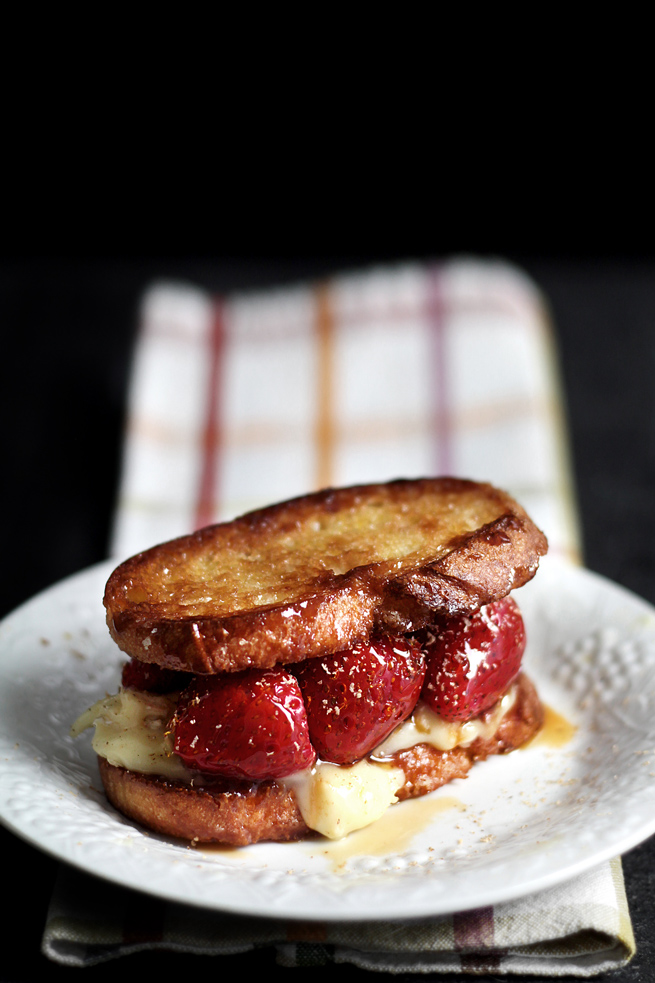
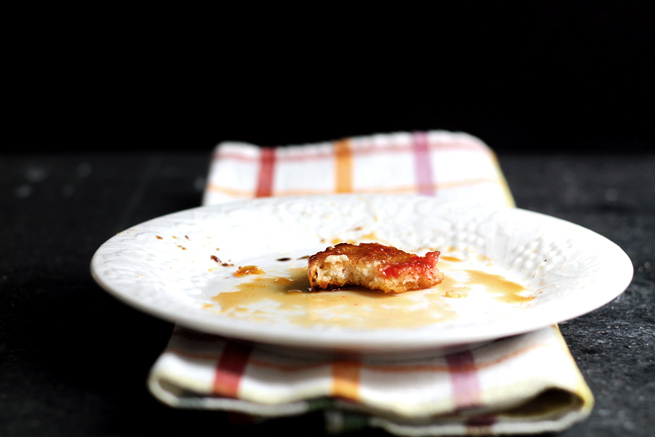
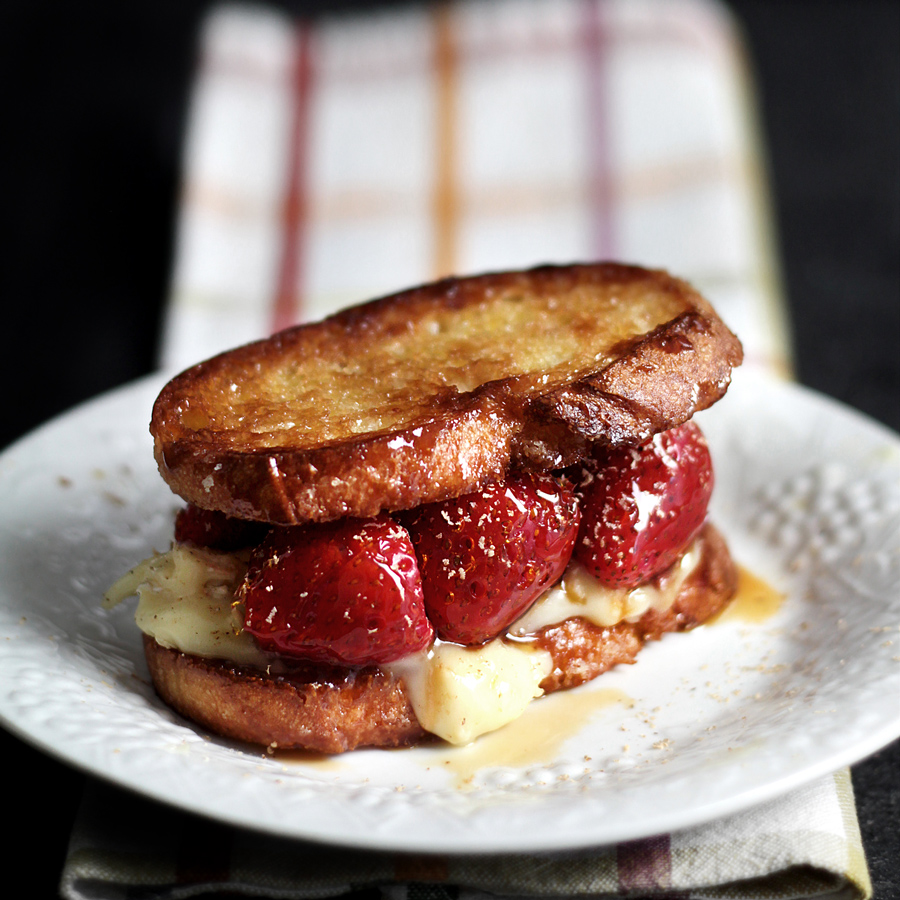
CARAMEL STRAWBERRY, BRIE, BUTTER/SUGAR TOASTS

strawberry-brie-grilled-cheese18

AFTER 10 months of not being able to leave… not a country, not even a state/province, but a particular CITY due to personal circumstances, at a certain point, the “think tank” starts to resemble more like a warm puddle in the middle of a barren desert.  Nowadays I seek recipe-inspirations like a stinking camel seeks for water, only minus the ability to regurgitate.  Don’t get me wrong.  All paranoid recipe-bloggers, me included, respects a well-stocked recipe-reservoir like doomsday-preppers hold high regards for canned beans.  It’s almost a co-dependant relationship and my list is about a mile long.

I guess… a closet full of recipes and nothing to cook, best puts it.

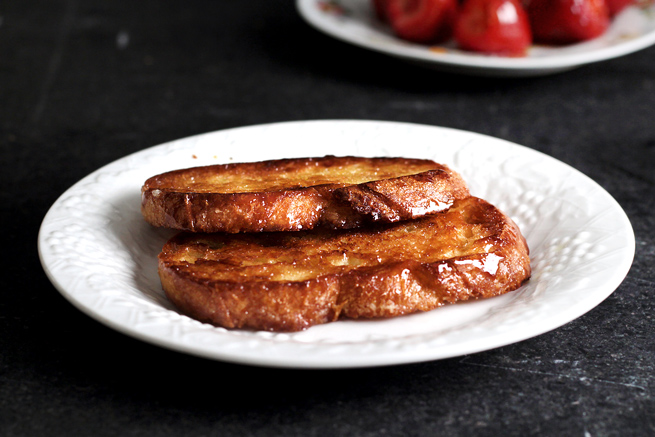
But ironically, as the painstakingly studied and tested recipes often end in heartbreaks, some of the best things I’ve cooked here are incidental occurrences on a whim.  Which brings us to today’s: So random I don’t even know what to call it.  Yah.  I don’t know what to call it because it came from a peripheral glance over the last 30 seconds of a TV-show that I don’t even know the name of, which (I think) pulled some golden-browned butter/sugar toast out of a skillet and served with soft cheese.  The idea stayed with me not because it was as hazy as a hallucinated mirage, but because instead of the more popular way of making “creme brûlée” toasts as under the broiler, this does it more efficiently and successfully, inside a skillet.

strawberry-brie-grilled-cheese01
strawberry-brie-grilled-cheese06
strawberry-brie-grilled-cheese08
strawberry-brie-grilled-cheese10
  

CARAMEL STRAWBERRIES WILL BURST… THROUGH THIS BUTTERY, SUGARY, SALTY AND CHEESY GLORY


If you have ever tried making creme brûlée toasts under a broiler, you’d know that it’s an extremely volatile and unpredictable task.  Every single factor – the type of bread, the amount of sugar, the type of oven, blah blah blah – can contribute to its blackened, smokey, inedible demise.  But by doing it in a skillet – letting the toasts absorb a mixture of butter and sugar until they brown, caramelize and adhere to the golden browned toasts – the outcome is a much more controllable, crunchy, and delicious surprise.

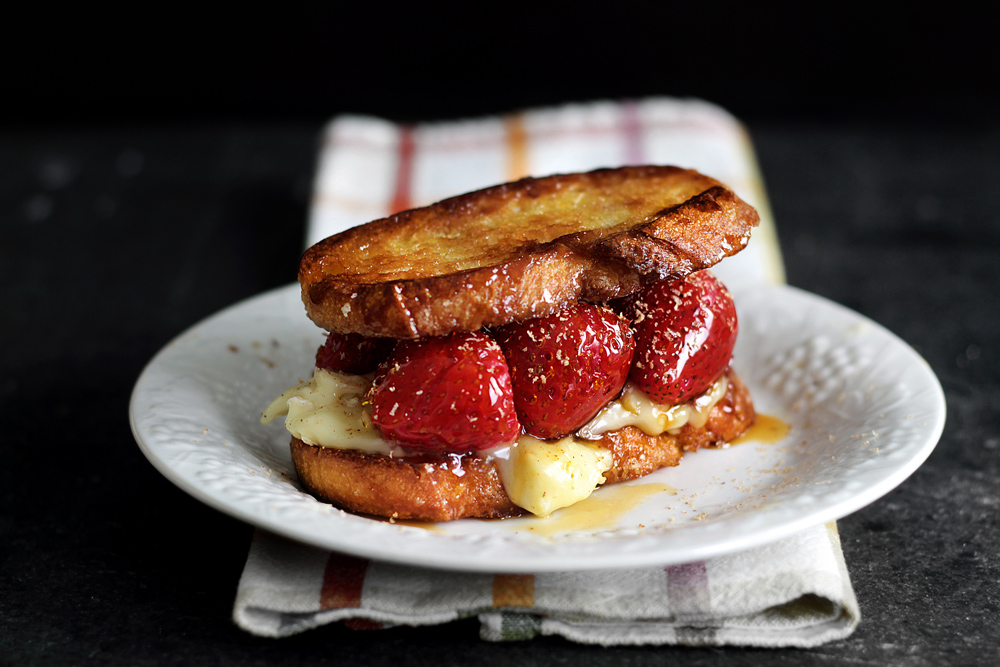
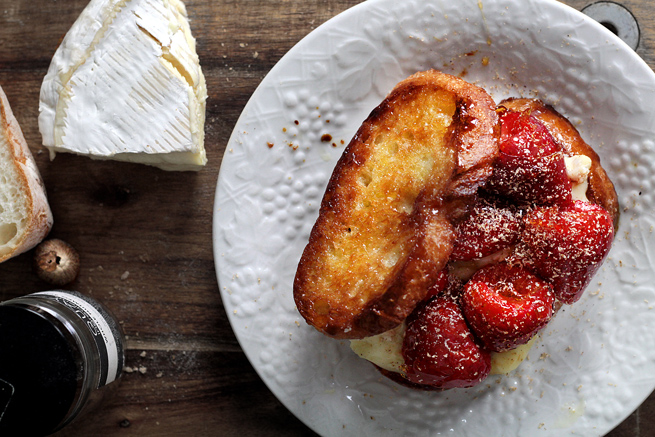
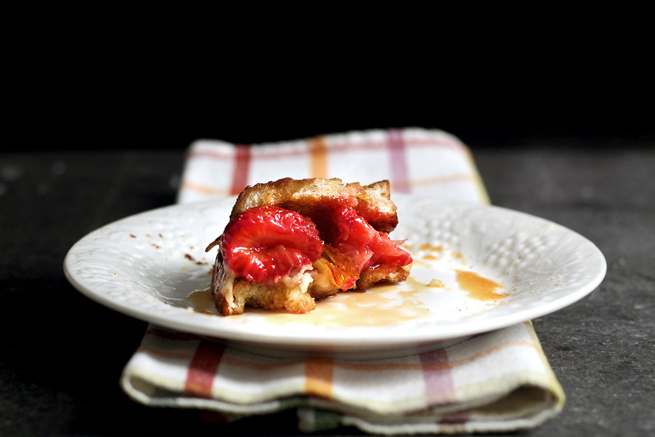
Since we are already in the zone of talking caramel, why stop here?  Drawing inspiration from a traditional Chinese roadside snack, where they skewer various types of fruits, coat them with a whiffy thin layer of hot malt sugar then let hardened, I thought there’s no reason why caramel-coated strawberries would be unwelcomed between creme brûlée toasts and warm, melty brie.  And once in a very long while, everything just sort of goes according to plan.  The creme brûlée toasts are buttery and crunchy, with just enough heat to soften a good smear of French brie.  Then the caramel strawberries will burst through their crackly, lacey jackets as pressure applies and run their juices through this buttery, sugary, salty and cheesy feast of unnamed glory.

I guess there’s still some milage left in this tank.

  
strawberry-brie-grilled-cheese11
strawberry-brie-grilled-cheese12
strawberry-brie-grilled-cheese13
strawberry-brie-grilled-cheese16
strawberry-brie-grilled-cheese22

Makes:  2 sandwiches or 4 open-face

I don’t know why I’m fixated on making these more of a “sandwich” when in fact, it will probably be prettier and easier to eat as an “open face” (you know, like bruschetta).  So I’m leaving that option to you.  For an open-face toast, you’ll maybe need to double the amount of caramel/candy strawberries depending on the size of your bread, and also the size of strawberries.  I needed 6 small strawberries to fill 1 toast.

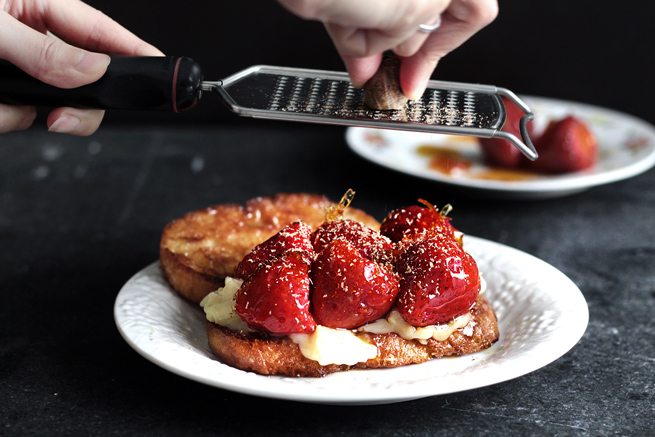
The freshly grated nutmeg is very important as it gives an “ooomph” to the flavour.  Don’t be shy.  You’ll want to see flakes of it through out the toasts.

Updates 2014/08/05:  Thanks to a reader we now know the show that inspired this!  It’s called Heartland Table with Amy Thielen.  In the show she uses maple syrup instead of sugar, which I think is a even better idea!  If you want to try maple syrup, substitute 3 tbsp of granulated sugar with 1/4 cup of maple syrup.


Ingredients:

  • Caramel and strawberries:
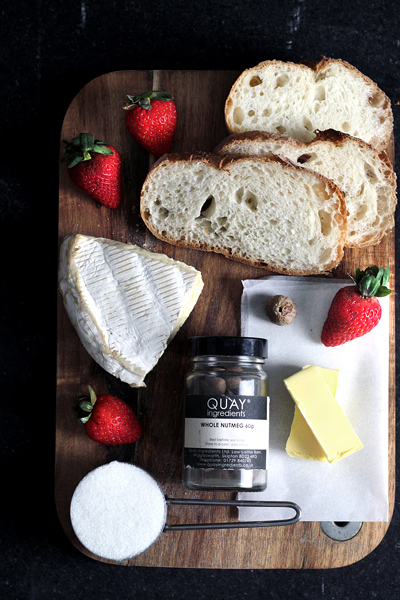
    • 1/3 cup (70 grams) of granulated sugar
    • 2 tsp of water
    • 12 ~ 14 small~medium size strawberries
    • Small cup of ice water on the side
  • 4 slices of rustic country bread
  • 4 tbsp of unsalted butter
  • 3 tbsp of granulated sugar
  • 1 large chunk of good quality brie
  • Fresh nutmeg for grating

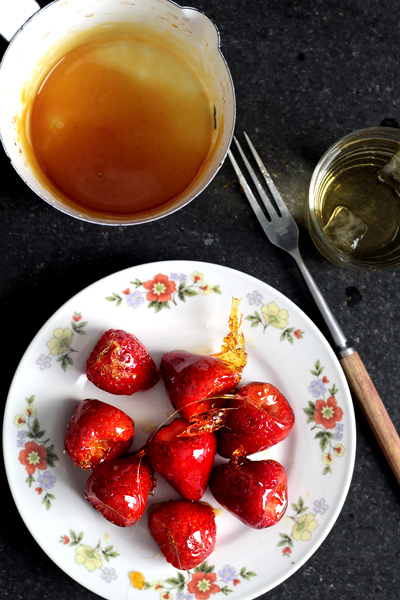
To make the caramel/candy strawberries:  Wash and remove the stems from the strawberries, then set aside.  Have a small cup of iced water ready.  Heat the sugar and water in a small pot over medium heat.  Cook until the sugar has melted and turned from clear to a pale yellow then to a rich, amber color (careful not to let it turn dark brown or it’ll taste bitter).  This will take approx 5 min.

Remove from the heat, then pick up a strawberry with a fork and dip it inside the caramel to coat thinly (there will be a bit of sizzle).  Let excess caramel drip off, then dip the strawberry in the iced water for 5 sec for the caramel to harden.  Remove the strawberry from the fork and set aside.  Repeat with the rest (If the caramel starts to cool down and is too thick to work with, return it to medium heat until it has loosen up again).

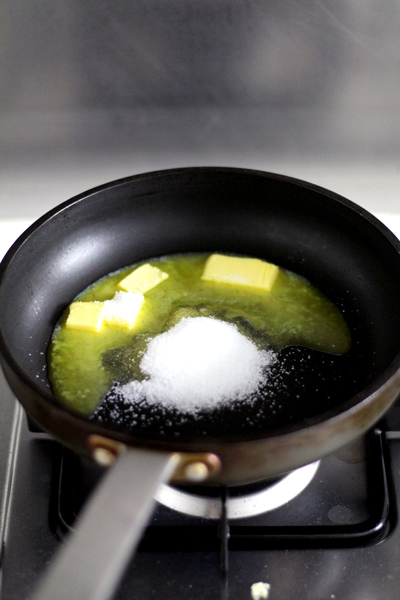
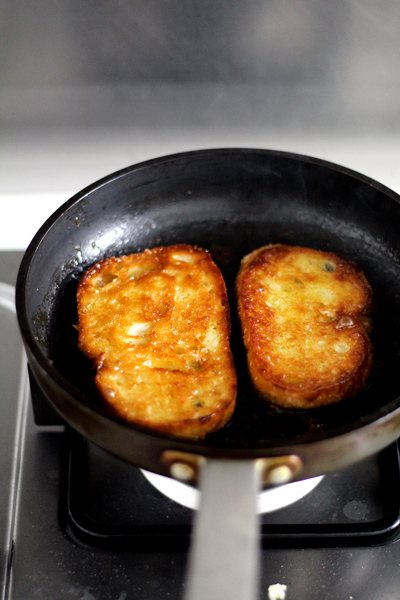
To make the toasts:  Melt the unsalted butter and sugar in a large flat-bottomed skillet over medium-high heat (if your skillet isn’t large enough to fit all 4 slices perfectly flat, then do it in two batches).  Once the butter and sugar look evenly blended (even though you may still see sugar-granules in the mixture), place the sliced bread inside the skillet with a tongs.  Swirl the bread inside the mixture for a few seconds to coat evenly, then flip and coat the other side as well.  Both sides of the bread should have evenly absorbed all the butter and sugar.  Cook the breads until golden browned, with caramel crust on each sides.

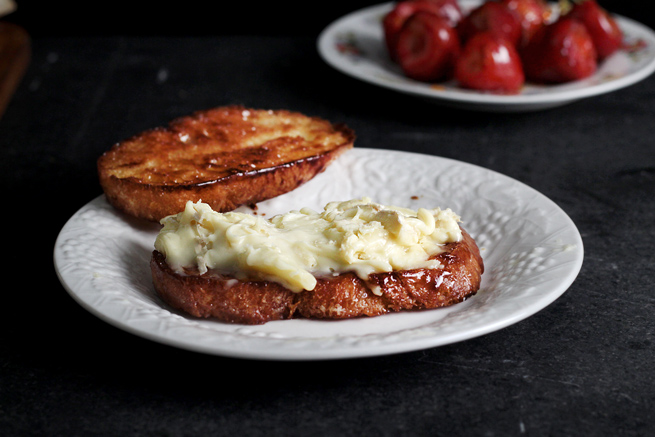
Remove from the skillet, and while hot, apply a generous layer of brie on top.  Pile the candy strawberries on top and grate a good amount of fresh nutmeg on top.  Serve immediately.

strawberry-brie-grilled-cheese19
strawberry-brie-grilled-cheese23
strawberry-brie-grilled-cheese24
strawberry-brie-grilled-cheese25
Continue Reading

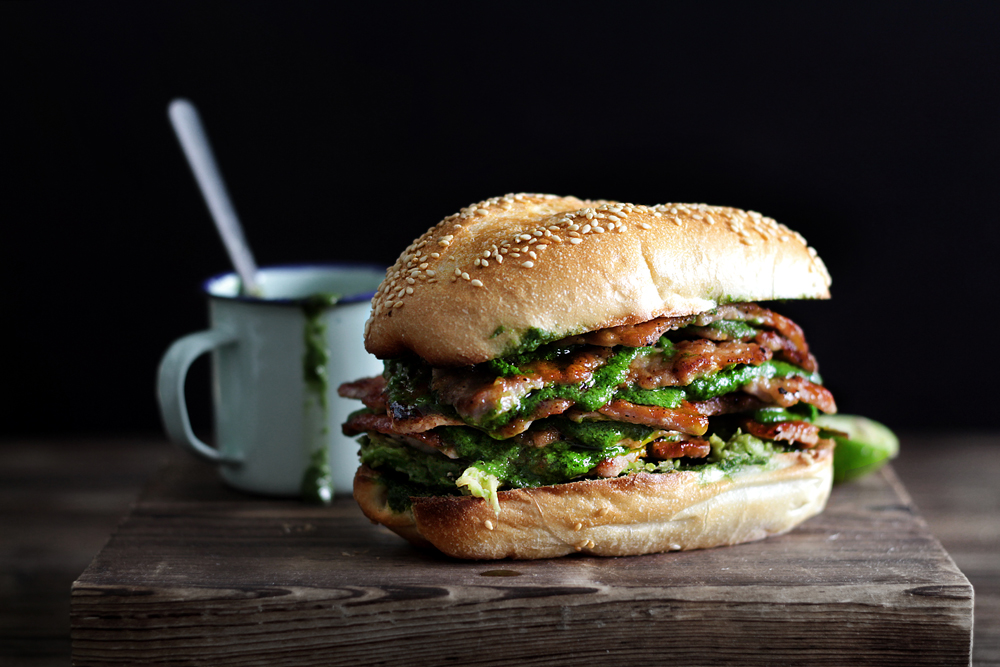
STACKED GREEN PIG SANDWICH

stacked-pig-sandwich-front

 A SANDWICH THAT HAS NO STORY…

IT’S JUST REALLY TASTY.

YESTERDAY, the last day of Jason’s 3-day-business-trip to Hong Kong, Jiaozi/Dumpling pulled a performance of his life at 10 in the morning, in a theatrical masterpiece called – This Is It.  Good bye, mom and dad.  Limping and whimpering, wordless but powerful… his flawless craft of showmanship efficiently triggered a wild response from the only audience, and prompted an emergency change in Jason’s itinerary for an earlier return.  Then. This morning.  Suspiciously and miraculously so, he was moonwalking lively around his “feeding zone” – I’d imagine singing the Smooth Criminal – barking and dancing for his personally prepared chicken liver-rice.  Celebrating the success of his pathetic ploy… he ate a shit-load.

I know, I know that I shouldn’t project reasons and meanings behind animal behaviors when there’s probably none…  He’s just an cunning old, sneaky wavy-haired boy Maltese.  It’s just sometimes, it’s really hard not to do that.

But what does that have to do with today’s sandwich?  Absolutely nothing.

stacked-pig-sandwich02

stacked-pig-sandwich01READ MORE

Continue Reading

FIRE AND ICE, AND EVERYTHING NICE

kimchi-broth-noodle27


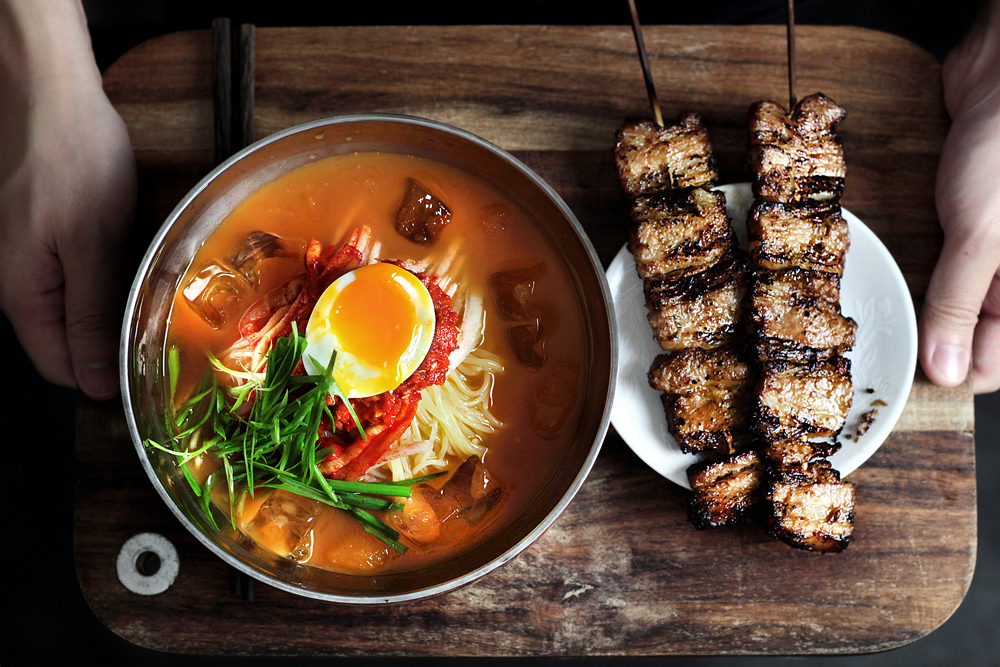
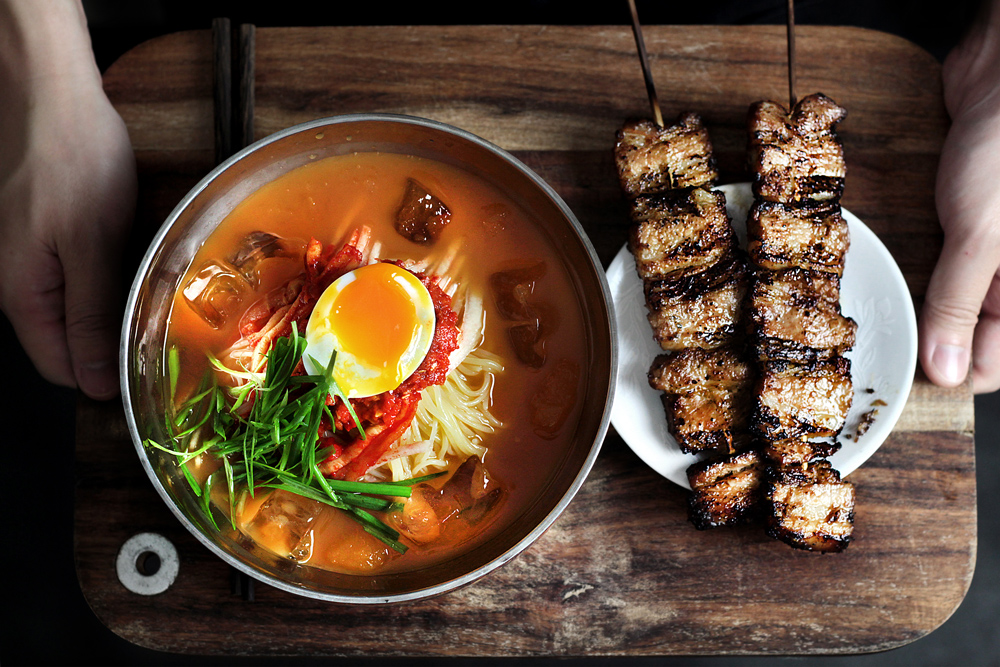
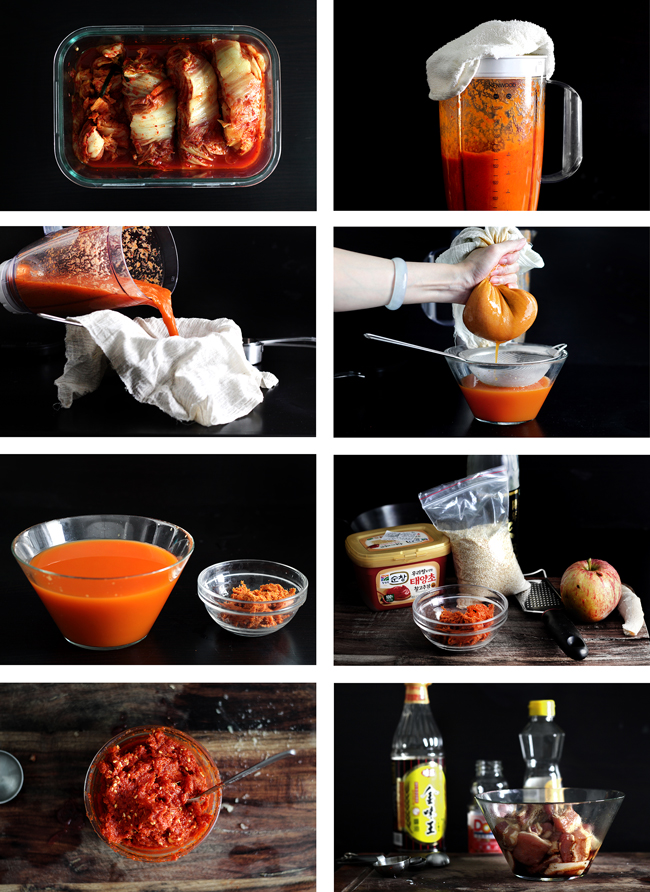
the refreshment of slippery noodles in an icy tangy broth… gliding down with sizzling pork fat on a stick.


BEST ARGUMENT A SUMMER CAN HAVE.


SEEMINGLY, if you think that I have lost my mind and regards to the diversity of this blog somewhere in the frozen land of popsicles, gelato and gelato plus slushy cocktails, here’s a proof that… you’re absolutely correct.  These days, I feel as much desire to be in close proximity to open flames as there is to a screaming baby on an airplane.  Even with evident love for a bowl of hot and slurpable fire, these days I want my dinner to feel as close to a cold shivering shower as it can get, and believe it or not, it can.

Allow me to present evidence from our last two years in New York where we had the pleasure of visiting Fort Lee a few times, aka the better Korean Town just across the Hudson from Upper Manhattan.  Before such trips, I thought I could be happily-ever-after with Manhattan’s functioning K-town with its satisfactory BBQ following an affordable eyelash-extension.  But Fort Lee had ruined such ludicrous fantasy with delicious aggression.  The variety of dishes served there isn’t too different, but with just an extra pinch of much-ness that kicks them from good, to great.  And among which, the glorious mul Naengmyeon was unlike any I’ve ever had.

It means “cold noodle”, but boy is that an understatement.

Apart from dishes with the same claims, mul naengmyeon has kicked the word “cold” to a new level.  Instead of mixing noodles that are cooled after cooking with various sauces, it plunges them into an icy bath of broth made from beef and pickling juice that is chilled to a borderline frozen state.  As I swam my chopsticks through the frosty lake of flavours, I could hear the sound of slushes colliding in a refreshing symphony.  The buckwheat noodles were cold, chewy and slippery, gliding effortlessly into my properly chilled tummy with the savoury and tangy broth, topped with more pickles and thinly sliced pear and cucumber.

It is not a summer dish.  It is the summer dish.

kimchi-broth-noodle041
READ MORE

Continue Reading

MOSCATO AND SPICES POACHED PEAR GELATO

moscato-poached-pear-ice-cream12

moscato-poached-pear-ice-cream03

moscato-poached-pear-ice-cream06

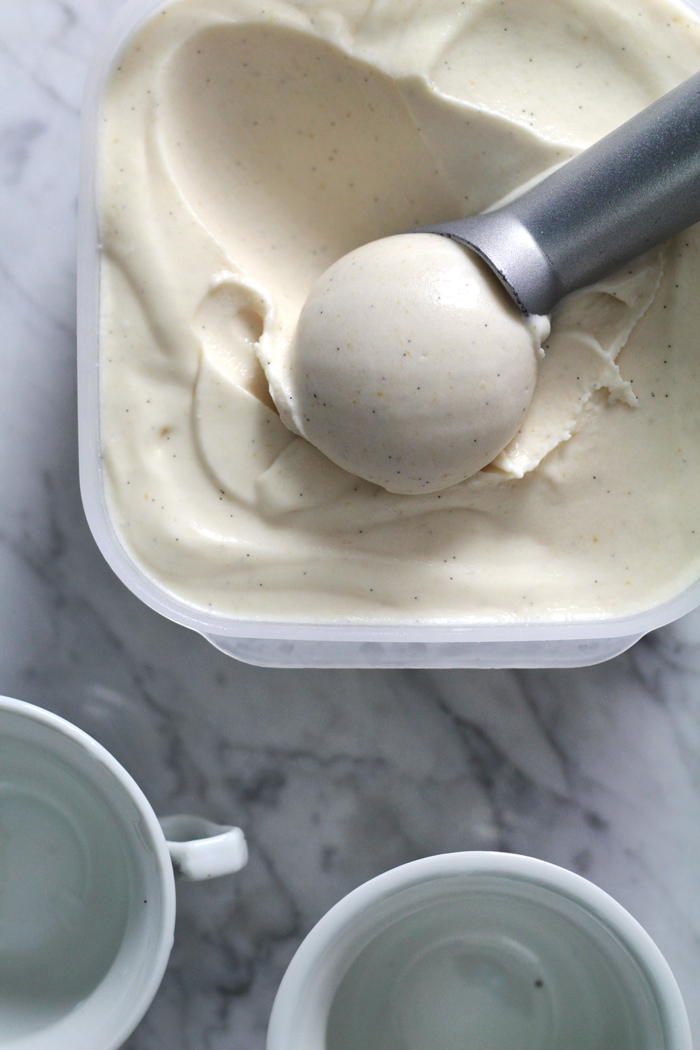
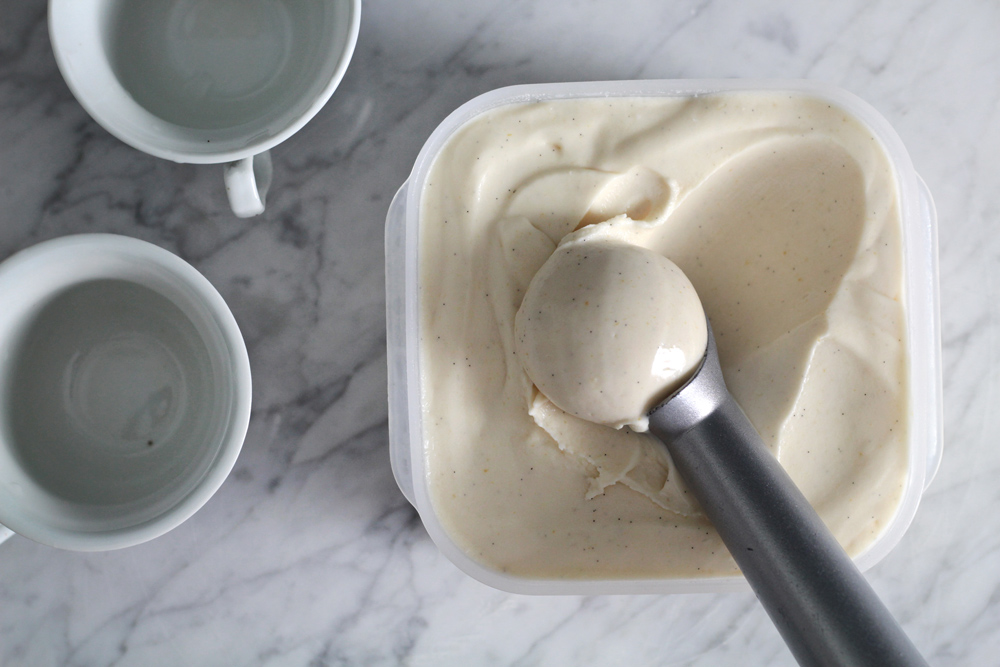
CAN I JUST SAY… ONE OF THE TASTIEST GELATO I’VE HAD

TYPICALLY, this is where I enter the room, neck stretched and knuckles cracked, oozing a bit a creepy calmness to suggest the looming turbulence, and ghostly hovers over the keyboard…  Inhale…  Then screeeech, obnoxiously, on the worst, ever! weekend-getaway from hell, carrying a Dumpling that was dangerously “soupy” and could burst and leak out at any minute!

But… exhaaaale… I’m not gonna go there.  Not gonna complain.  My negativism is very bored with my discontent.

Instead, I’m going to, for just one day, do the thing that… you know the thing, the thing that happy people do.  Right, to bring you only the bright side of life, with teethy smiles, flowers, breezes, and above all else, happy gelato and all.  And not just any gelato, but can I just say, one of the tastiest I’ve ever had, too.  Hey, I said I promised you bright things.  But even with the promise not to go Gibson on you, it is impossible, from a literary point of view, to give you a complete narrative of this recipe without mentioning its less celebratory beginning.  After all, it was a collateral payoff of the disaster itself.

So let’s fast-forward through the theatrical tragicomedy where we found ourselves strapped to a ticking time-bomb in a smothering hot day, playing house with apathetic companies in a sluggish smog, and as if not comical enough, the farce promptly heightened with a side-plot of tree pollen-allergy.  To cut it short, on the way home with a crippled spirit and minus four friends, the story brought me to a roadside fruit-stand which I was certain, giving my trickling “chi” lately, to be the final K.O. of my demise.  But NO.  Well… yes and no.

moscato-poached-pear-ice-cream04

moscato-poached-pear-ice-cream07
moscato-poached-pear-ice-cream08
moscato-poached-pear-ice-cream09
moscato-poached-pear-ice-cream10
moscato-poached-pear-ice-cream11
moscato-poached-pear-ice-cream26
moscato-poached-pear-ice-cream141

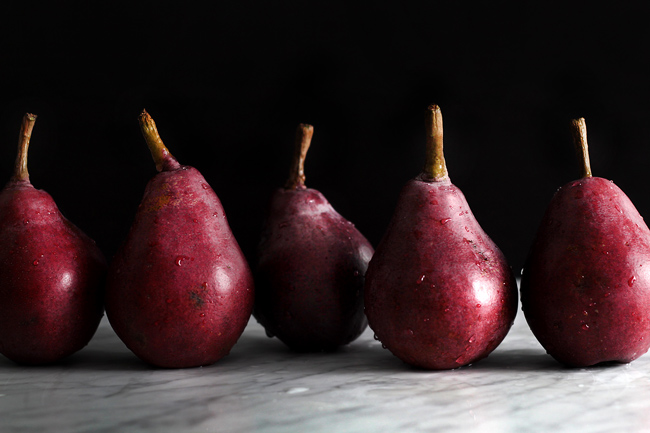
The high-season peaches, smartly, decidedly to side with main plot and joined the mockery.  But tucked in an unnoticeable corner behind the loud flares of summer cherries and melons, was a box of quiet… off-season pears.  Out of place, awkward and unwelcome, they stroke a string inside my empathetic core.  As someone who isn’t normally familiar with pears, I felt a flush of faith and immediately… asked if I could conduct a taste-test.

God damn it! I can be really cynical sometimes!

moscato-poached-pear-ice-cream16

moscato-poached-pear-ice-cream23

But the pears were generous, sweet, and surprisingly fruity and fragrant.  On the rest of the ride home, I had six new companies tucked between my feet.  Of course right away, I started imagining ways I could play with my new friends… possibly… the only friend left.  How about a glazed pear tart to up the already-boiling temperature of my apartment and switch my emotional meltdown to a physical one?  Maybe not.  How about caramel and poached pear cake to nudge me over the edge into those-curious-sidewalk-people-who-mumbles-to-themselves?  Maybe later.  Well, I guess any oven-related tasks were unadvisable.

So I turned my mind to transforming a warm, spicy autumn classic into high-summer treat.  A sweet, fruity white wine cooked down to a syrupy consistency with pears, vanilla beans, cinnamon, star anise and cloves, then blended with cream to form a thick and supple gelato-base.  The high sugar content, balanced by the tartness of pears, ensured the gelato with a dense, pliable and never-frozen-hard consistency that I love, and the flavours were above all else, elegant but rich.  Hugging a cold, soothing box of poached pear gelato freckled with vanilla bean seeds, came the epiphany.  I see that if it weren’t because of a will-bending disaster trip that has left me wary of all social gatherings, I wouldn’t have discovered one my favourite gelato creation and be able to keep it all to myself.

Hmph, if that’s not how your optimism works, I don’t want to hear it.

moscato-poached-pear-ice-cream21


This is a seriously good gelato.  I know that pears are not exactly in season yet, so I think a great substitute would be summer peaches.  The moscato (a sweet fruity white wine) I used was slightly fizzy, which wasn’t actually intended but I don’t think it matters because all the bubbles will be gone in the poaching process anyways.  You don’t need to bleed money for this recipe because the bottle I chose was very reasonably priced at around $10 and the result was still great.

I really struggled whether I should make this a no-churn recipe or not, because theoretically, you can whip the heavy cream to soft peaks then fold in the pureed poached pear-mixture then freeze until hard.  But in the end, I still busted out the ice cream-maker just in case…  If you want to try the no-churn method, chill the purred poached pear-mixture after it’s blended with potato starch, then fold it into softly whipped cream and freeze.  It should do the trick I hope…


Ingredients:

  • 4 medium sized pears such as bosc (16.2 oz/460 grams after peeling and de-cored)
  • 2 cups (500 ml/480 grams) of moscato wine, or other sweet fruity white wine
  • 1 cup (200 grams) of granulated sugar
  • 2 tbsp of honey
  • 1 vanilla bean
  • 1 star anise
  • 3 cloves
  • 1 small stick of cinnamon
  • 1/4 cup (63 ml/60 grams) more of moscato wine
  • 2 tbsp of potato starch, or cornstarch
  • 2 cups (465 grams) of heavy cream (or half-half if you prefer)

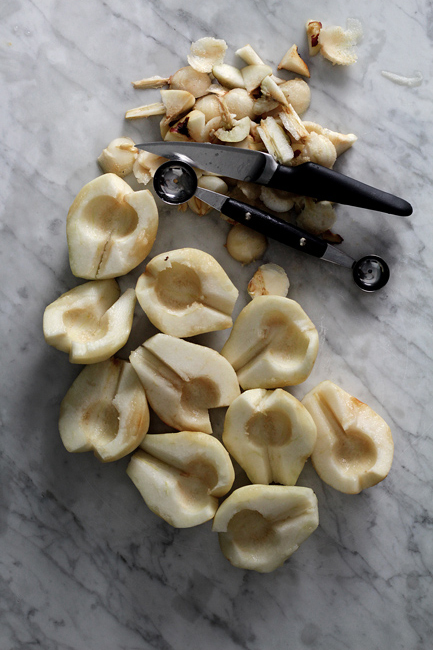
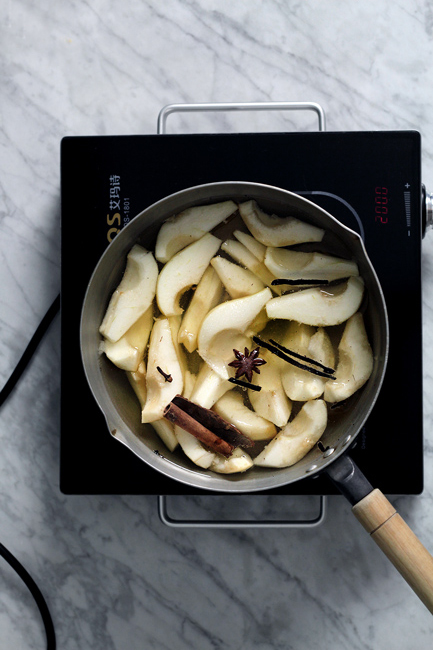
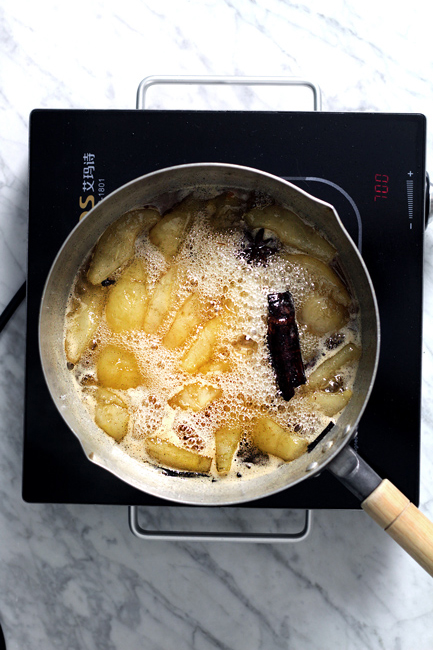
Peel, de-core and cut the pears into quarters.  Split the vanilla bean in half and scrape out the seeds.  Add the pears into a sauce pot with 2 cups of moscato wine, granulated sugar, honey, vanilla bean seeds and the split pod, star anise, cloves and cinnamon.  Cook over medium to medium-high heat until the liquid has reduced a little more than half, and becomes thick and syrupy, approx 30 ~ 40 min.  The pears should be very soft and translucent at this point.

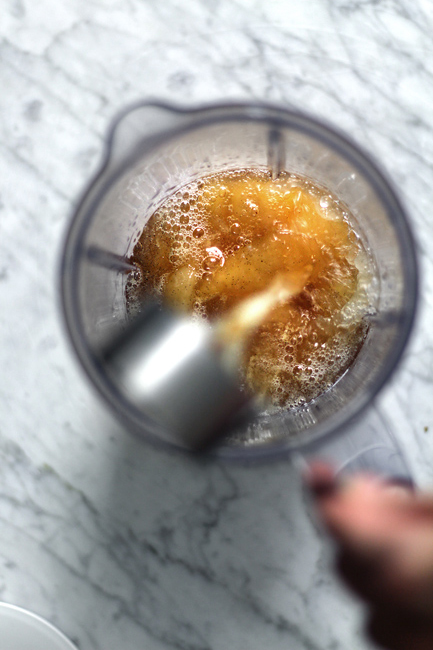
Remove the vanilla pod, star anise, cloves and cinnamon, then transfer the mixture to a blender and add 1/4 cup more moscato wine and potato starch.  Blend until the mixture is completely smooth and thickened (the residual heat should cook the starch which thickens the mixture).  Then add the heavy cream and blend just until combined.  Chill the mixture in the fridge for at least 4 hours until completely cold.  Then churn it according to your ice-cream maker’s instruction, then freeze until hard.  (DO NOT over-churn it.  Stop when the gelato is slightly on the soft side then transfer to freezer.  The denser/less airy texture is what separates gelato from ice cream.)

Serve with extra shot of moscato wine if you’d like.

Continue Reading

CARAMEL APPLE PIE BISCUIT

apple-pie-biscuit-front2

GENERALLY speaking, food makes people happy.

I’d like to think that I make happy foods.  I’d like to think that to the people wondering to this place, who are just one kale salad-away from opening a suicide.word, a fast responding blueberry oatmeal cookie, in some ways, is a contribution to humanity.  I’d like to think that to you out there who voluntarily devotes to a gluten-less life, though beyond my shallow comprehension, must have had your profound and keen purposes… the unintentionally gluten-free mochi donut is my gentle way of saying, I don’t get it but hey let me get you a donut.  Then of course, when all else fails, the sky is falling and all balls are tucked, a full frontal of a pornographic burger wouldn’t be the worst thing to remember last, before quitting it, whatever it is, all together.

But this theory has been testing quite unsoundly in my personal life-lab in the past week (previously on…), mostly due to my neurotic anxiety who has a very inappropriate humor of its own which has proven to be funnier than eating.

apple-pie-biscuit26

Just to be clear, this is not where I brag about thing, but I’ve been cruising effortlessly through the most successful and effective, week-long fasting program that normally only Beyonce can pull off, and finding it a little… bittersweet.  This would have otherwise been a great news, a long-planned and awaited reunion with my dormant human-shapes, unfortunately just not in the optimal scenario as I envisioned it.  Don’t get me wrong, waistline, you look fabulous but fuck I look like shit.

MY ANXIETY… HAS A VERY INAPPROPRIATE HUMOR OF ITS OWN

apple-pie-biscuit28
apple-pie-biscuit29
apple-pie-biscuit30
apple-pie-biscuit06
apple-pie-biscuit08
apple-pie-biscuit32
apple-pie-biscuit33
apple-pie-biscuit34
apple-pie-biscuit35

So in a desperate effort to restore such theory, I’ve embarked on a mission to make the happiest food alive.  Given that this is high pie-season, what’s better than something that, even just by the sound of its name, incandescently cheerful – the all American apple pie.  Hey, I figured if it’s happy enough to have sex with, it’d be sufficient for my condition.

But having said that, I have to be acutely aware of the danger of what a pie-making disaster can do to a fragile state of mind.  These crusty, happy-sounding fellas can be, more often than not, little mean soggy bi-polar bastards.  Best not to go there for the sake of my livelihood.  Instead, I’m going to impose the happy ideal of an apple pie onto these much faster, easier, and above all else, less disaster-friendly folks.  I’ve decided to turn it into biscuits.

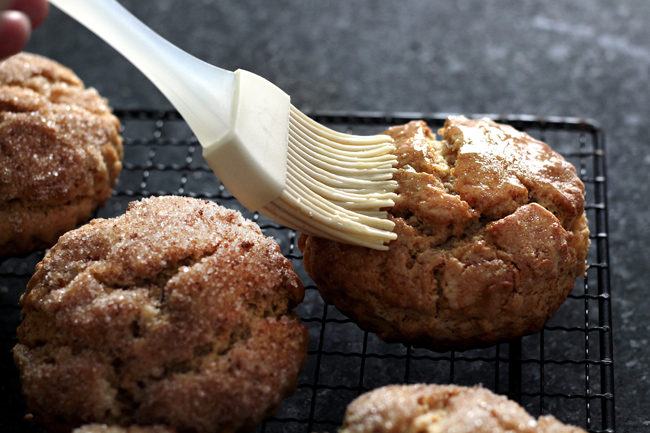
So there I found myself in a gloomy, bleakly spirited afternoon, clinging over the edge of the kitchen-counter gulping down dose after dose of buttery crumbed biscuits that are sweetened with salted caramel and twinkle-lighted with soft, candied apples and warm cinnamon, allspice and nutmegs.  Then it occurred to me that, no, I needed something even more potent.  So I brushed them with melted butter and tumbled in nutmeg sugar.  At this point they were already reaching heavenly goodness but I was a holier mess, and I kept thinking that it just… just needed a litttttle something more…  What is it?  God damn it I had it at the tip of my tongue…

apple-pie-biscuit38

Then OH RIGHT!   Of course.  Silly me.

apple-pie-biscuit181


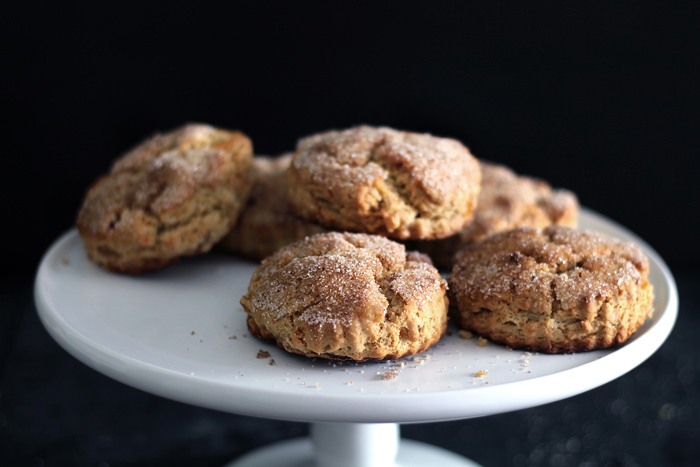
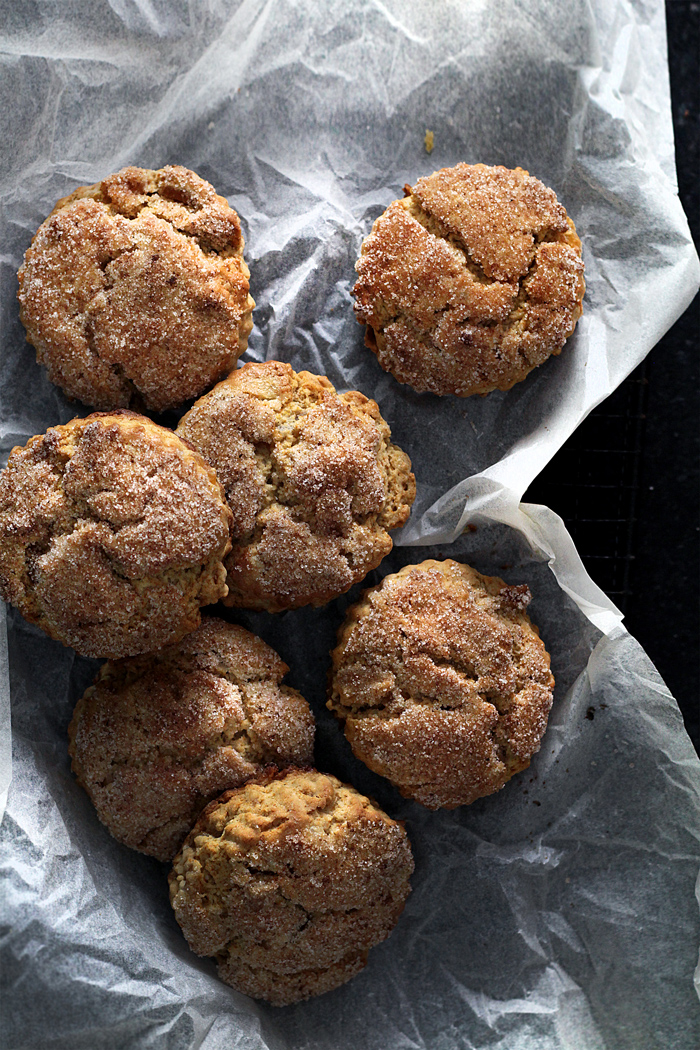
Makes: 7 small biscuits

Ingredients:

  • Caramel apple/wet ingredient:
    • 1/2 cup (154 grams) of granulated sugar
    • 1/4 cup (61 grams) of apple juice
    • 1 1/2 cup (185 grams/approx 2 small apples) of small-diced baking apple
    • 1/4 tsp of sea salt
    • 1/8 tsp of ground cinnamon
    • 1/8 tsp of ground allspice
    • 1/8 tsp of freshly grated nutmeg
    • 1/4 cup (60 grams) of apple juice
    • 1/4 cup (58 grams) of heavy cream
  • 1 1/2 cup (212 grams) of all-purpose flour
  • 3/4 tbsp of aluminum-free baking powder
  • 1/4 tsp of baking soda
  • 5 1/2 tbsp (80 grams) of unsalted butter, very cold and diced
  • 2 tbsp of melted butter for brushing
  • 1/4 cup (77 grams) of granulated sugar + 1/8 tsp of freshly grated nutmeg for surface

To make the caramel apple/wet ingredient:  In a sauce pot, bring 1/2 cup of granulated sugar and 1/4 cup of apple juice to a boil over medium heat.  Swirl occasionally and continue to cook until the liquid has evaporated and the sugar becomes a rich, dark amber color.  This will take a few minutes.  Then add the small-diced apples and continue to cook over medium heat.  The caramel will harden in contact of the cold apples, so stir with a spoon until all the caramel is melted again.  Cook until the liquid/juice from the apple has mostly evaporated, and the sauce slightly thickens again, approx 7 ~ 10 min.  You should have what looks like about 1/4 cup of liquid in the pot, and the apples should be almost translucent, like candied.

Stir in the sea salt, ground cinnamon, ground allspice, and freshly grated nutmeg.  Then add another 1/4 cup of apple juice and heavy cream.  Mix evenly then chill for at least 1 hour in the fridge, or 30 min in the freezer until cold.

To make the biscuit:  Preheat the oven on 425ºF/220ºC.

Whisk all-purpose flour, baking powder and baking soda in a large bowl (or you can do it in the food-processor).  Add the diced and cold unsalted butter, then with a pastry-cutter, cut the butter into the flour until the largest bit is about the size of a small pea (or pulse the food-processor until this happens, then transfer the mixture to a large bowl).  Add the chilled caramel apple/wet ingredient, then with a spatula, fold the mixture together until a wet dough forms.  The dough should be wet and sticky.  If it’s too dry with loose crumbs and flour not coming together, add another tbsp of heavy cream.

Transfer to a floured surface and pat into 1″ (2.5 cm) thickness.  If the dough feels warm or even room-temperature (due to the wet ingredient not being chilled enough), wrap in plastic and flash-freeze for 30 min before proceeding.  Cut the biscuits out with a small cutter, then transfer to a parchment-lined baking sheet.  Gather the scraps and cut again.  You should have about 6 ~ 8 biscuits.  Brush the top with heavy cream then baking in the oven until golden browned and puffed, approx 15 min.

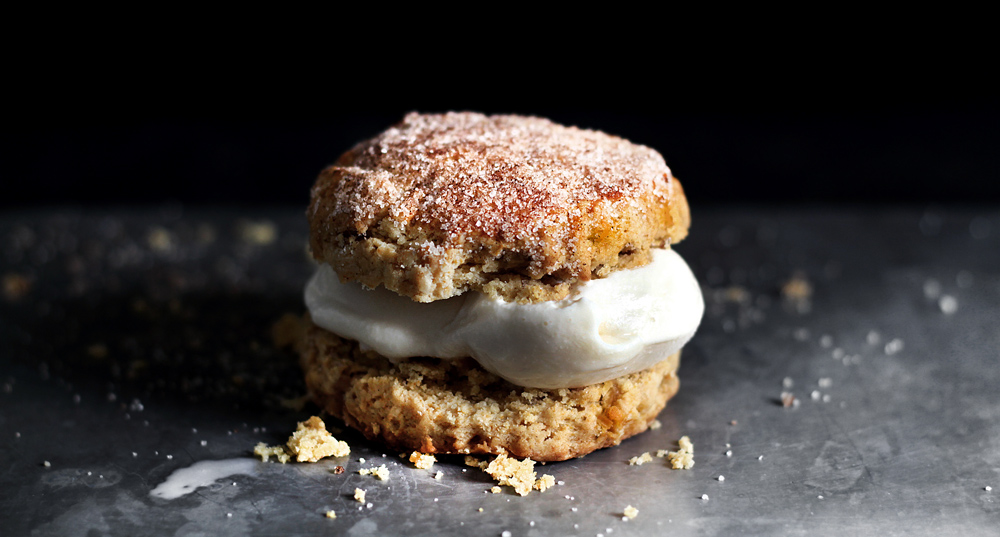
Allow to cool for 20 ~ 30 min on a cooling rack.  Brush the tops with melted butter then gently press against the nutmeg-sugar until it sticks.  If you want to slice it open for ice-cream sandwich, use a serrated knife because these are quite delicate.

apple-pie-biscuit44
Continue Reading

FROZEN GRAPES DAIQUIRI

grape-daiquiri-front

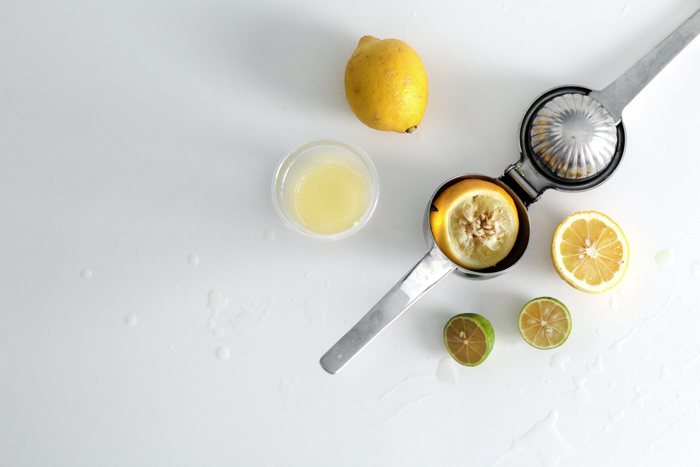
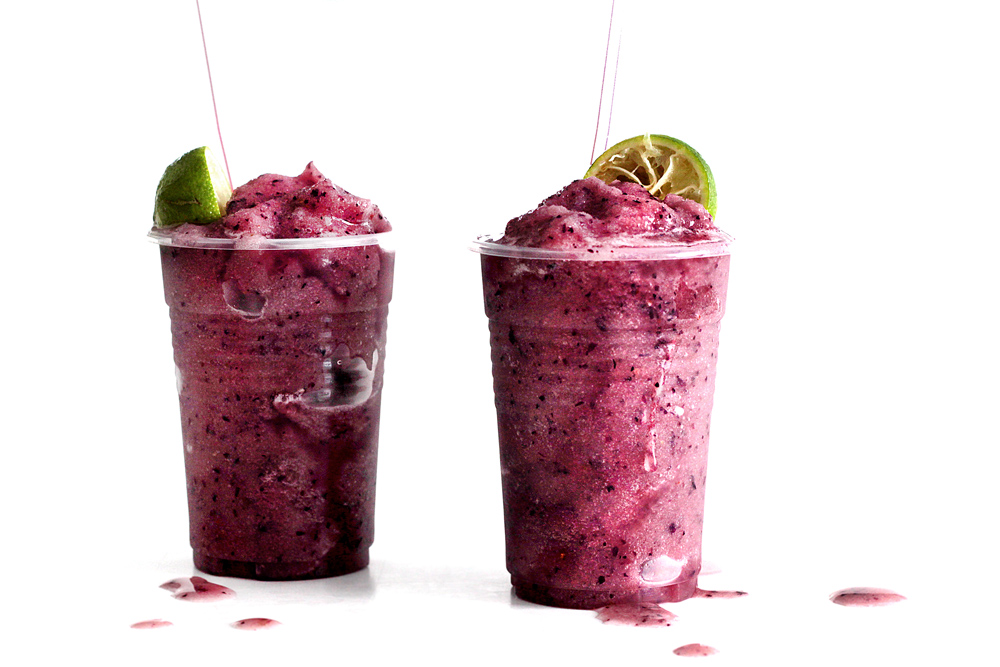
I’LL SEE YOU ON THE OTHER SIDE

IN JUST a few days, lays a much anticipated family weekend-getaway to Beijing’s outskirt near the Great Wall.  Long neglected enthusiasm and BBQ-equiped, we were gonna shake the clouds of illness that’s been shit-storming us for the the past entire year, and dare to freaking live again.  Just a few days… juuust a dainty little few days…  And fuck.

My Dumpling has to drop a death threat on me.  I am being punished, for optimism.

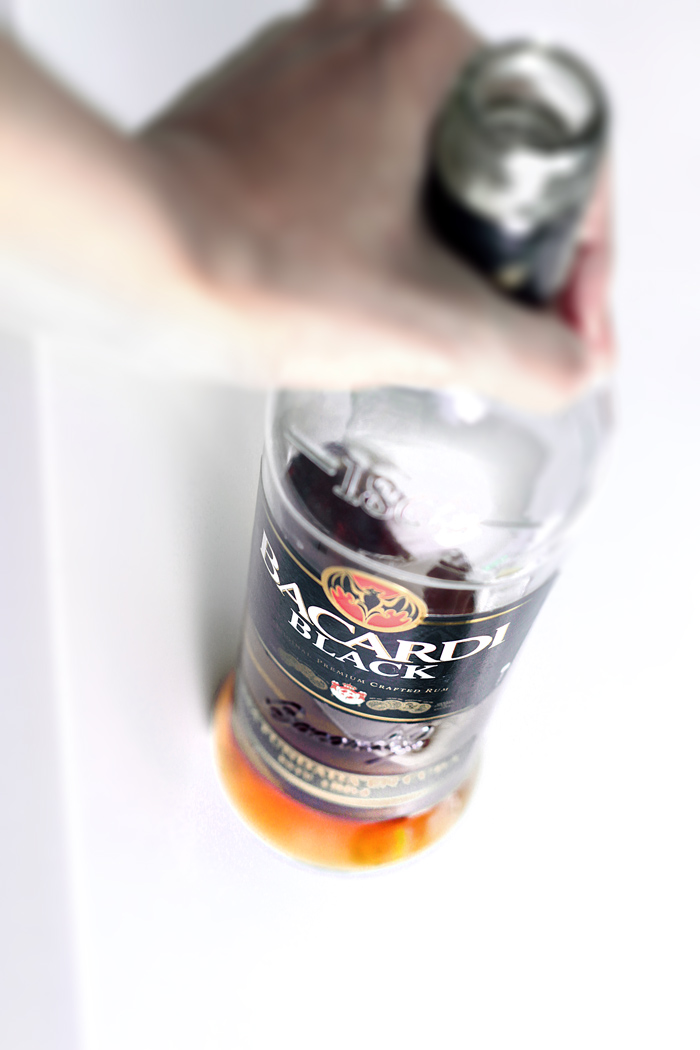
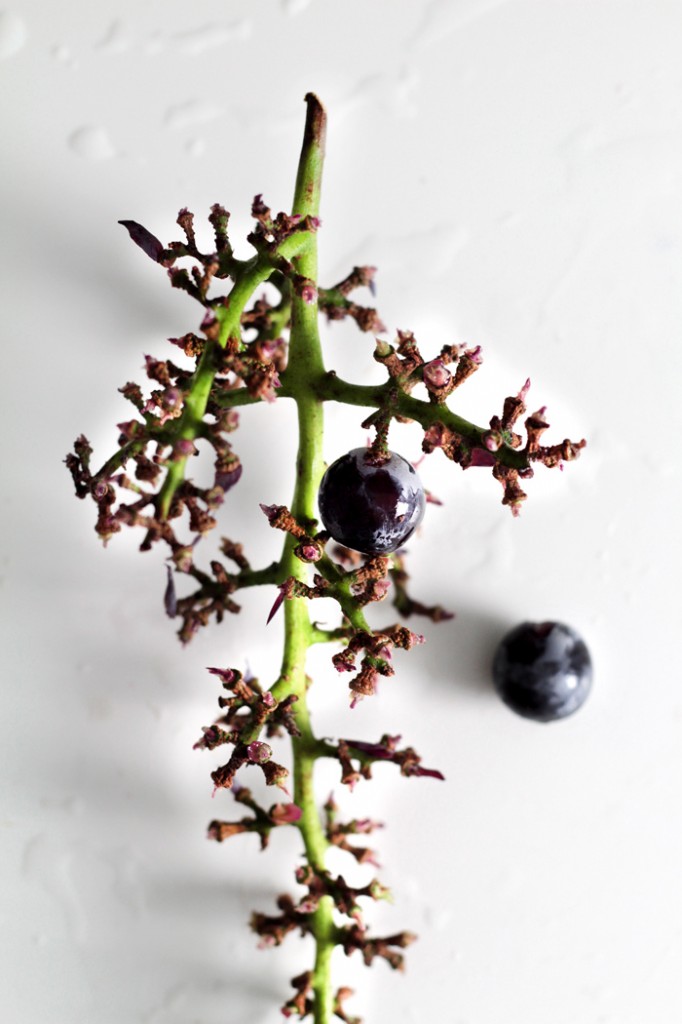
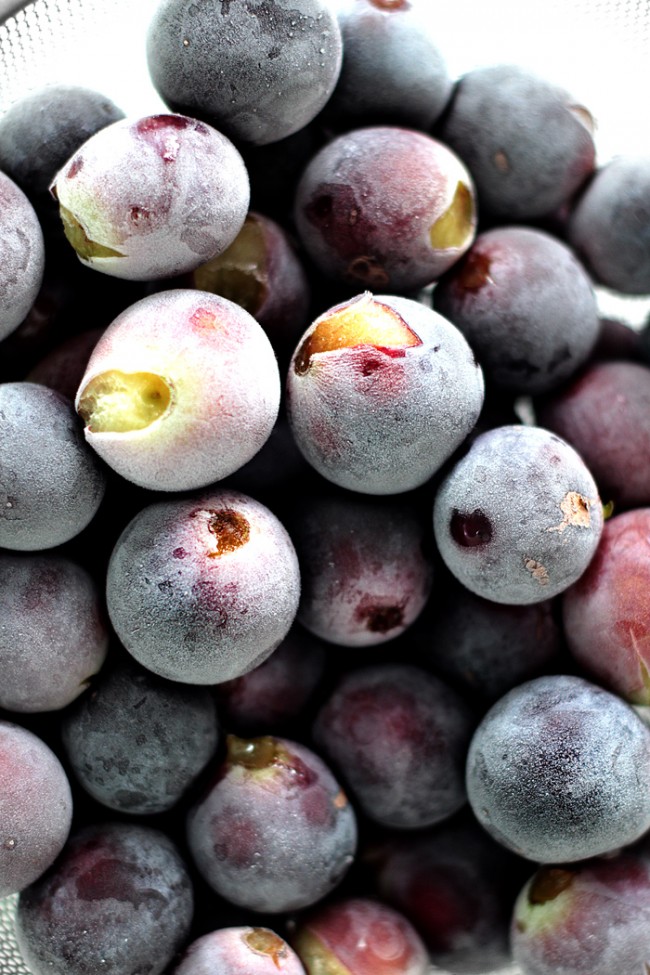
If you knew me at all, you’d know that I am a walking train-wreck in situations like these ones.  Not even an usually delightful box of frozen grapes can soothe.  It needs to be boooozed up.  Please, drink up.  And I’ll see you on the other side.

grape-daiquiri42
grape-daiquiri31
grape-daiquiri271
READ MORE

Continue Reading

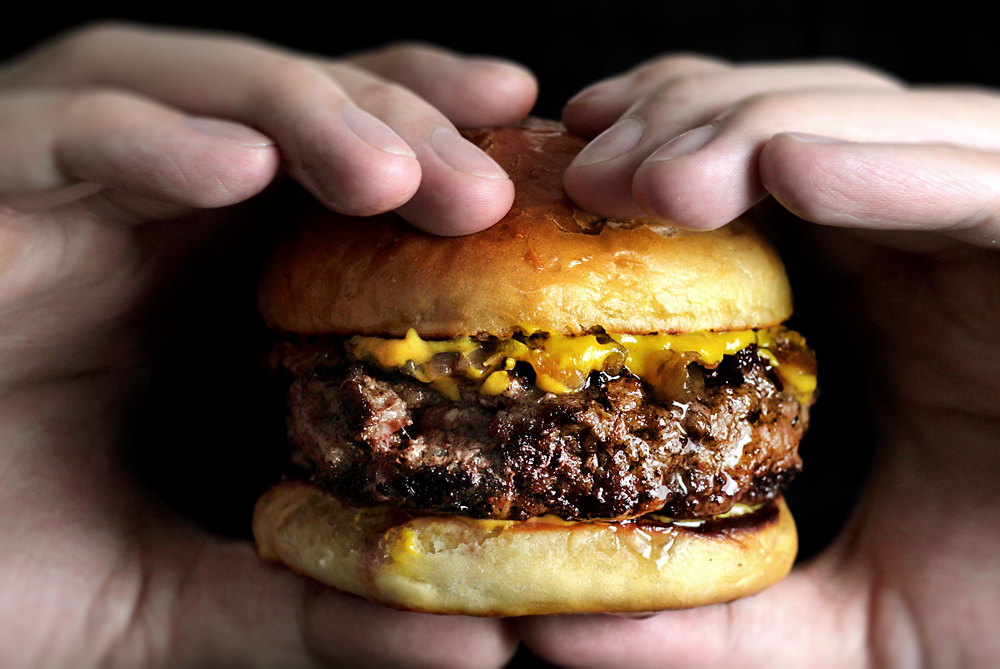
THE MEMOIR OF A BEEF BURGER

burger-pattie-front2

MY grandfather was a mysterious man.

Not much is known for facts but there are certainly many stories about him, speaking of a skinny, humble working-class man often seen in between two slices of bread trying to make a buck or two at food fairs back in the late 1800’s.  Who his ancestors were and where they came from, is still up to this day, my most intimate wonders.  Were they even named a Burger?  And whatever stories, legends even, being told about his tale of becoming the untoppled icon of a nation’s food-identity, remain exactly that, just stories.  But if there is one thing indisputable about those stories, the truth that inspired the myth, or at least so everyone says, it’s that he was a fine and proud citizen of America.  And that’s fine enough by  me.

Truth is, I was never too held up on who my grandfather was.  After all, I’m pretty sure, I am nothing like him.  I am more of the making of my father, who’s the heir of an idea and the product of the industrial revolution, who, all together, turned what my grandfather left him into an empire that forever changed how a country eats, the world even, for better or worse.  In various steps and establishments, he invented a new era in America called the fast food around the 1940’s, who defined and made our family name, Hamburger, known to literally every man, woman, child, some lucky dogs and city pigeons around this world.  Most adore him.  Many don’t.  History will decide wether to side with him or not, but one thing for sure is that he is a great, historic man, and I am, his legacy.


MY FATHER IS A GREAT, HISTORIC MAN.  AND I AM, HIS LEGACY


My father is a man of few words… for that I don’t know what aspirations, if any, he has for me.  Yes, has.  I didn’t say he dead.  In fact, he is at the height of his prime at expanding his already mega dollar-making machine through every human-occupied corners of this world.  Right, loaded.  That we are, too.  Perhaps it’s precisely because I grew up accustomed to the security and comfort of a family establishment, I became something you would call, a rebel.  I have no desire to follow my father’s footsteps in the advancement towards industrial fooding.  It’s a fortune yes, but nonetheless a fortune made on basic, unornamented commodities that lack glam and artistry.  Like the rest of my own kind, the third generation of a traditional empire who  has too much to prove for themselves, I am, above all else, eager to redefine.

And boy, redefined I have.

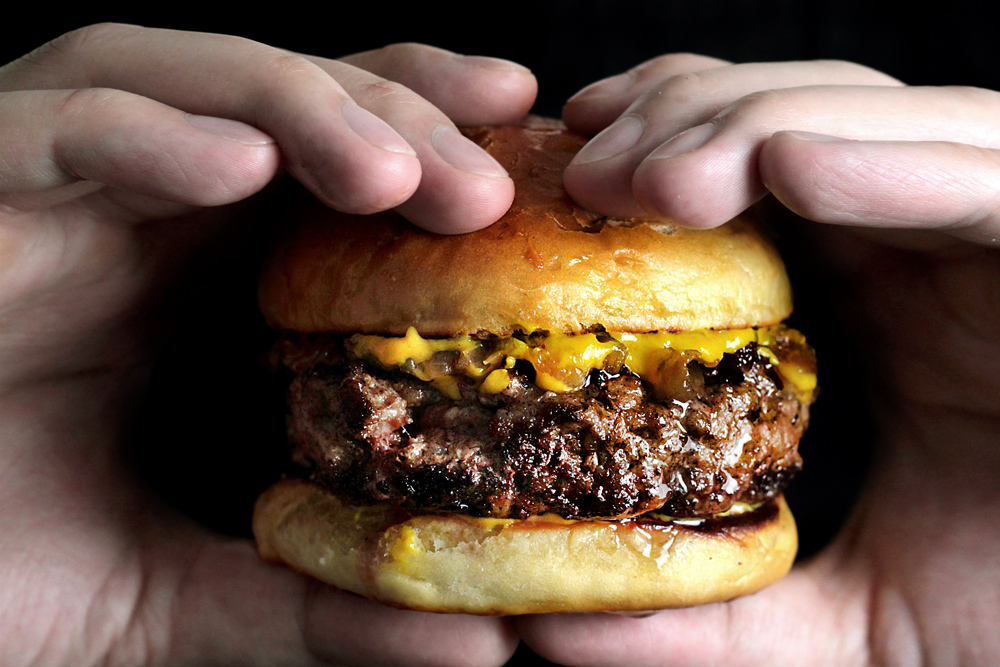
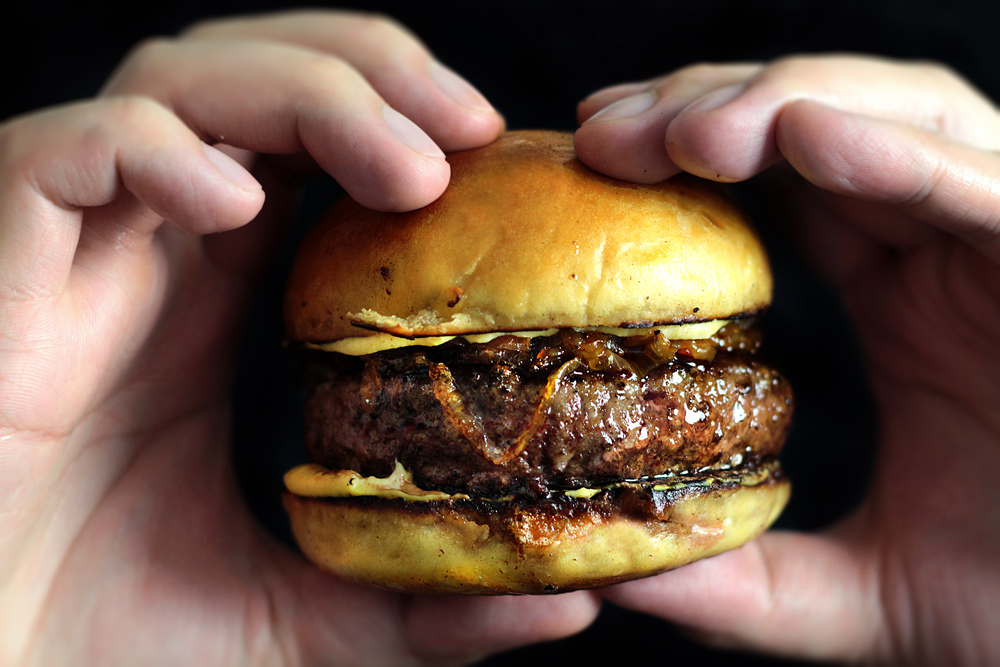
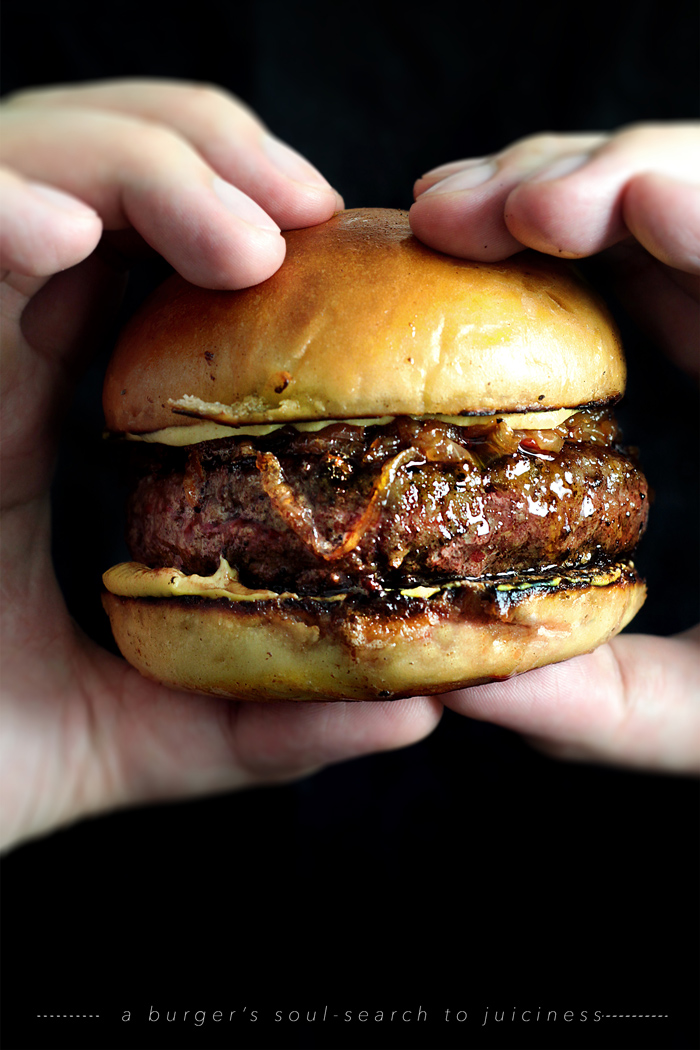
Somewhere in the last decade was the ignition of my own torch to pass down, and it’s burning brighter than ever.  My grandfather would never in his wildest dreams, the flappy white toasts and leftover ground meat that he was, imagined the burger that I am today.  A long way from being a mere necessity in the 1800’s, or the cold counters of soulless assembly-lines in the 1900’s, I am the poster child of the modern American food-scene, attended with almost obsessive care, even labeled black, served to the most stellar eaters in the country.  I carry myself with prestigious cuts of beef, in the company of top knives in the industry.  I am more than food.  I am porn.  Some even say, better than sex.  I wouldn’t know.  I’m just a burger.

But that was the hubris of my youth.  Today, I am an older, wiser man.  In the settlement of fireworks and egos, I have grown enough confidence to tell you that mastering me is only as difficult as the industry would like you to believe.  With simple tips and tricks, I am not, unlike my grandfather, a mystery.

And maybe, who knows, that you’ll be the next human to reshape the future of my family.

burger-patty02
burger-patty04
burger-patty07
burger-patty06
burger01
burger-patty08
burger-patty09

To home-grind your patty, or not to home-grind your patty?  Well, there are pros and cons on both sides.

burger-pattie-front3

  • PROS on grinding your own beef:
    • You get to be as fancy as you’d like with the cuts. A combination of aged rib-eye, skirt steak and brisket is said to be the blend of supremacy.  The secret on the ratio is a highly guarded, overrated marketing gimmick in my opinion.  You pretty much can’t go wrong with these cuts, as long as you don’t included unwanted tendons and excess connective tissues.  Whatever the combination is, I like to result on a total 30% of fat just because we are on the subject of lusciousness
    • Update on 2014/07/13:  A reader reminded me that adding seasoning and spices directly into the ground meat (like making sausages) is also another pros!  Because mixing already-ground beef can make the meat tough.
  • CONS on grinding your own beef:
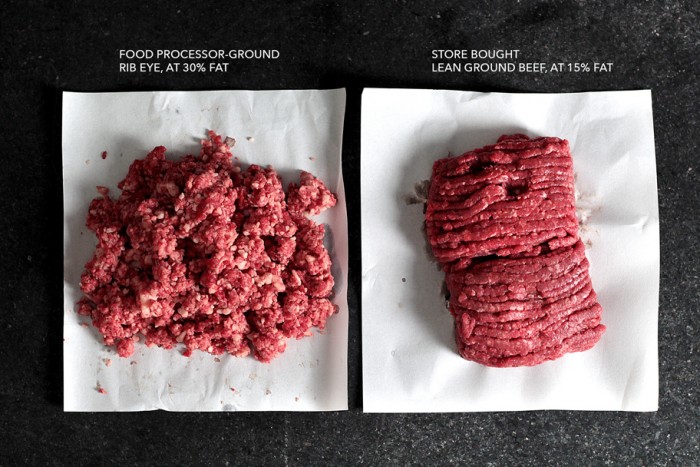
    • Most people will default to a food-processor for grinding at home.  But if your food-processor is a less robust machinery, it can result in uneven, chewy bits of fat and connective tissues that aren’t cut properly.  Running the machine for too long will give you a pasty, woody ground which is no better than store-bought ground beef, not to mention a waste of money.
    • The consistency of a food-processor ground beef is still, more or less, different than from a meat grinder.  The meats are cut into tiny tiny pieces that resembles ground meat, but has a “chunkier” texture.  Some prefer it.  Some don’t.  For example, you can compare the difference in texture between the top-left picture (food-processor ground) with the top-right picture (store-bought meat grinder).

burger-pattie-front2

  • PROS on store-bought ground beef:
    • Well, convenience.  And cheap.
  • CONS on store-bought ground beef:
    • Most of supermarket’s ground beef is run through a fine-grind setting, resulting in a bit of “mushy” texture.  It is better to ask the butcher, if you have one, to grind the beef on demand through a coarse setting on the meat-grinder.
    • Obviously you’ll have less control over the fat-content and cuts of the beef.  The fat content will affect how much the patty will shrink during cooking (more details on shaping the patty in the recipe).  Some supermarkets do label the fat-contents of the meat, some don’t.  But is this going to present a huge problem for you?  Not really.  The shortcomings of store-bought ground beef can be made up with some flavouring tricks that will turn it into a great burger as well.

Whether or not your patty is of a fancy cuts of beef or down-to-earth store-bought, it should be treated with the same care and details.

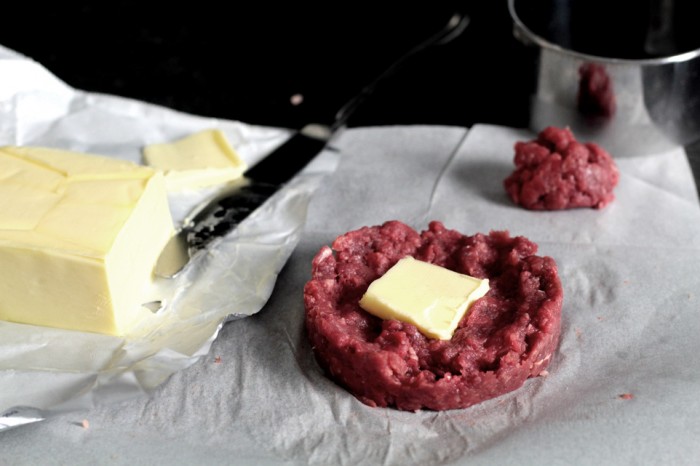
There’s a few things here that is a bit unorthodox.  First, is stuffing butter inside the patty.  This recipe is one of the rare cases where you want o use salted butter, instead of unsalted butter.  The salted-ness will flavour the center of the patty where you otherwise can’t (mixing the ground beef in order to season it, will toughen the meat).  The butter will melt and run through the ground meat during cooking.  Even though you may loose most of the butter, the result is a more flavourful and juicier patty.  Update 2014/07/13:  Using herbed/seasoned butter can be a good way to introduce added flavour to store-bought ground beef without having to mix it.  A reader suggested using frozen butter to prevent melting too fast during cooking.  Let me know if anybody has tested this theory :)  

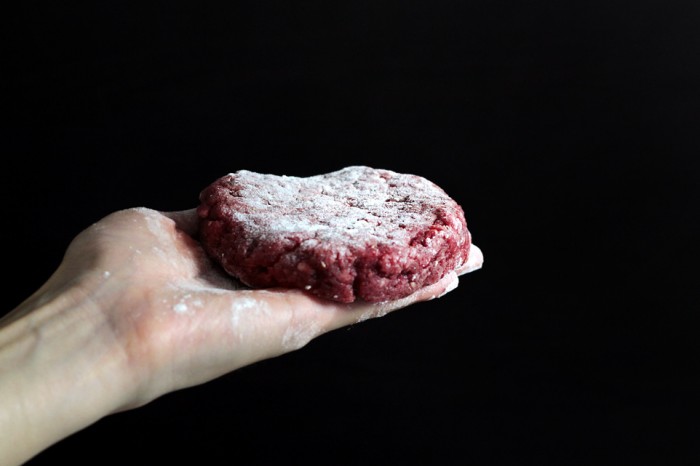
Then, the dusting of seasoned flour on both sides of the patty can seem quite weird.  But I think it encourages caramelizing and the forming of a “crust”.  Just a whiff-y thin layer of seasoned flour will not taste like “breading”, but instead, a deeper… nuttier and crustier surface.

Then, I like toasting the buns in the same skillet as the patty is cooking.  They will pick up the rendered fat and browned bits.  Overall, more flavourful.

This burger is kept simple, just a great patty, great bun, caramelized onion and Dijon mustard.  I’m not including any measurements/weights for patty because it will vary greatly based on the size of the buns using.  You should measure the patty based on diameter and thickness.  And I’m using these potato rolls.  I’m not going to include instruction for caramelized onion because it’s already widely available.  But adding a few halved cherry tomatoes while cooking the onions (let them caramelize together) will add good flavour.


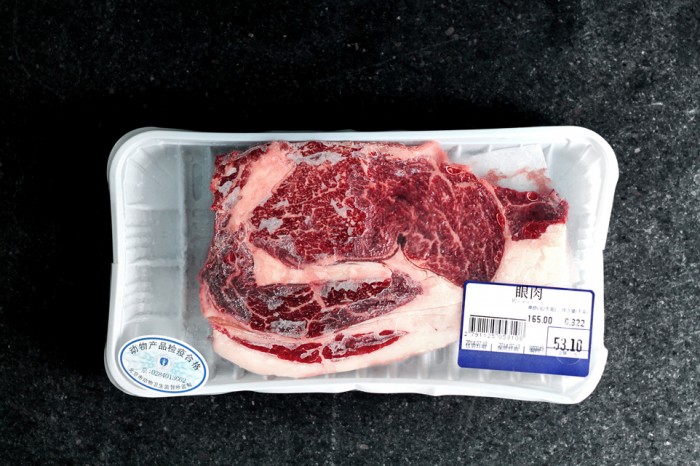
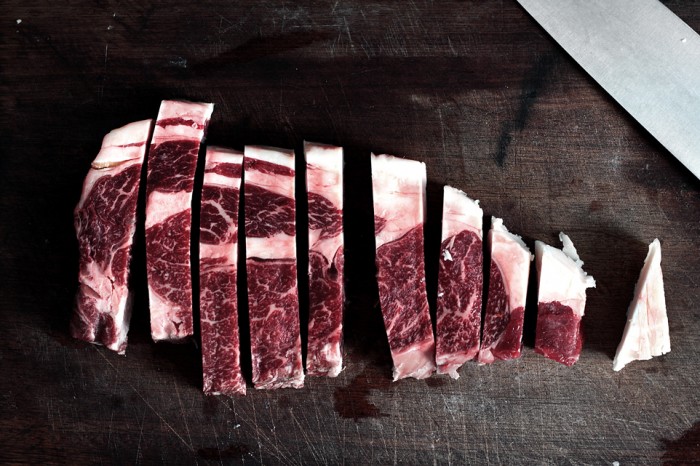
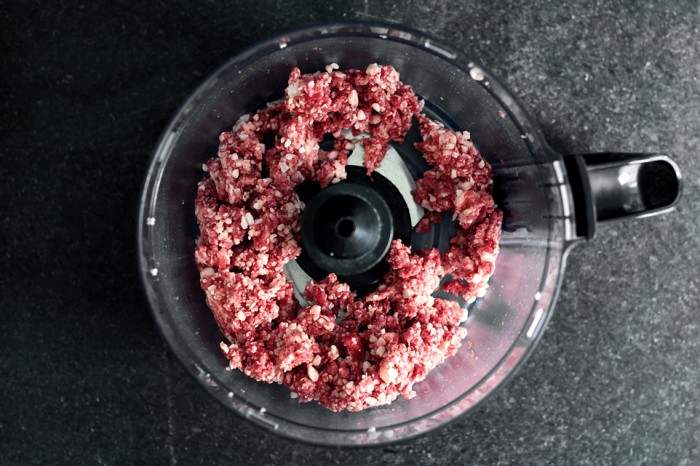
To grind your own beef:  Choose a combination of cuts between rib-eye (for fat and flavour), skirt steak, chuck or brisket (for beefy flavour) with the total ratio of fat at about 30% (I used only rib-eye).  Remove a small piece of fat from the steak and reserve for cooking, then cut the rest into small chunks.  Cover with plastic-wrap and flash-freeze for 1 ~ 1:30 hours until hardened (but not stone-hard).  Transfer them into the food-processor, filling it only 1/3 of the way at a time, and pulse until the meats are cut/ground into very tiny pieces, resembling ground meat.  If not using immediately, transfer the ground beef onto a paper towel-lined baking sheet (to absorb excess liquid) and keep cold inside the fridge.

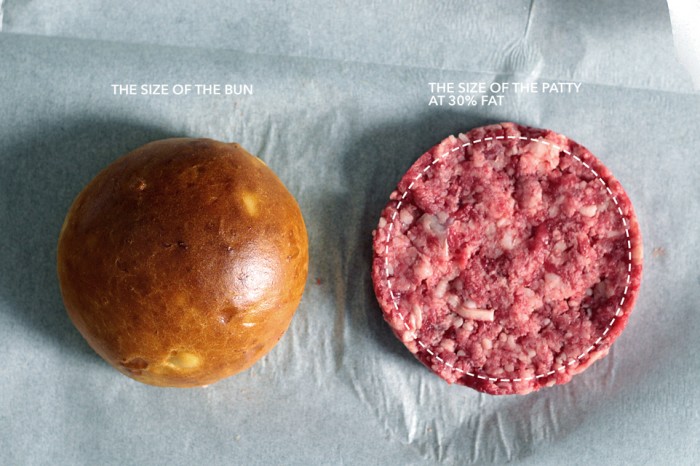
At 30% fat, the patty will shrink during cooking as fats are rendered down.  So you need to calculate the diameter of the patty at 15% larger than the diameter of the buns, and each patty should be 3/4″ thick (about 2 cm).  I highly recommend using a round biscuit-cutter to help forming uniformly shaped patties!  It makes a difference.

Choose a round cutter with the right diameter for your patty.  Put a layer of ground beef down and make sure it conforms tightly to the shape of the cutter.  In the center of the patty, put a slice of salted butter that’s about 1 tsp, then top with another layer of ground beef.  The whole patty should be 3/4″ thick.  Again, make sure that the meat conforms tightly to the cutter, as well as sticking soundly to the bottom layer of meat.  Slowly remove the cutter/mold, then transfer the patty to a paper towel-lined baking sheet.  Repeat with the rest.

To use store-bought ground beef:  Store-bought ground beef usually ranges from 10% to 20% fat, sometimes up to 25%.  The leaner the beef, the less it will shrink during cooking, so pick a round cutter/mold that’s 5% larger than the buns.  Repeat the making of patties as instructed above.

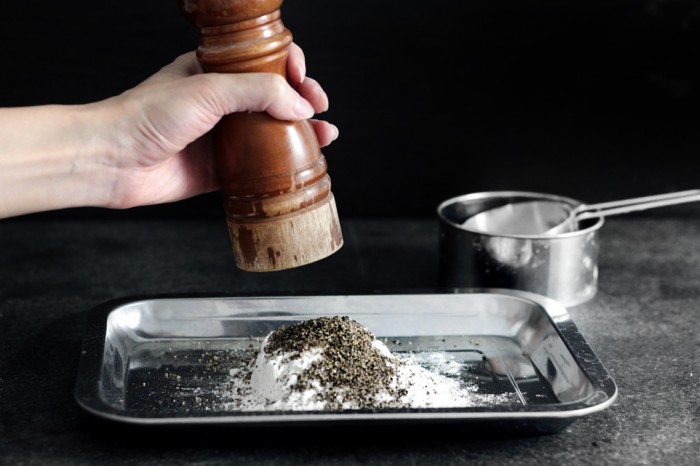
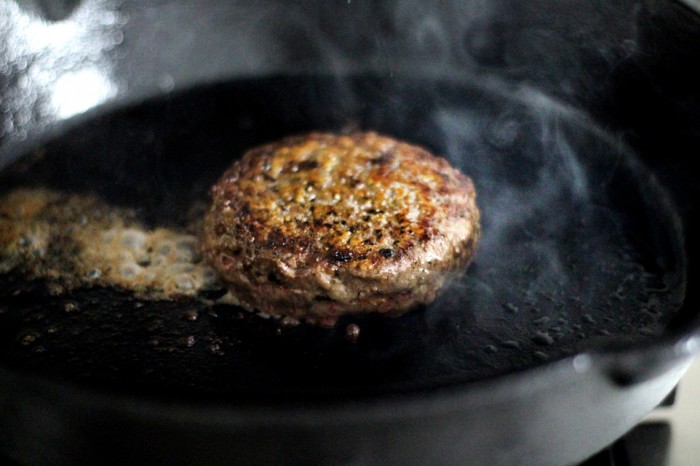
To cook the patty:  Mix 1/2 cup (63 grams) of flour with 1 tsp of salt and 2 tsp of freshly ground black pepper.  Lightly pat both sides of a patty with the flour mixture, and dust off ANY excess.  Heat a large, heavy-bottomed skillet over high heat.  Rub the reserved beef-fat on the surface of the skillet until you have a thin layer of oil (or use bacon-dripping).  Gently place the patty on the skillet, and toast the cut-side of the buns on the side.  Don’t move the patty until you see a browned crust has formed on the bottom of the patty, then flip it over (the interior butter will ooze out, it’s ok)(remember to remove the buns once they are toasted!).  Re-seaon the patty with sea salt and freshly ground black pepper during cooking.  Never cook the patty all the way through.  The best doneness, I think, is medium-well done.   The patty should have deeply caramelized crust on both sides, but you’ll still see pinkish juice oozing out from the mid-section.  The skillet needs to be hot enough to achieve this.

Transfer the patty over to the bun that’s already smeared with Dijon mustard on both sides.  Top with caramelized onions and let rest for 5 min, then serve.

burger-patty15

Continue Reading

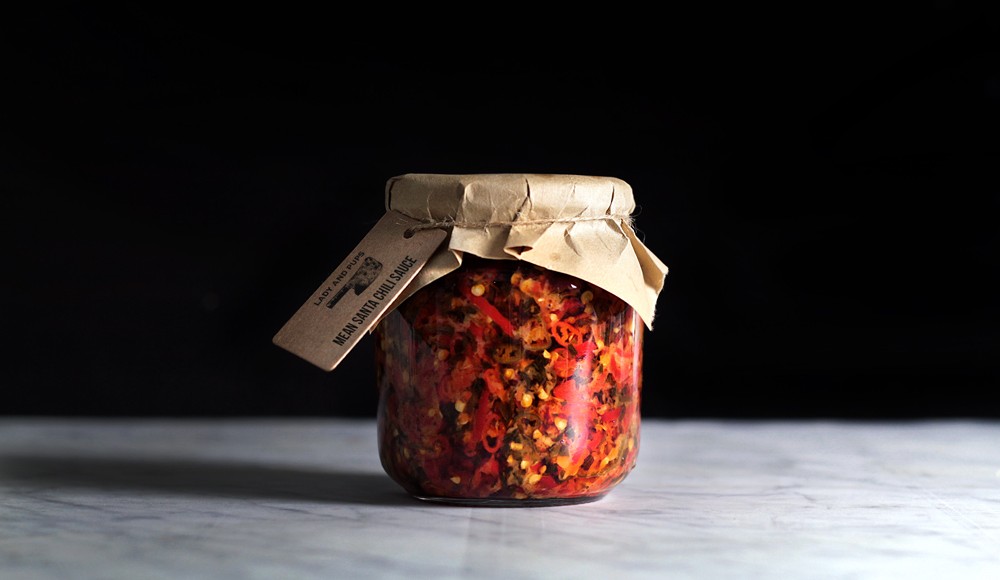
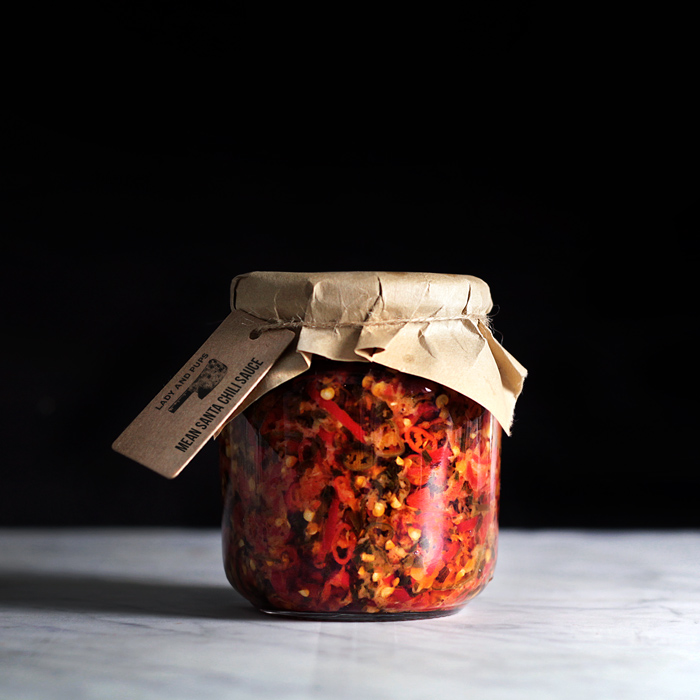
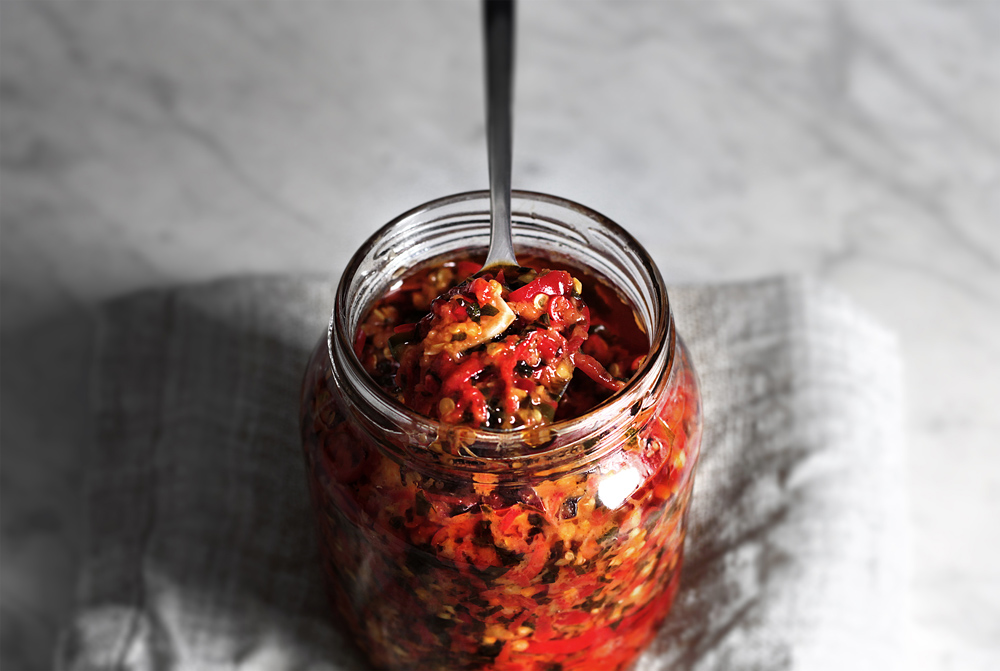
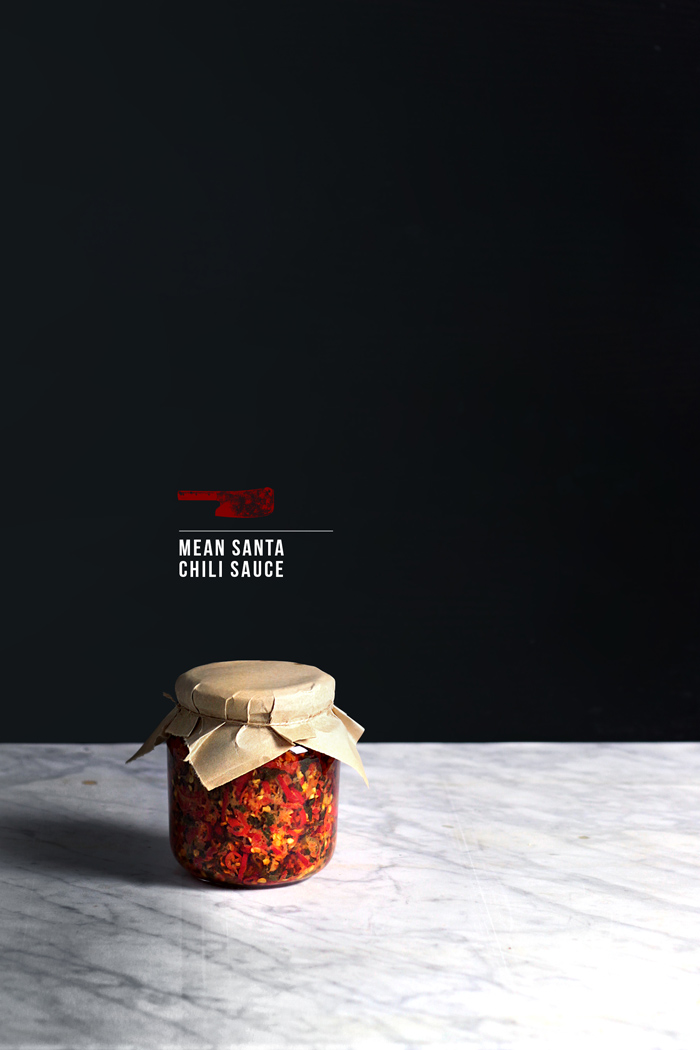
MY FAVORITE CHILI SAUCE – THE MEAN SANTA

mean-santa-chili-sauce-front2

THIS, this is my favourite chili sauce yet.  And that’s saying a lot.

One of the perks about growing up from an Asian background is that, pretty much since birth, most of us have been prepped in a semi-military-style training to resist torture and pain… that’s inflicted onto our taste-buds.  We’ve been conditioned to be susceptible, embracive even, to all forms and types of heat-source applied through all kinds of torture devices, that it will take a Jack Bauer to break our affiliation with the red terror.

In fact, we’ve grown so twisted in our relationship with such sensory violence, we search for it even when it isn’t given.  It’s almost guaranteed that at every food-serving locations, there would be some kind of hurt-yourself-if-you’d-like chili condiments available upon request, and you’re damn right we smother it onto just about anything until the subject bleeds red and begs for mercy, or wait, is that just the screams of my own consciousness?  Why do we do this to ourselves?  Because we know that there’s no gain without pain, and even a candy, sooner or later, needs to learn how to be a man.


”  ONCE YOU’VE DEVELOPED

AN INTIMATE RELATIONSHIP,

INTRODUCE HIM TO

YOUR BREAKFAST EGGS  “


Naturally, this type of die-hard environment breeds a certain level of snobbery.  If there has been any doubt on how we perceive our paler friends from the west when it comes to cooking and bottling heat, even though this is clearly not a competition, I’d like to end all speculation by saying… we win.  You see it’s not just about the heat and murdering brain cells, but about the flavour as well.   Whereas most North American brand hot sauces are vinegar based – some of which I have no doubt, is adequately hurtful – with little difference between them except for intimidatingly named chilis as ingredients, the world of Asian chili sauce (or Chinese ones alone) is a kaleidoscope of varieties.  And instead of pureed and in liquid-form, they are mostly oil-based with chunky textures, striking almost as a… side-dish.  Because for us, the red terror is not to be gingerly dabbed.  Dabbing is for baby-buttocks.  When we want to eat our chilis, we want to eat our chilis.

mean-santa-chili-sauce02
mean-santa-chili-sauce05
mean-santa-chili-sauce03
mean-santa-chili-sauce06
mean-santa-chili-sauce07
mean-santa-chili-sauce08
  

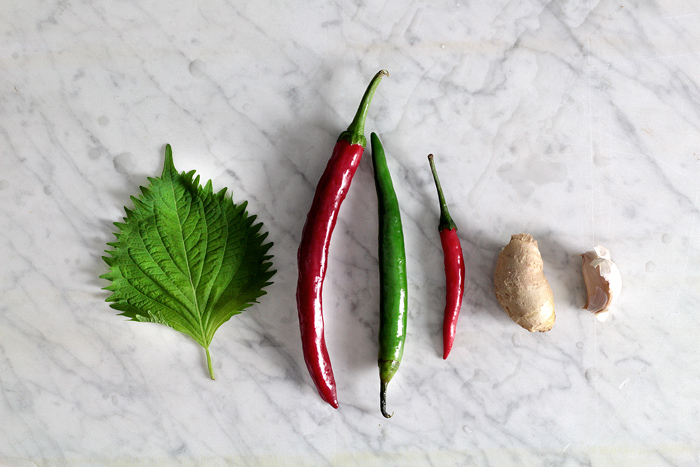
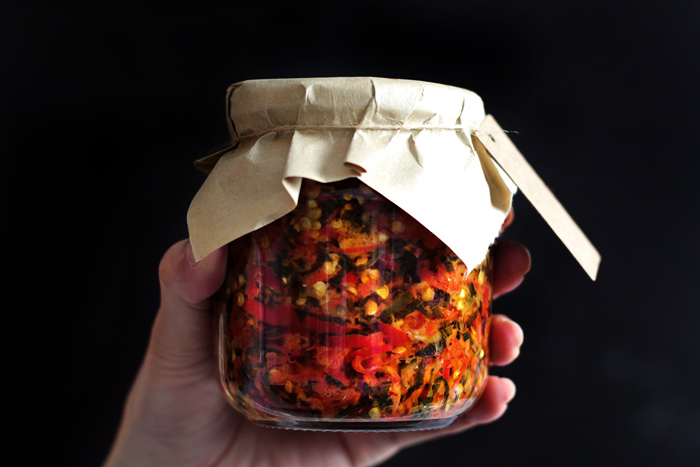
So I hope I’ve made myself clear.  Throughout a life swimming in a red sea of hurt, it’s saying a lot for me to name a “favourite”, but I believe I’ve found one, so far at least, and I’m calling it, or him… The Mean Santa.  Why?  Because the ingredients are a vibrant combination of red → as in red chilis of course, and green → as in green chilis but more importantly, a giant stack of shiso leaves which give him a subtle, background fragrance.  But even more importantly, why is he my favourite?  Because he’s not just a spicy mean asshole, but he’s got flavours… substance… and depth, that make him so painfully loveable.  And despite of the suspiciously Asian-central ingredients (ginger, fish sauce… shiso), he is a fairly universal condiments that will make just about anything east or west, shall we say, not boring.

Hey, this is not a theory untested.

In the span of the last couple of weeks, The Mean Santa has scorched through my soft parts in company with just about anything except for the kitchen sink.  He will bear gifts to any grilled meat or seafood that you have prepared for the grilling season (chicken… duck… hanger steak… Heck, I’ve even spooned it over half-shell oysters and grilled them).  He will even turn any deadbeat, socially unexciting grilled vegetable into early Christmas, or a bland summer tomato sauce… a bowl of lonely noodle… a box of left0ver rice… ANYTHING!  Oatmeal.  Yes!  Oatmeal!  And once you’ve developed an intimate-enough relationship, you introduce him to your breakfast eggs.  Then together, you shall live happily ever after.

Spend a little time for your chili sauce.   It will hurt you good.

  
mean-santa-chili-sauce10
mean-santa-chili-sauce11
mean-santa-chili-sauce12
mean-santa-chili-sauce14
mean-santa-chili-sauce19

Makes:  approx 2 cups

The sauce may look universally deadly, but in fact, the spiciness can be easily adjusted by changing the ratio between large long red chilis (vibrant color and mildly spicy), long green chilis (fragrant and medium-spicy) and small Asian red chilis (really, really spicy).  The ratio I have used in this recipe will yield the perfect, “intermediate level” spiciness.  Then again, even the same types of chili can sometimes vary in heat-level, so you should judge it by the chili you’re used to.

Small Asian chili is, I think, pretty common in supermarkets nowadays.  But if you have difficulty finding large long red chili, or long green chili, try substituting with red/green jalapeño.  Since the sizes of chilis come very different all the time (the large long red chili I used this time was ginormous), I would strongly recommend weighting the ingredients.  If you can’t find shiso leaves, you can still make the recipe without, and it’ll still be fabulous.


Ingredients: (chilis are weighted after stems removed)

  • 5.6 oz (160 grams) Large long red chili
  • 2.1 oz (60 grams) of long green chili
  • 1.2 oz (33 grams, or about 15) of small Asian red chili
  • 0.6 oz (18 grams, or 20) shiso leaves, finely chopped
  • 5 cloves of garlic, grated then divided in 1/2
  • 1 tbsp of grated ginger, divided in 1/2
  • 1/2 cup (104 grams) of canola oil
  • 3 tbsp of fish sauce
  • 1/2 tsp of ground white pepper
  • 1/2 tsp of sugar
  • 1/4 tsp of rice vinegar

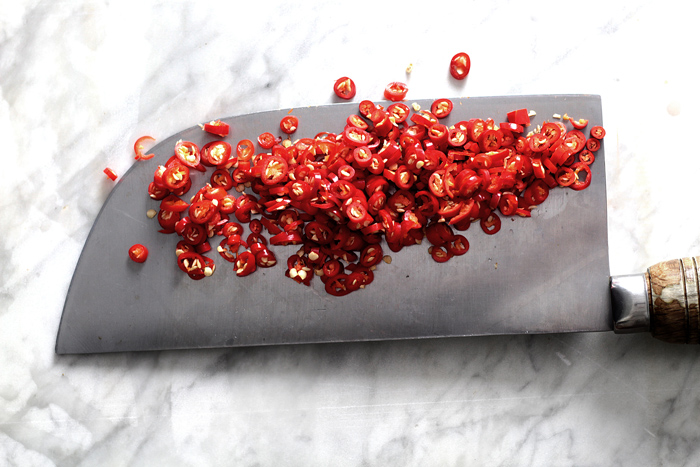
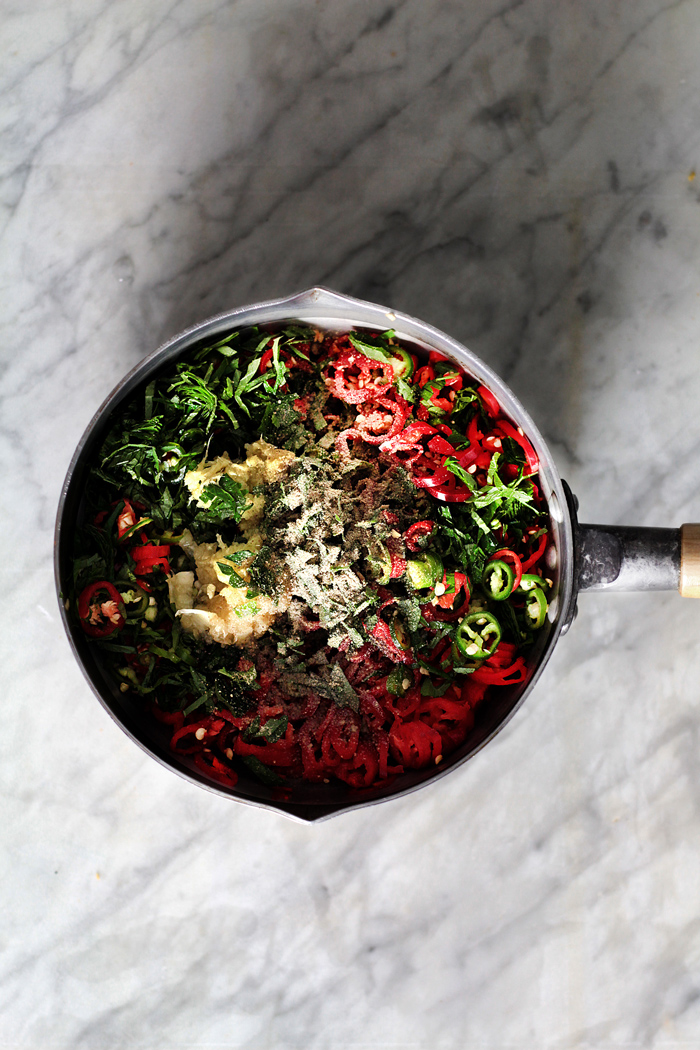
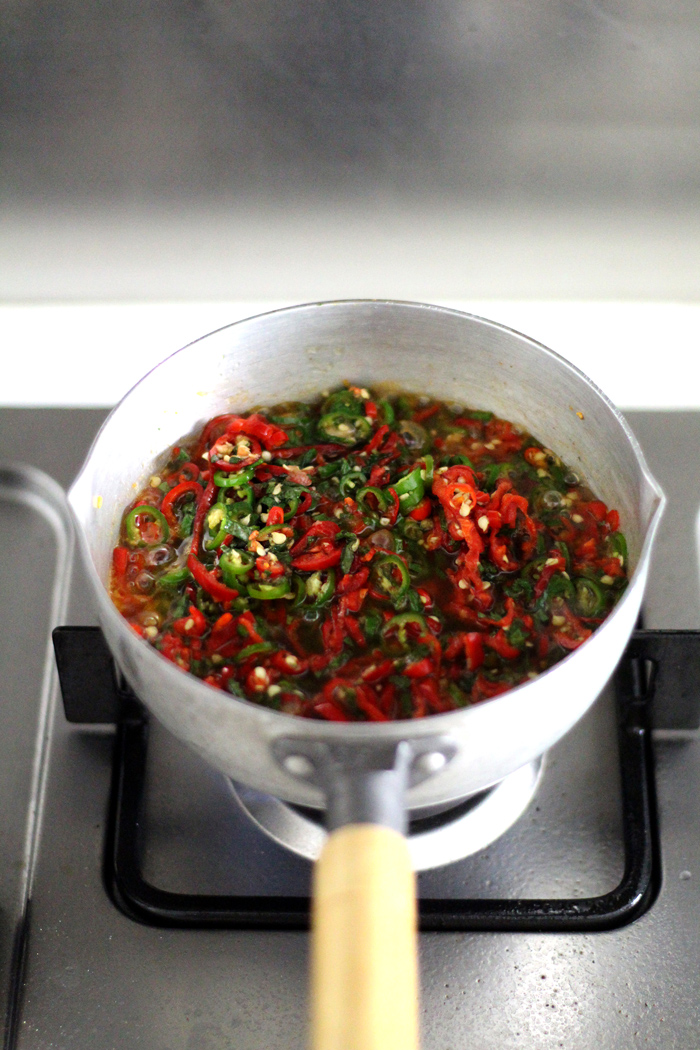
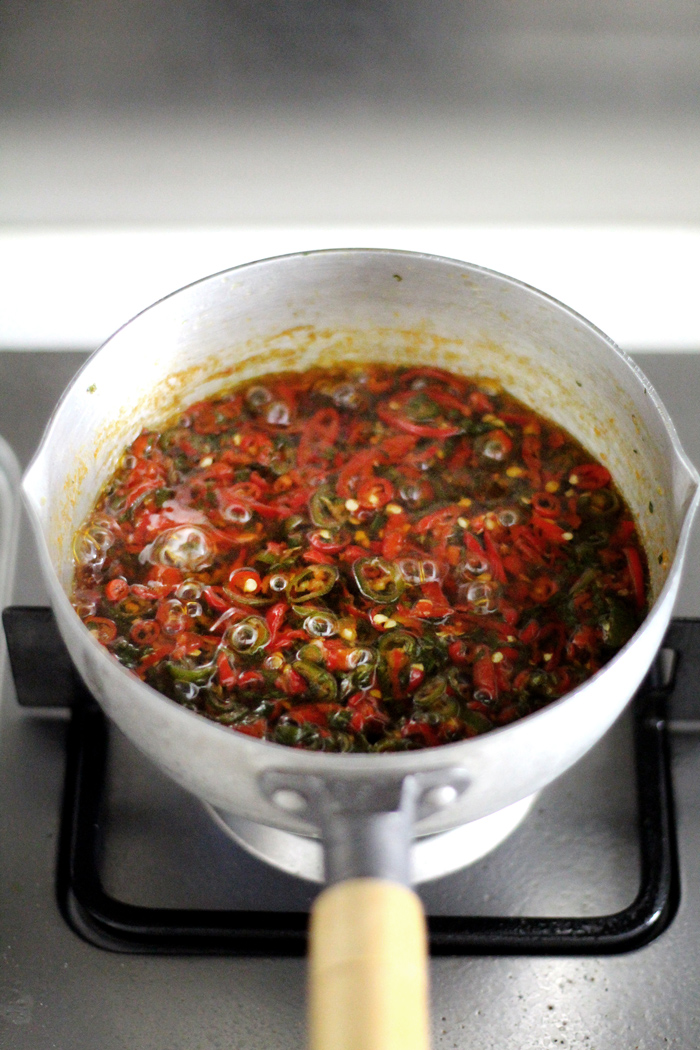
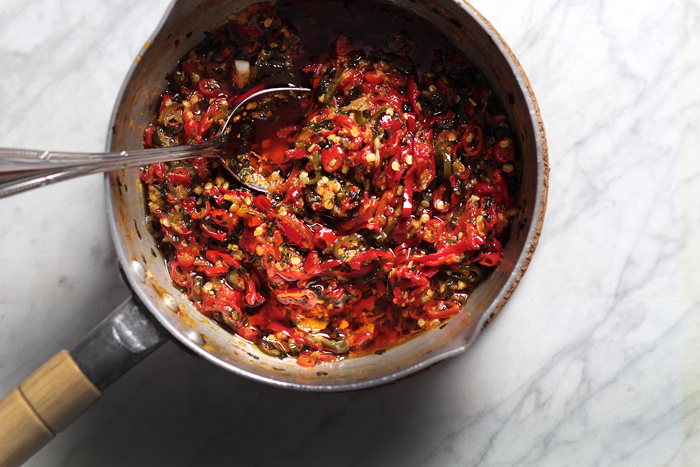
Wash the chilis then finely dice all of them.  Add all the chilis, finely chopped shiso leaves, 1/2 the amount of grated garlic, 1/2 tbsp of grated ginger, canola oil, fish sauce and ground white pepper in a sauce pot.  Cook the mixture over medium to medium-low heat and stir occasionally.  At first, liquid would start to emit from the chilis, then it would start to evaporate.  Continue to cook for 10 min until there is no visible liquid left, then continue to cook for another 3 ~ 4 min to extract more liquid from the chili without turning them into mush.  The mixture should have reduced in size and the chilis should be soft.  Turn off the heat, then stir in the other 1/2 amount of grated garlic and grated ginger, sugar and rice vinegar.

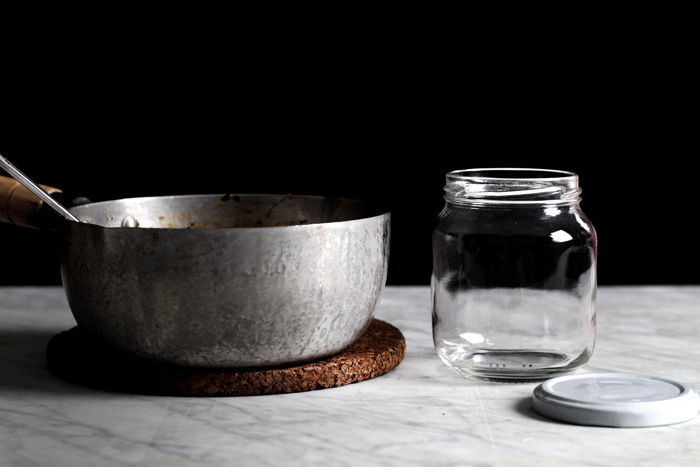
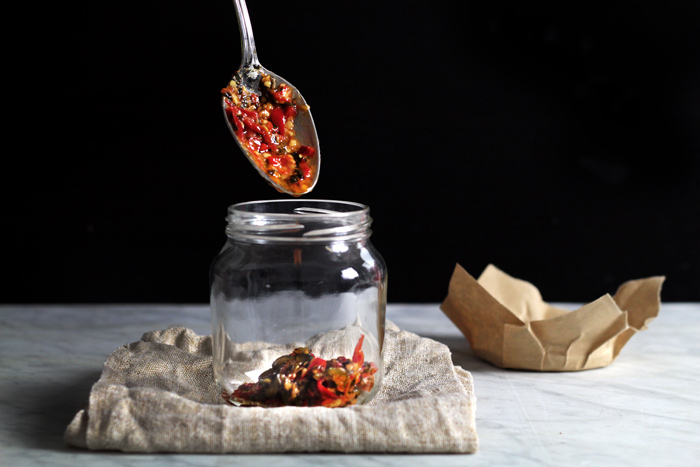
Let the sauce cool completely then transfer to an air-tight container.  Let it sit for at least a few hours to another day to develop flavour.  It will keep inside the fridge for up to 2 weeks.

mean-santa-chili-sauce20

mean-santa-chili-sauce29

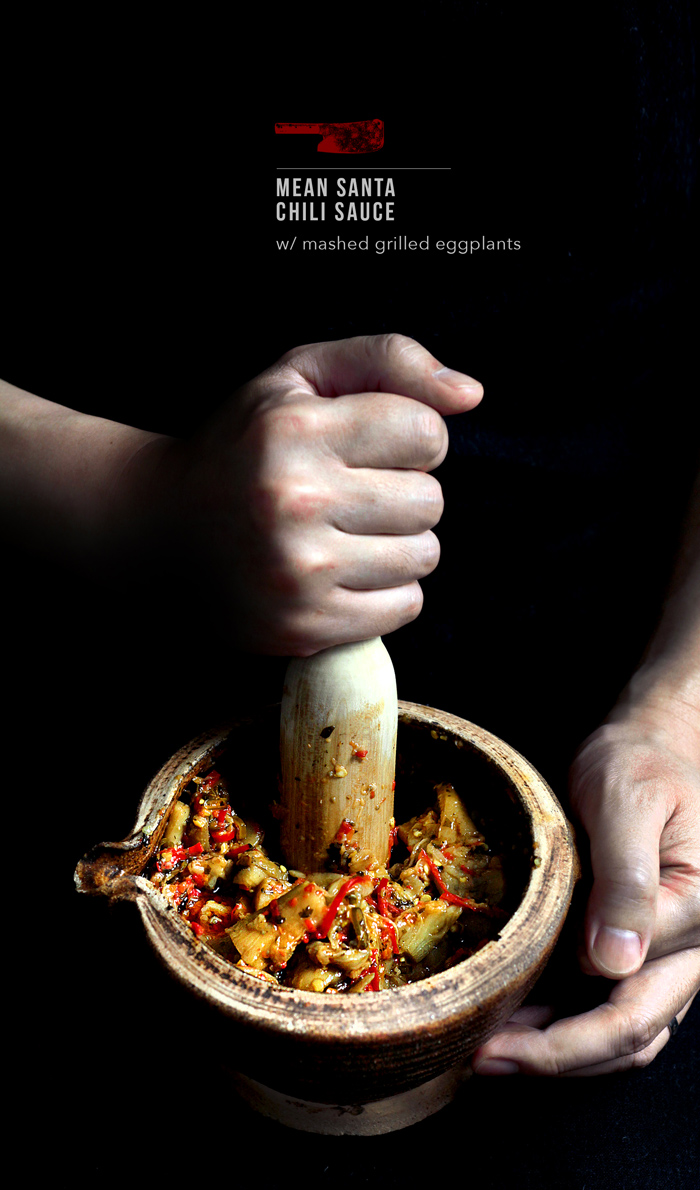
Mashed grilled eggplants w/ Mean Santa:

  • 2 Asian long eggplants
  • 1/2 cup of Mean Santa chili sauce, or more to adjust
  • 1/2 tsp of ground sichuan peppercorn
  • Soy sauce to taste

Preheat the top-broiler on high.  Peel the eggplants and cut into quarters length-wise.  Rub with a little bit of olive oil and grill a few inches under the broiler until partially browned and soft.  Remove from the oven and cut into short segments, then transfer to a mortar.  Add the Mean Santa chili sauce and ground sichuan pepper, then mash until evenly broken up and incorporated.  Taste and season with soy sauce for saltiness.  Let sit for 10 to 20 minutes before serving.

Continue Reading

SELF-MADE SOUR CREAM GELATO


sour-cream-ice-cream011

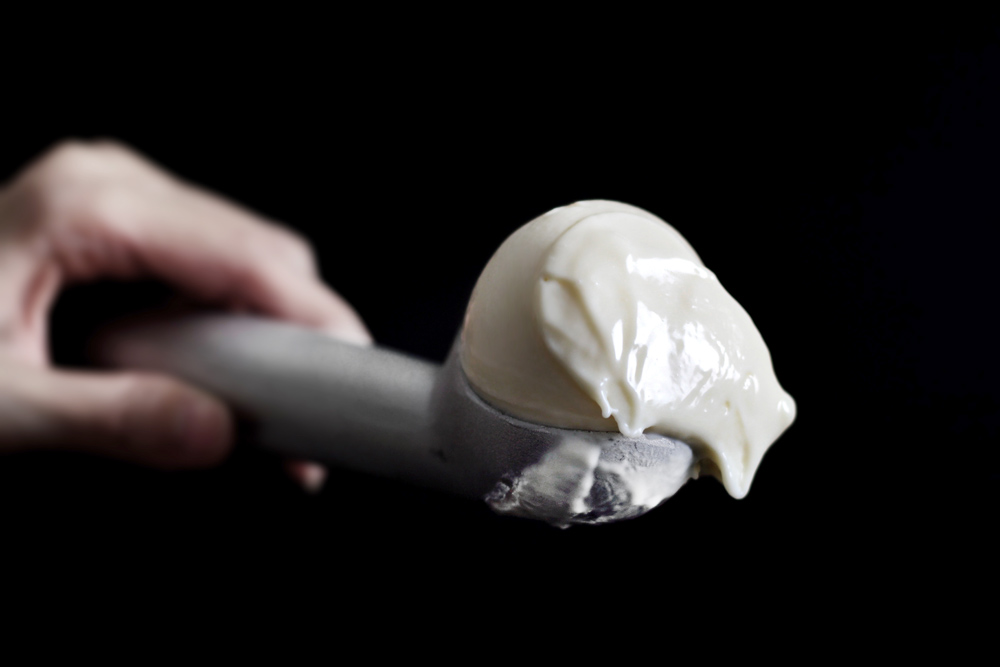
IT IS Fourth of July.  You’re busy.  I know.  But just let me squeeze in a couple minutes of your time because if you missed this, it would be the second greatest mistake of your life for we all know that the first in rank is always some hair cut (can’t beat that).  Guys… this is your emergency Independence Day dessert.  A discovery made after a kitchen-mistake of historic proportions, and in corresponding spirit of this holiday, proves again that greatness is often times a by-product of bad ideas.  And this, this is the greatest thing that’s ever happened after the establishment of long weekend.  What it is, is a gelato.  Not any gelato, but the creamiest, virtually zero air-molecules or ice-crystals gelato, that makes itself.

THREE INGREDIENTS → YOU WHISK → IT FREEZES → THAT’S IT!

It can be the base for any gelato flavour imaginable.  No machine, churning, whipping cream or whatsoever!  And it will look, feel, slide, melt and taste like the magic that it is.  Go.  Celebrate.READ MORE

Continue Reading

OLD BEIJING LAMB SKEWER

Beijing-lamb-skewer-front

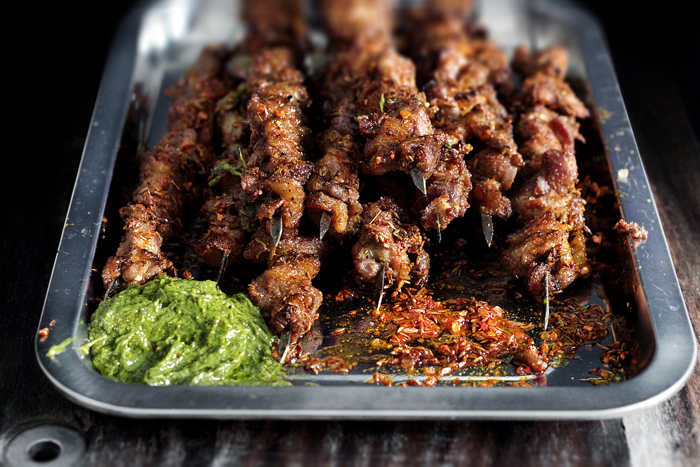
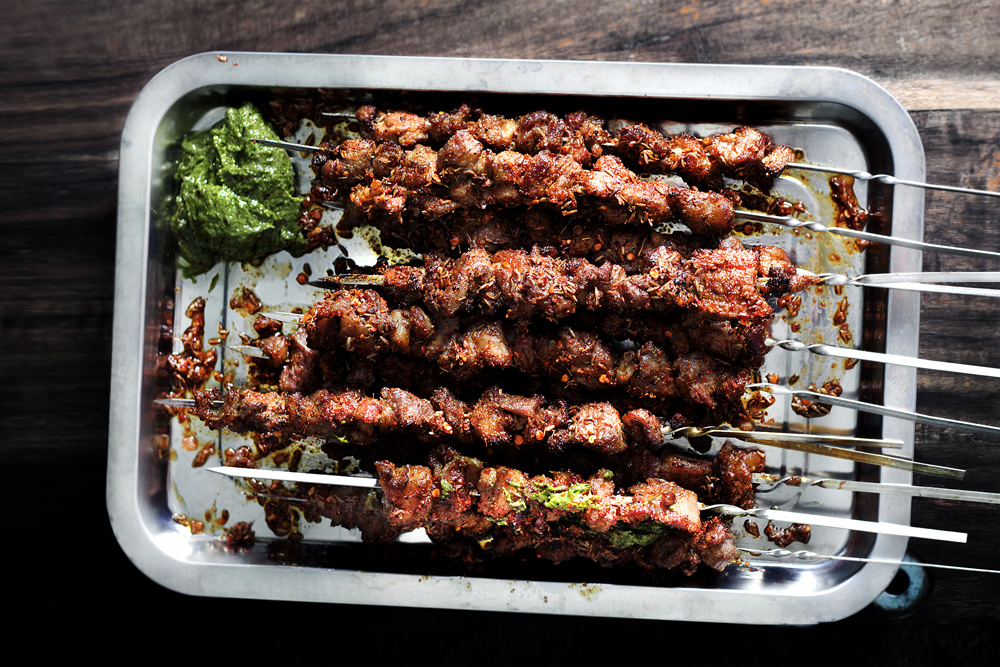
THERE are many virtues about Beijing, and as far as I’m concerned, they are all true.  The widely studied, highly evolved lung-capacity of its residence to withstand extremely volatile air molecules is among the most celebrated.  The profound unity and rewardless participation in the national sport of competitive spitting, for god and country, is none but true patriotism.  Then, perhaps the most famous although not as extraordinary as the former points, that it’s true, these fine citizens do know how to roast a damn duck.

Like actually actually.

But the most extraordinary things are those that go unadvertised.  The best-kept secret, the silent do-er in this fine metropolis is tucked away in every unknown streets and corners, and I mean every streets and corners.  It’s the most note-worthy and representative of Beijing street-food scene, and as far as I’m concerned, it is this word – 串.

Beijing-lamb-skewer01
Beijing-lamb-skewer02
Beijing-lamb-skewer06
Beijing-lamb-skewer08
READ MORE

Continue Reading

BROWNIE-COW POPSICLES

brownie-and-milk-popsicle-front2

 SHUT UP, SHUP UP, SHUP UP

Let’s play a game, shall we?

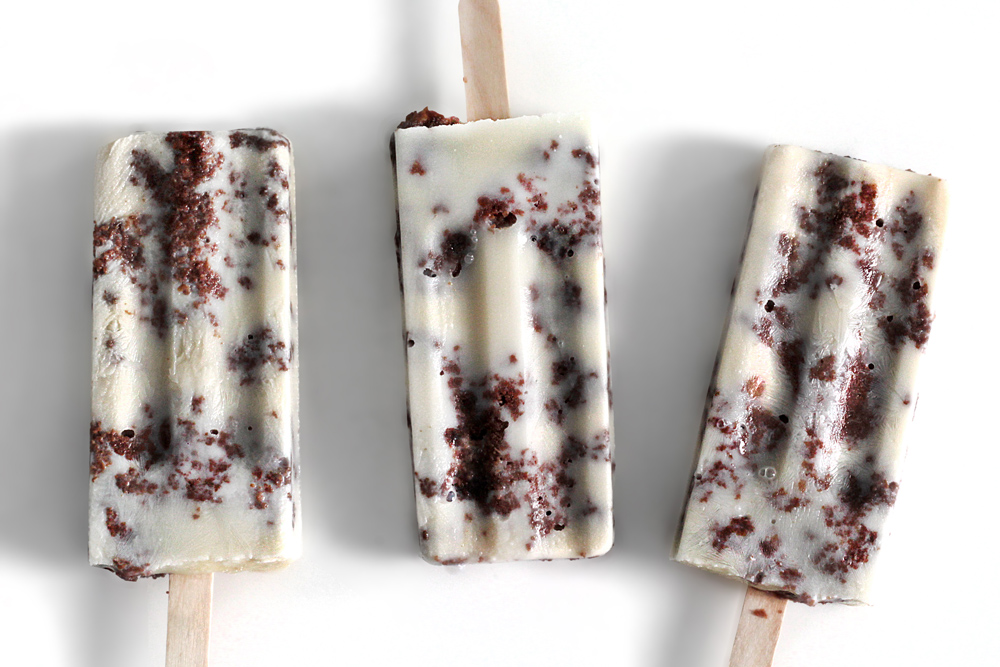
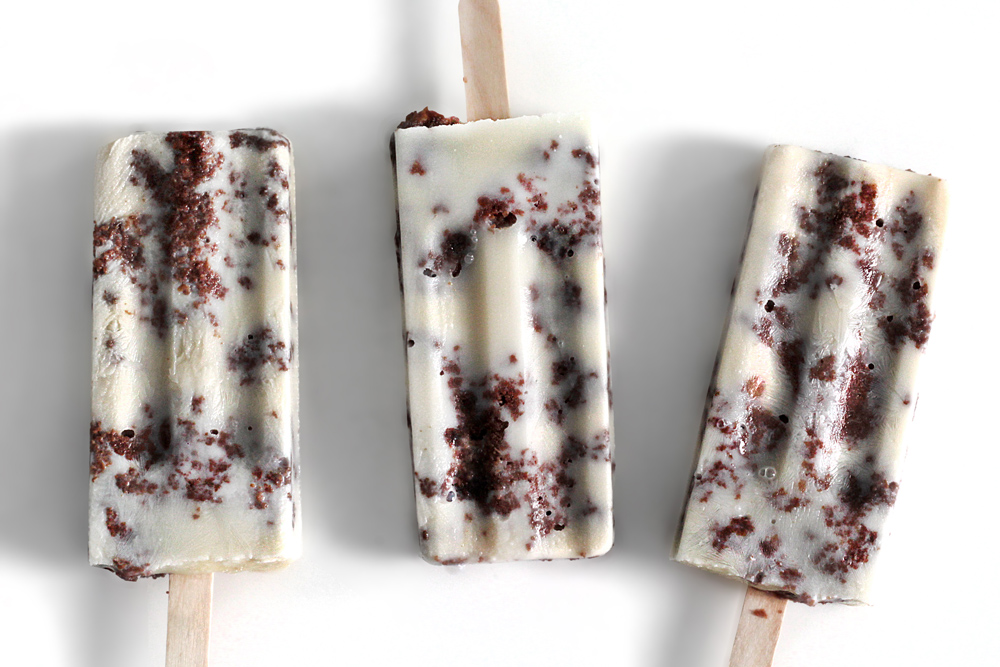
Let’s see how much of my babbling you can withstand before you say “shut up, shut up, shut up!” and burst into the kitchen to make yourself one of these milk and any-brownie, or as I call it, brownie-cow popsicles?

Right, so you see here’s the thing.  I kinda love Earth.  Maybe not enough to tie myself to a tree per se, but I do love Earth enough that I have more bicycles than mascaras, and I haven’t had myself an ungodly orgasmic piece of toro, for like more than three years now.  And believe me, I do love my ungodly toro.  But there’s something else I love dearly as well…  In the light of summer-days when reality strikes, I realized that I do also hold high regards for… a dry butt crack.  Yes, yes they do come loose-fit, oversized, or wet, and I daresay, more frequently so, since a few years ago when we decided to live in this particular apartment-complex in Beijing.  Little did I know that Earth and my butt crack were set on a collision course.

You still there?

Right, so where was I?  Yes, dry butt crack.

You see here’s the thing, as mentioned before, the apartment-complex we live in is supposed to be really “green”.  Whatever that means…  There’s no heater in the winter, or air-conditioning in the summer because the temperature inside the entire 10 ginormous buildings are monitored by… well, a “greener” system of some sort.  Or at least as I was told, at a time before I learnt my lesson about China, and still believed what I was told.  Awww…  So we moved in, with good-will kicking and feel-good blazing, we, were gonna save earth, one lease at a time.

Then came the lesson.  Never.  Never.  And I mean neeeevah, believe what you are told in China!  Four excruciatingly warm summers later, we are looking more medium-rare than “green”, still melting inside our boxer-briefs, extra-large-holes tank tops, and our butt cracks… feeling wet my friend.  Feeling wet.

Heh… hello?  Right, there you are.

brownie-and-milk-popsicle01
brownie-and-milk-popsicle02
brownie-and-milk-popsicle03
brownie-and-milk-popsicle04
brownie-and-milk-popsicle06
brownie-and-milk-popsicle071

So why haven’t we moved you ask?  If you were still here to ask questions…  Well that’s a very kindly irresponsible thought for you to have I mean, what kind of earthlings are we if we were to bail on our promises just because we feel like we were brushed with meat-glue every time we hug?

Icecap-Jack, you melt.  I melt.

So perhaps you should know that… hey, you there?  I’m talking to you!  Right, so you should know that heat tends to do things to weak minds… the other day when I literally risked my sanity and as a result, Jason’s well-being, by boiling a huge pot of stock for 4 hours which turned our lukewarm bitchy beachy apartment into a steaming mind-bending crater of active volcano, I think I hallucinated a lil’bit.

I drifted to the nearest Cold Stone joint, took off my boxer-brief and sat my steamy butt-crack right on top of their sub-zero slab of freezing stainless steels…  Tssss~ aaahhh… like a steak on grill, now this is where my cheeks belong…  And then, only then, somebody came and handed me my go-to combo – sweet cream base with mashed brownies.

That’s it.  Nothing.  Else.  This is a purist’s Cold Stone and how it should be.  I peaked through my fingers to see the next guy ordering something as if the local candy store is unleashing a fuck-fest on top of his ice cream-cup, and got really, really bothered.  Get a room!  This is a family joint!  So I turned away and literally, with my ass chilling, I was about to dig into my…

… then I drifted right back to reality.  Pot.  Boiling.  Hot.  STEAM.  VOLCAAAANO!  See I have to take matters into my own hands…

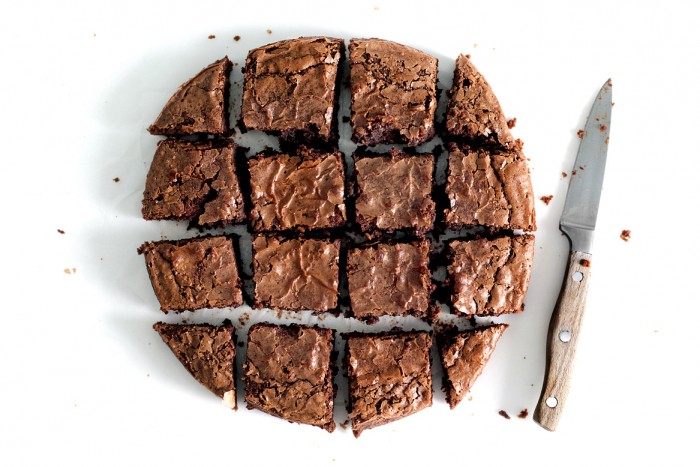
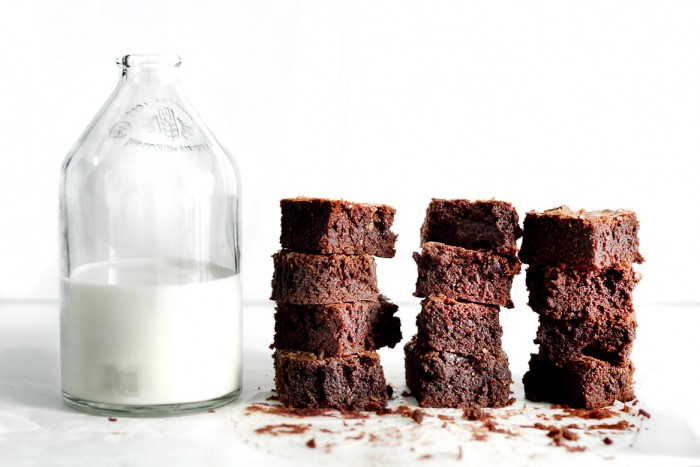
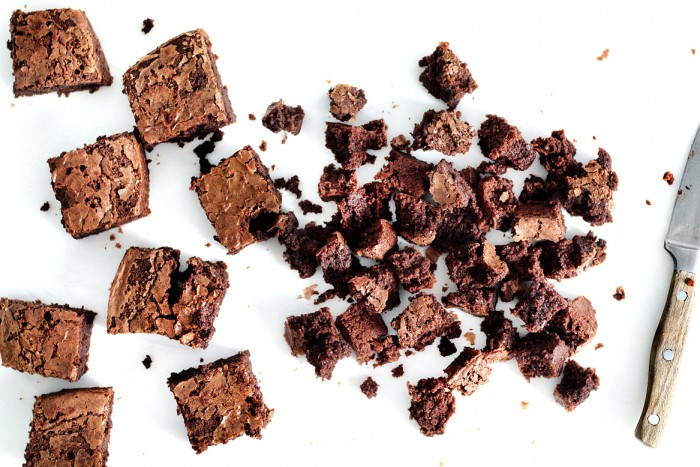
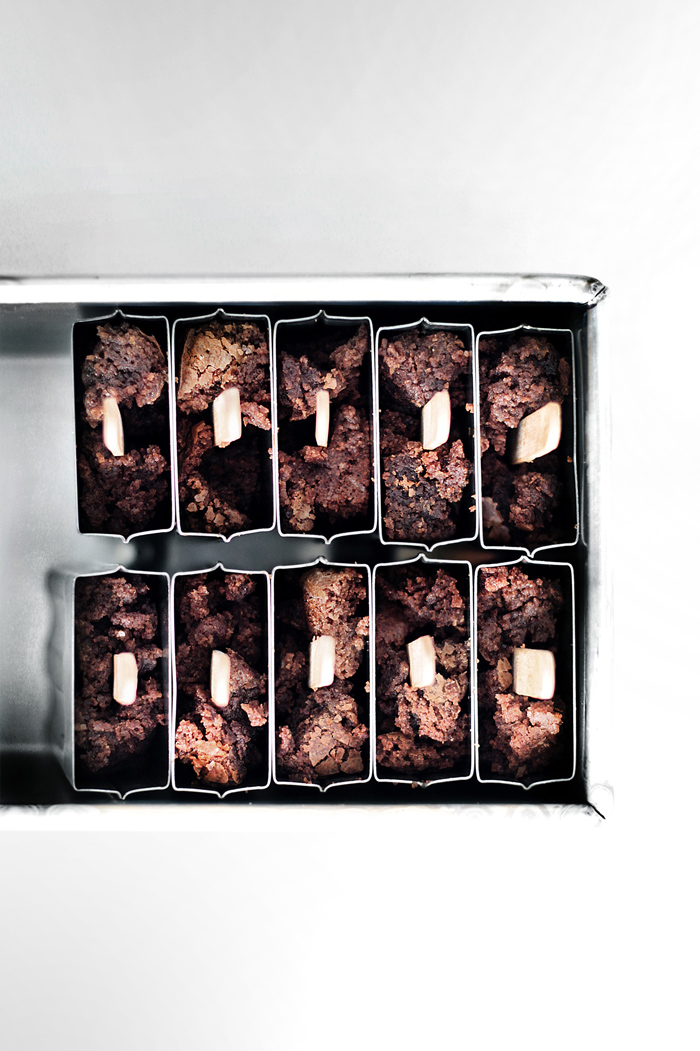
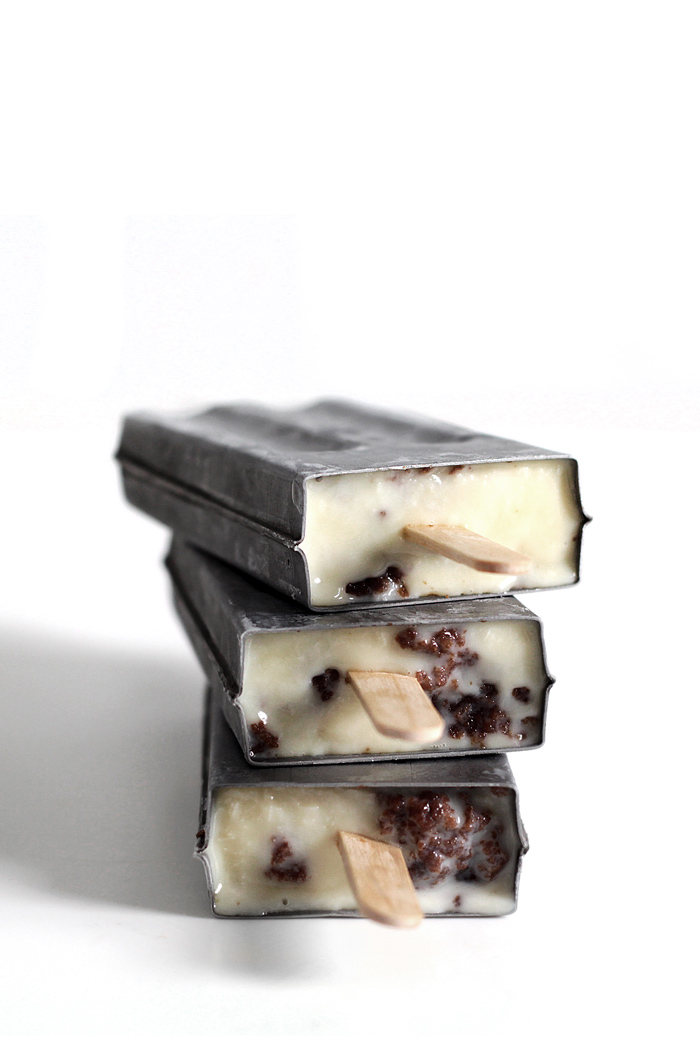
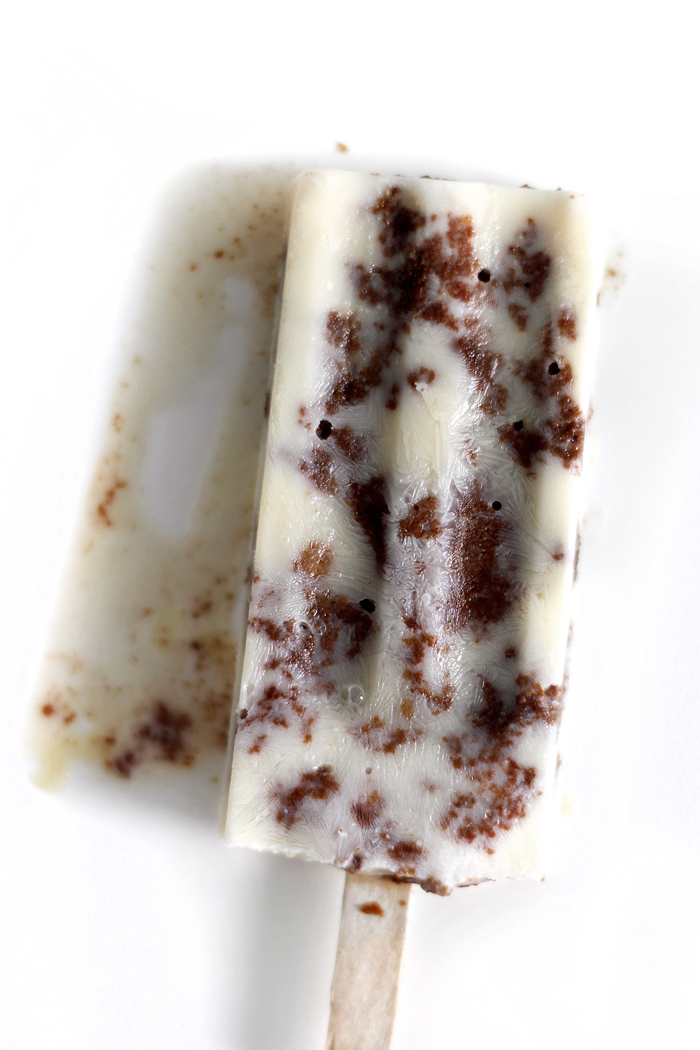
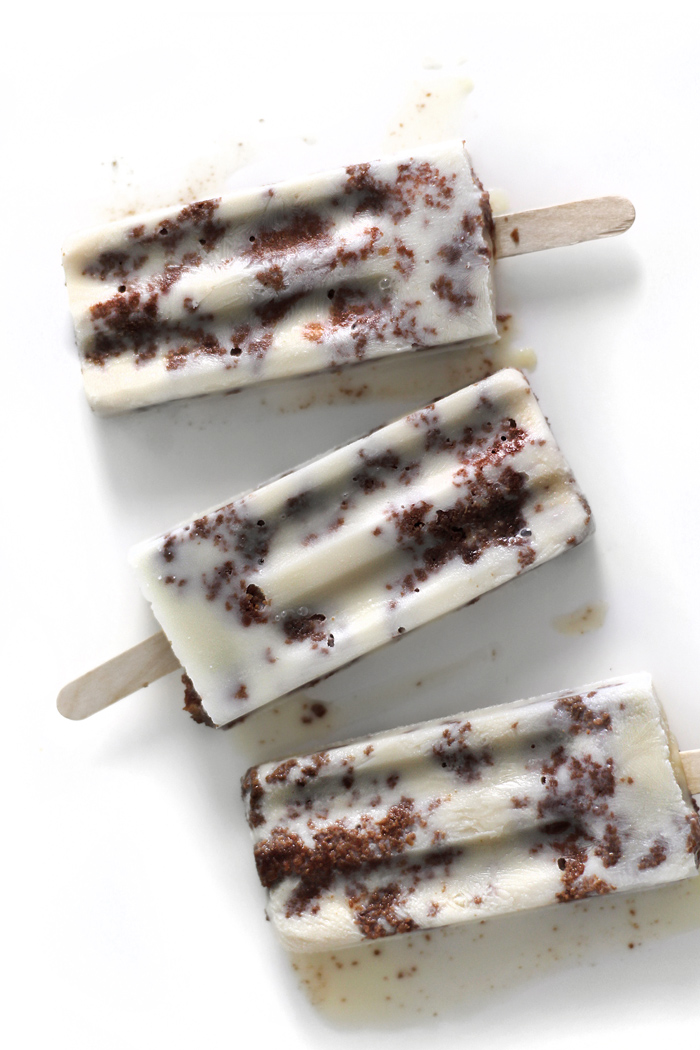
Take a good brownie.  And I mean a good brownie, the dense… chewy, fudgy and chocolate-y brownie, and in this case, infused with Nutella.  Then break it into large chunks.  Force feed them to your popsicle molds, and if you don’t have any, some freaking paper cups!  Jam a stick in there, I don’t know, a chopstick for all I care, then pour milk that’s been thickened with sweetened condensed milk…  Up up up up, up riiiight there when it just fills the mold.  Then you freeze the bejeezus out of them!

Chewy gets chewier…  Fudgy gets fudgier…  Then we both get one and sit our asses down on a sub-zero freezer slab, and I’ll tell you about the other time when I…

Hello?….  You there?

brownie-and-milk-popsicle16
brownie-and-milk-popsicle19

Makes:  10 popsicles

You don’t have to make your own brownie.  You can certainly use a store-bought brownie, with flavours to your likings to make these popsicles.  And if you want creaminess, you can substitute whole milk with half and half.  Note that 3/4 cup of sweetened condensed milk is enough sweetness for my taste, but if you like a closer-to-commercial-level sweetness for your popsicles, use more.

Ingredients:

  • Nutella brownie:  adapted from Smitten Kitchen’s favourite brownies
    • 2 oz (60 grams) of bittersweet chocolate
    • 1 stick (115 grams) of unsalted butter
    • 1.5 oz (45 grams) of nutella
    • 1/2 cup + 3 tbsp (163 grams) of granulated sugar
    • 2 large eggs
    • 1 tsp of vanilla extract
    • 1/2 tsp of flaky sea salt
    • 2/3 cup (120 grams) of all-purpose flour
  • To make the popsicles:
    • 1 1/2 cup of whole milk
    • 3/4 cup (230 grams) ~ 1 cup (306 grams) of sweetened condensed milk

To make the nutella brownie:  Preheat the oven on 350ºF/175ºC.

In a microwave-proof bowl, add the bittersweet chocolate and unsalted butter.  Microwave on high at a 30-seconds interval, stirring the mixture in between, until just melted (you’ll need approx 1:30 ~ 2 min).  Whisk in the granulated sugar and large eggs until thick and even, then add the vanilla extract and sea salt.  Whisk again until even. Add the all-purpose flour, fold the mixture together with a spatula until there is no flour-lumps left.  Pour the batter into a parchment-lined, 8″ square-pan or round-pan.  Bake in the oven for 25 min, until a wooden skewer comes out with moist crumbs from the center.

Let the brownie cool for 30 min.

To make the brownie popsicles:  Break the brownies up into large chunks (you’ll need about 2/3 of the brownies).  Lay a couple of pieces at the bottom of the popsicle-mold so the wooden stick has something to rest on, then insert the wooden stick.  Fill the empty space loosely with more brownies until they reach to the top.  Repeat with the rest.

Combine whole milk and sweetened condensed milk together, and warm in the microwave just enough for the sweetened condensed milk to dissolve (if not fully dissolved, the sweetened condensed milk will float to the surface during freezing).  Whisk the mixture together to make sure it’s fully incorporated, then pour the milk into the popsicle-molds until it fills to the top.

Freeze for at least 6 hours to overnight until hardened (in my experience, the popsicles always feel a bit soft right after they are removed from the molds, so once hardened, keep them removed and wrapped in plastic-wrap instead of inside the molds).

v-brownie-and-milk-popsicle-front

Continue Reading

THREE CHEESE MAZEMEN

three-cheese-mazemen-front

  MIGHT AS WELL CALL IT, A-MAZEMEN

SOMETHING truly unexpected happened this morning.

Something that, as far as I can remember, has never before happened to this under-exercised but nonetheless, well-conditioned casing of white-meat.  In the wee hours of this morning as a standard procedure, I rolled over in a complex twist and tango with my blanket and pillows as how it’s been professionally done in the past three decades, and in a turn of event, inexplicably…

… pulled my neck.

How the hell did that happen I have no idea, but I’m now muscularly decapitated.  Not only speaking to you with the non-photogenic side of my face in a zombie-like tilt, but perhaps it’s worth mentioning as well, feeling… understatedly uncomfortable.

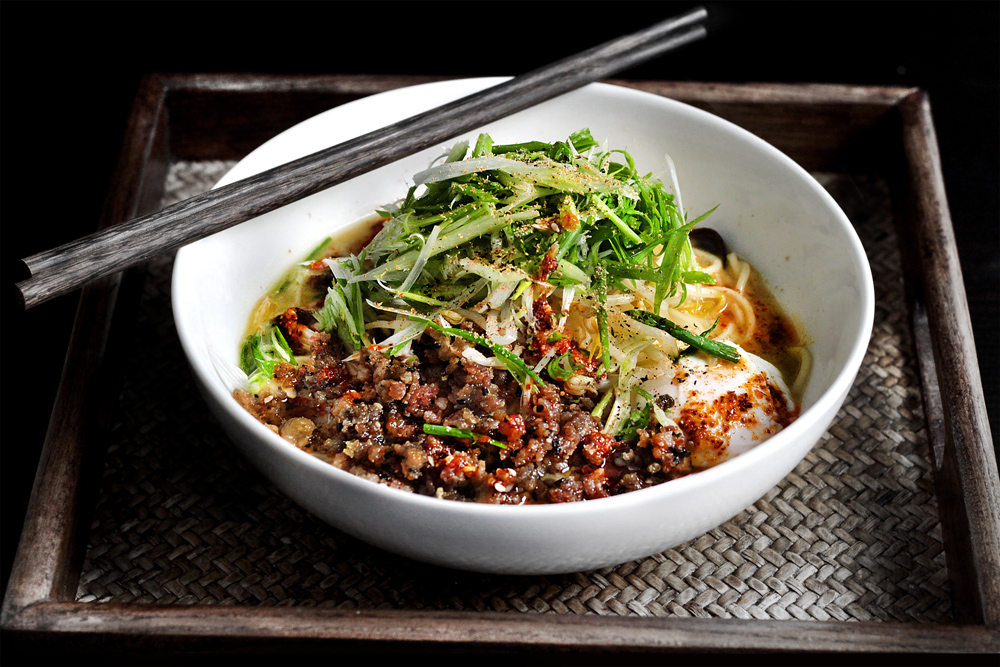
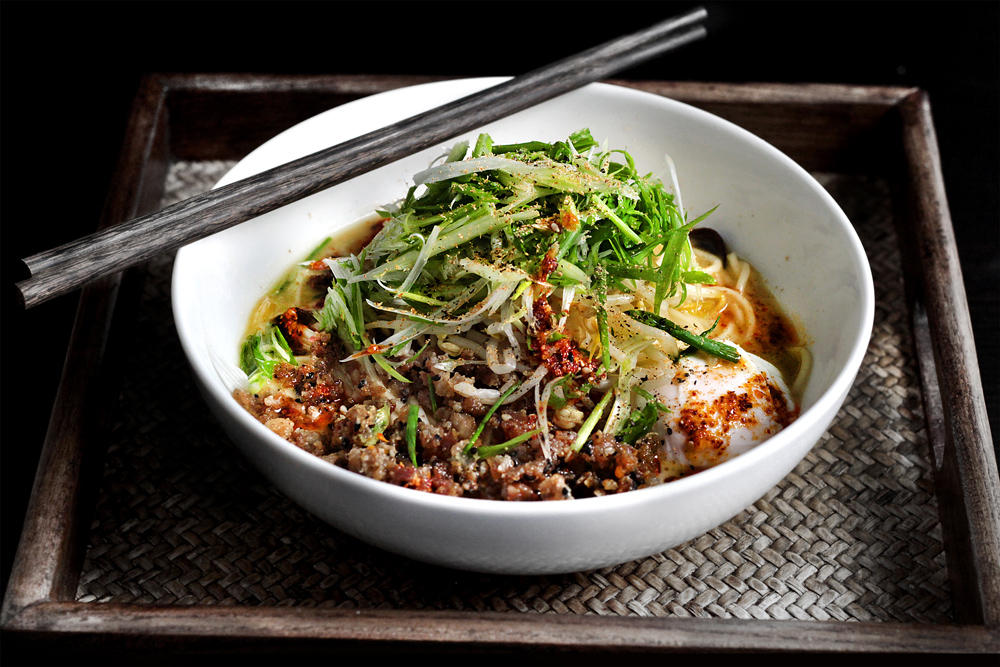
This is very untimely indeed.  Because I have something that’s worth my every bit of literary effort to advertise, but somehow, sitting stiffly in front of a computer screen sounds and feels like a very bad idea right now.  So if I seem… out of words about this absurd, three cheese mazemen, inspired by Ivan ramen no doubt, don’t think of it as I’m slacking off.  Instead, think of this recipe as – and it truly is – beyond the reach of mortal vocabularies.

This recipe is actually a symptom of a condition that I’ve been suffering since I left New York, called cultural separation anxiety.  Compared to a relatively chilled attitude towards culinary fads and hypes while I was still in New York, I’m now constantly obsessed about what’s happening in a food-scene that I’m no long a part of.

And recently, it sounds like this Ivan guy is creating a lot of ruckus.
three-cheese-mazemen02
three-cheese-mazemen03

three-cheese-mazemen04

three-cheese-mazemen11

three-cheese-mazemen12
three-cheese-mazemen32
IMG_7973
three-cheese-mazemen17

Aside from the more familiarized styles of ramen that’s served in soup, or tsukemen as cooked noodles served with a dipping “soup-sauce” on the side, he seems to be popularizing a new style-hype called, mazemen.  What the hell is mazemen, and why is it legit?  Not only legit, but ingenious actually.  It snugs comfortably between a soup-ramen, and dry ramen (noodles dressed with just enough sauce to coat), making it kind of like a one-bowl tsukemen, where noodles are sitting in a generous amount of intensely flavoured “soup-sauce”, plus toppings.  It solves the eternal struggle of ramen-chefs and customers alike, to witness a good portion of the precious broth – the liquid soul of a chef who might have spent days forging out of his cradle of passion – being left wasted in the serving bowl… like a puddle of dead water, after everything else that took much less effort was otherwise consumed.

That shit hurts.

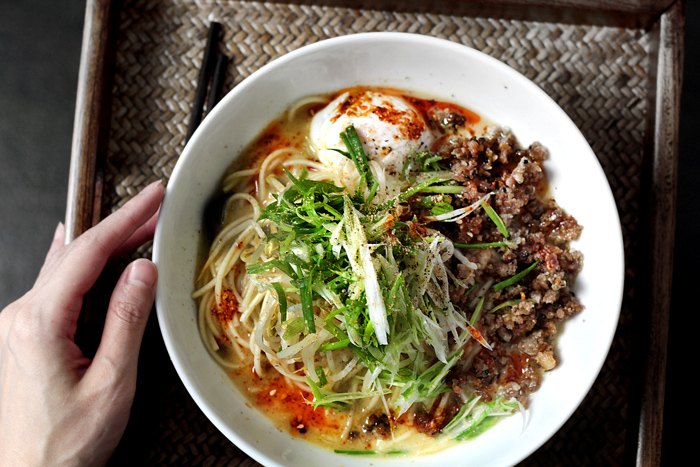
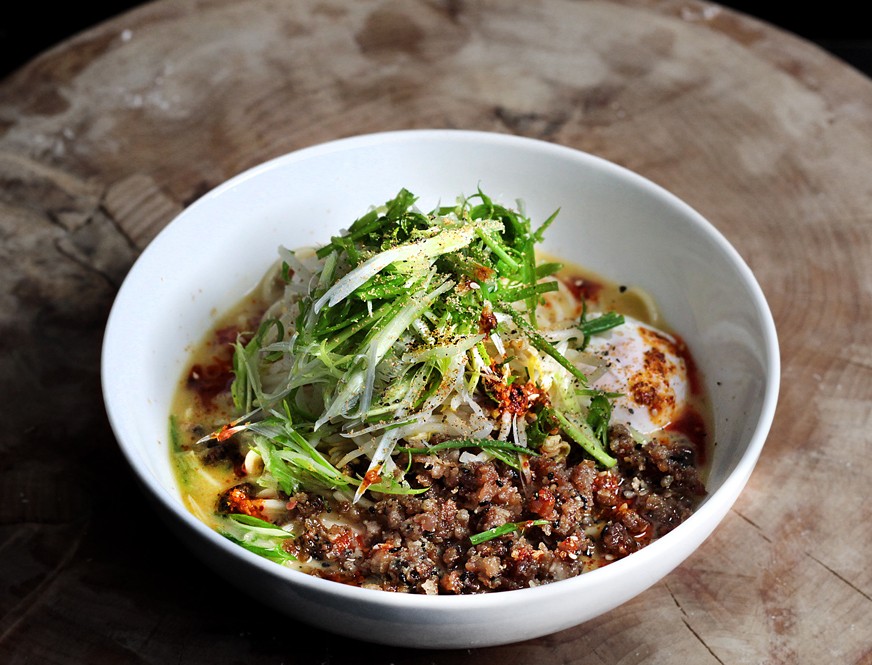
But with mazemen, just the right amount of highly flavoured soup is spared with each portion of noodles.  Highly flavoured as in, things that would otherwise make a “soup” too intense to drink, is being unleashed in an all-out ramen-extravaganza.  Like say, a soup infused with a three cheese combo?  Seriously, ingenious!  Might as well call it, a-mazemen!

But of course I understand that for most of you out there, the cradle of passion may not rock as violently as a ramen-chef.  There’s no shame in that, right, speaking from a person who published a completely pirated version of the sacred spicy miso ramen, and this time, without even consulting Ivan’s cookbook,  I’m not sorry to do it again.

Although this recipe may seem labour-intensive, believe me when I say that it’s already simplified and streamlined in 10-folds compared to a full-blown ramen operation (trust me, I have a book on that, and if you’ve read it, too, you’d appreciatively lick every single drop of soup from your ramen-bowl from now on).  A relatively easy and cheater-base stock is created in a speedy 4-hours time (hey, compared to say… 2 full days?).  Then every cheating soup-flavouring protocols known to noodle-pirates are implemented to bring this bowl as close to the real deal as I possibly can.  Is it at least, inarguably awesome, as far as noodle-pirates are concerned?

You bet it is.  I’m putting my neck on the line…
three-cheese-mazemen25
three-cheese-mazemen28

three-cheese-mazemen19


The stock-technique of Japanese pork-based soup ramen will conflict everything you think you know about making stocks, that’s if you were French at least.  Forget what you know about low-and-slow of a bare simmer aiming at a clear stock.  It’s all about boiling the mixture into submission and get it to a milky and opaque state.  Then of course, lots of other steps and flavour-layering come after that (adding bonitos, konbu, dried anchovies and whatnots) but, we’re gonna cheat by using Japanese soup base.

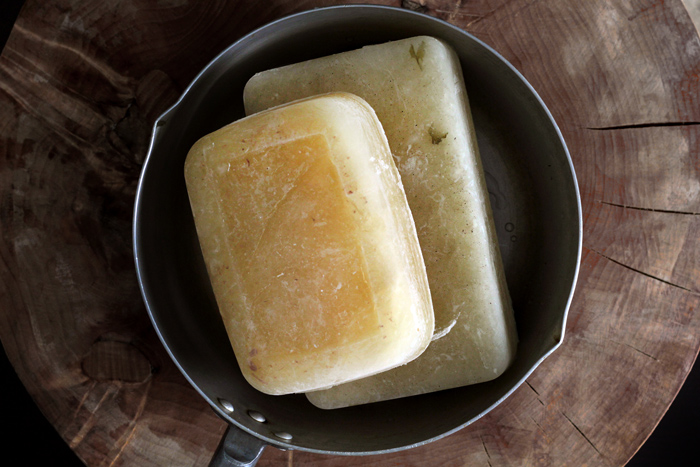
It’s important to note that I start the base stock with homemade, unsalted chicken stock (flavoured with onions only) because I almost always have it in my freezer.  If you are going to use store-bought, it’s paramount that you buy chicken stock without salt, AND without the flavourings of thyme, rosemary, parsley, bay leaf or any other western herbs.  When in doubt, buy canned stock from an Asian brand.  But then again, it’s quite difficult to purchase stock that’s completely salt-free.  So if you want to just use water for the base stock, then add to the recipe of base stock: scrap-bones from 1 whole chicken, or 8 chicken wings.

The recipe for base stock will make for 8 servings, and can be made up to 3 days ahead and kept in the fridge in an air-tight container, as well as most of the toppings.  However, the final preparation for the actual three-cheese-broth has to be done right before serving, so I only documented the amount for 2 servings.  If you’re making for 4 people, double the three-cheese-broth recipe, and so on and so forth.

Most ramen restaurants like to serve ramen with sliced chashu (roasted/braised pork), but I beg to differ.  I like minced pork.  It’s kind of an accidental epiphany after my spicy miso ramen-express experiment, and I think it just incorporates better into the overall dish.  But if you like large slices of pork, I also included a quick recipe for that.


For three cheese mazemen: Inspired by Ivan Ramen

  • For base stock: (will make 8 cups, enough for 8 servings)
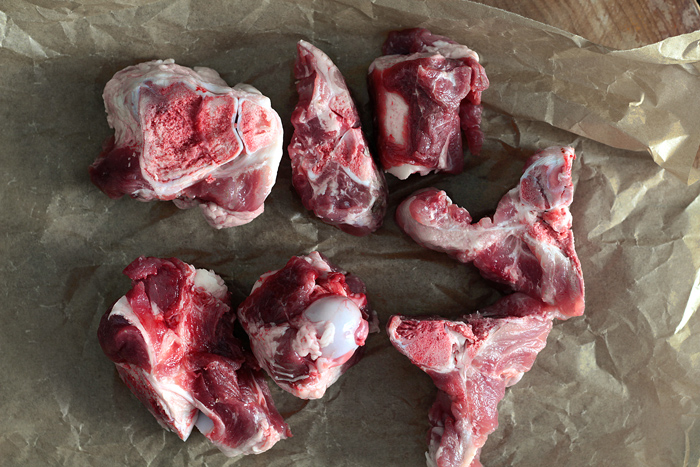
    • 3 pieces of pork back-gone + 3 pieces of pork shank-bone (total weight = 815 grams/29 oz)
    • 3 large scallions, cut into segments
    • 3″ of ginger, cut into chunks
    • 12 cups (3 litres) of unsalted chicken stock
    • 6 ~ 7 small Asian shallots, peeled and cut in half
    • 1/2 of a medium carrot, cut into chunks
    • 1/2 tsp of black peppercorn
  • For three cheese broth: (for 2 servings only)
    • 2 cups (500 ml/approx 500 grams) of base stock
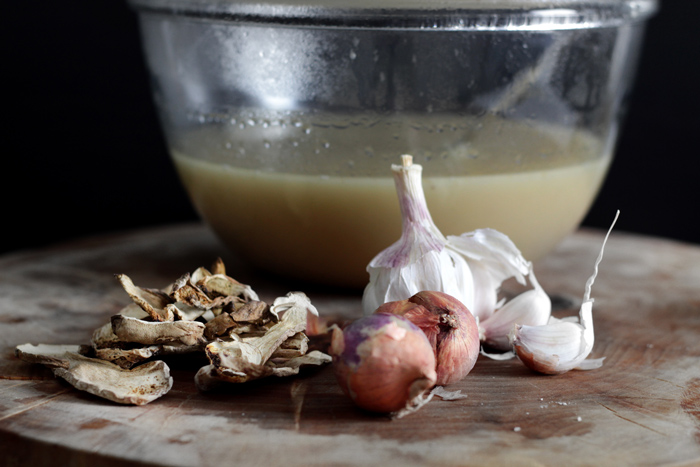
    • 1/4 cup (15 grams) of dried porcini mushrooms, rinsed and cleaned
    • 2 ~ 3 small Asian shallots, grated
    • 3 cloves of garlic, grated
    • 2 tbsp of Japanese hon tsuyu (soup base)
    • 3/4 tsp of sea salt, plus more to adjust
    • 1/2 tsp of freshly ground black pepper, plus more to adjust
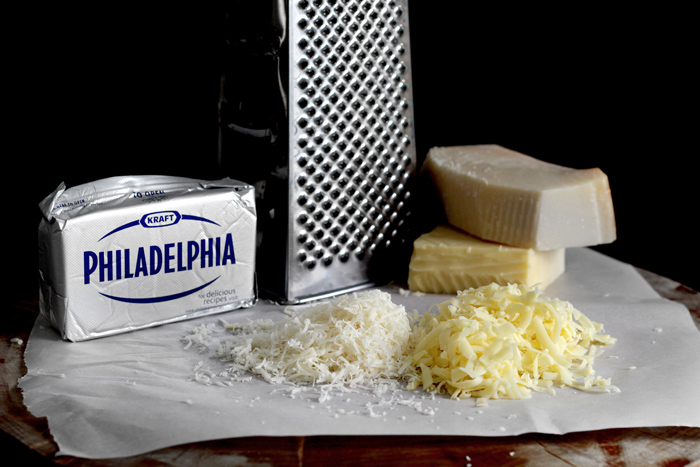
    • 2 tbsp (35 grams) of cream cheese
    • 2/3 cup (80 grams) of soft white cheddar cheese, grated
    • 1/2 cup (30 grams) of Parmigiano cheese, grated
    • 1/8 tsp of freshly grated nutmeg, plus more for topping
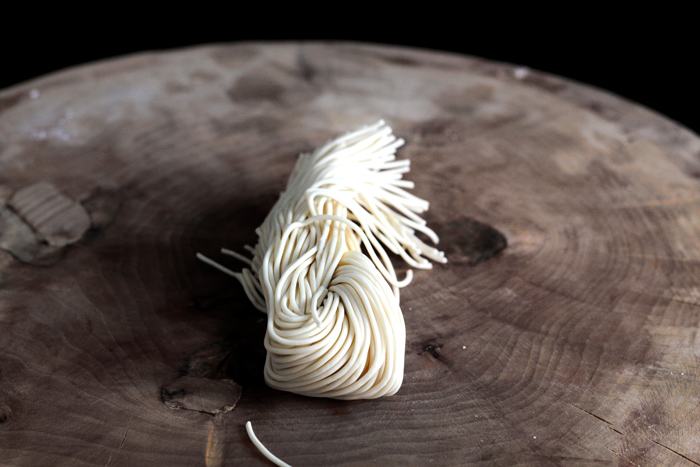
  • 2 servings of fresh ramen noodles
  • Toppings recipe follows

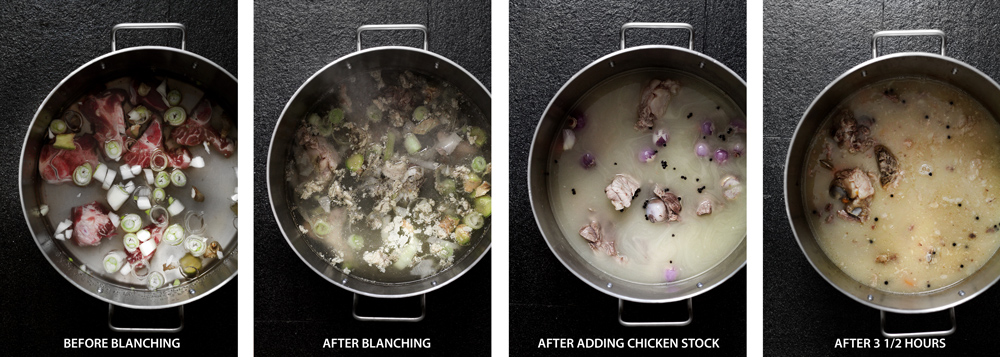
To make the base stock (can be done up to 3 days ahead):  Combine pork back-bones, pork shank-bones (and chicken bones or wings if you are using), scallions and ginger in a large pot.  Cover with cold water and set on high heat to bring to a boil.  Cook for 4 ~ 5 minutes after boiling, then careful pour everything into the kitchen sink with cold water running.  Wash/scrub off any scums and impurity from the bones (and chicken bones/wings if you’re using), as well as thoroughly clean the pot.

Return the cleaned bones to the cleaned pot, then add 12 cups of chicken stock (or water if you’re adding chicken bones/wings), shallots, carrot and black peppercorns.  Return to high heat to bring to a boil, then lower the heat down to medium to maintain a constant (but not splattering) boil.  Cook the stock for at least 3 hours, to 4 hours (depending on what you can manage.  the longer it cooks the milkier it gets).  Shred and break up any bones/meats during cooking once they have soften (to release more flavour), and every time the liquid is reduced below 2/3 (meaning less than 8 cups left), add 2 cups of water to bring it back.  When you’re done, the base stock should be milky and opaque with bits of marrows and fat floating on top.

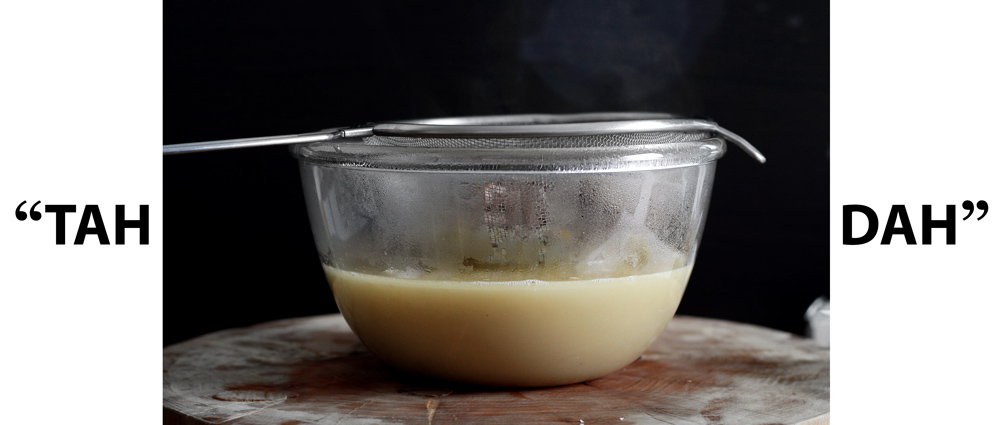
Strain the base stock through a sieve, and press on the scrap-meats and vegetables to extract as much liquid as you can.  You should have 8 cups of base stock.

To make the three cheese broth (for 2 servings only):  This has to be prepared right before serving.

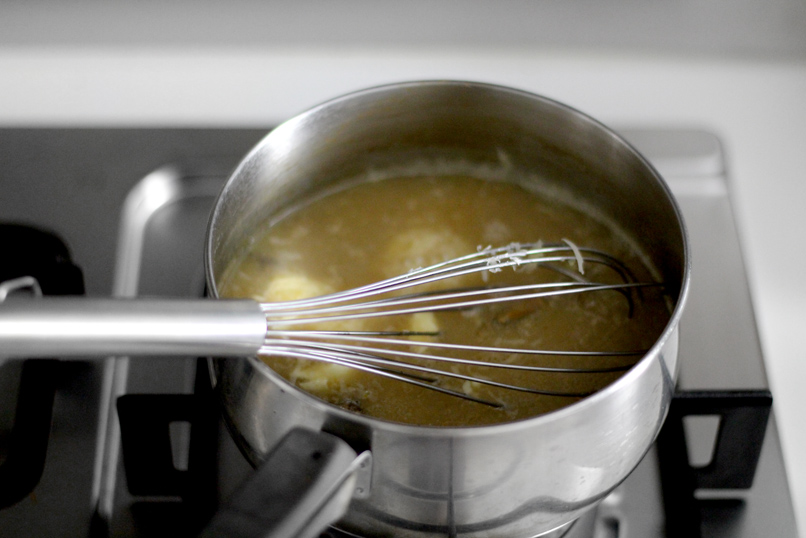
Heat 2 cups of base stock with dried porcini mushrooms over medium heat.  Cook for 5 min until the mushrooms have completely soften and released the flavours into the soup.  Meanwhile, cook the fresh ramen noodle in another pot in boiling water.  Add the grated shallots, grated garlic, Japanese soba sauce base, sea salt and black pepper to the broth and cook for another min.  Then add cream cheese, grated white cheddar, grated Parmigiano cheese and fresh nutmeg, and whisk until the cheese has evenly melted (there may be stringy cheese that doesn’t fully melt, it’s ok).  Taste and re-season with sea salt if need be (note that this is more of a “sauce” than “soup”, so it has to be boldly seasoned).

To take the sharp edge off raw scallions, soak the thinly sliced scallion in water for 1 min then drain.

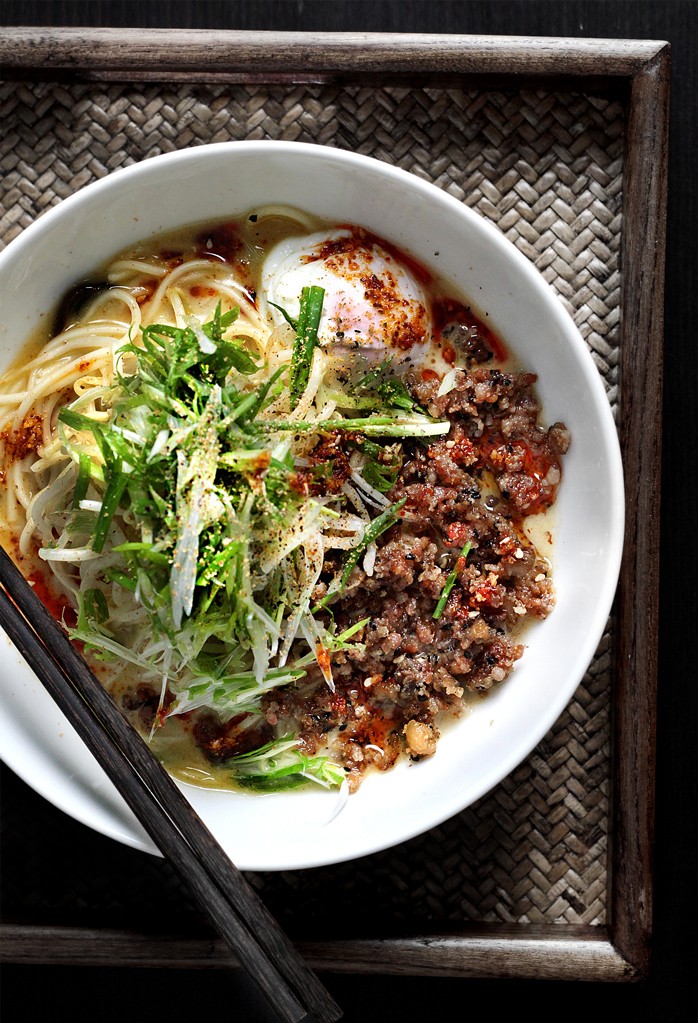
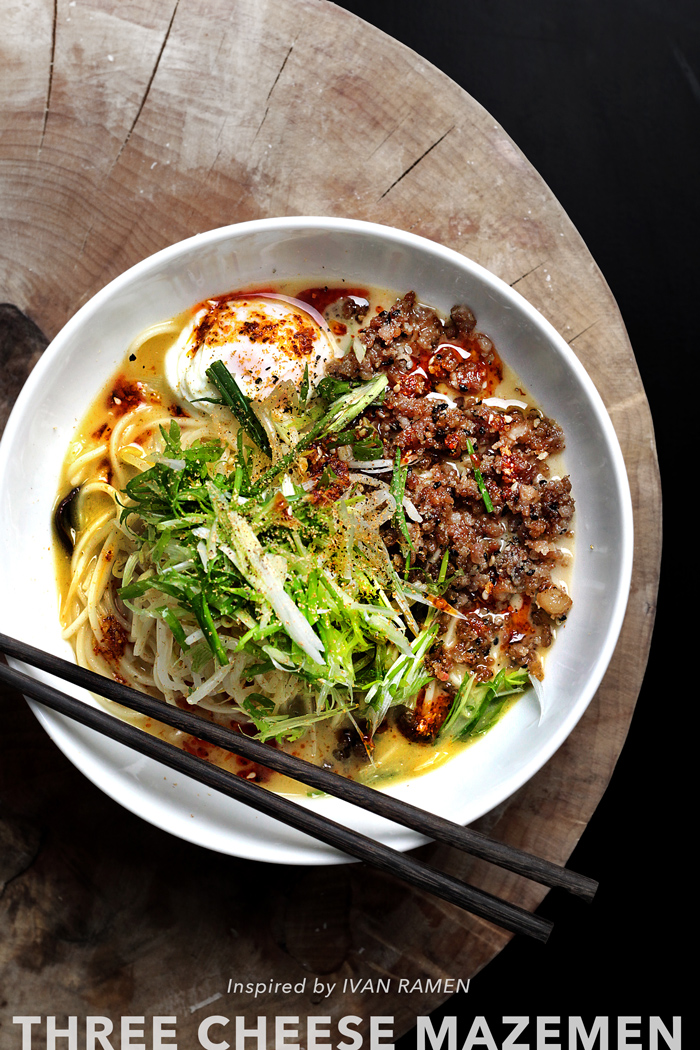
Transfer the broth evenly between 2 bowls.  Add the cooked ramen noodles, then top with pickled bean sprouts, thinly sliced scallions, parmesan and sesame pork, and a hot spring egg or poached egg (I’m using poached egg).  Grate more fresh nutmegs on top and drizzle with togarashi oil.
three-cheese-mazemen34

To prepare the toppings:

three-cheese-mazemen16

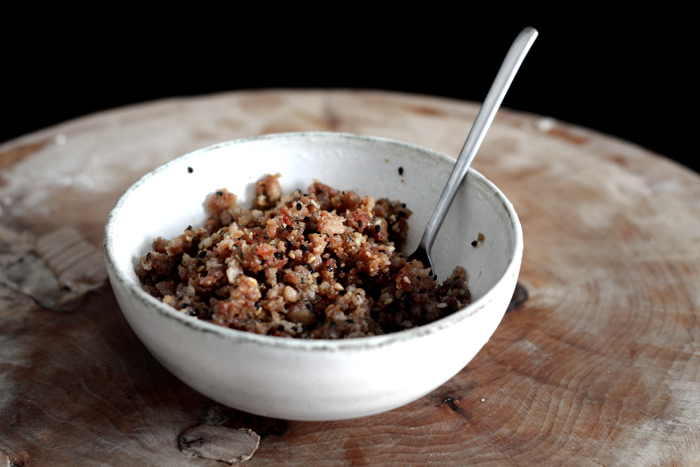
PARMIGIANO AND SESAME MINCED PORK: (enough for 4 servings)(can be made up to 3 days ahead)

  • 10.6 oz (300 grams) of ground pork-shoulder
  • 2 tsp of cornstarch
  • 1 tsp of black sesame seeds
  • 1 tsp of white sesame seeds
  • 1/2 tsp of salt
  • 1 tbsp of toasted sesame oil
  • 1/2 cup (30 grams) of grated Parmigiano cheese

Mix ground pork-shoulder, cornstarch, black and white sesame seeds, and salts together until even.  Heat the toasted sesame oil in a non-stick skillet over medium-high heat.  Cook the ground pork until no-longer pink, and break it up as finely as you can with a wooden spoon.  Add the grated Parmigiano and keep cooking until the cheese is caramelized and browned.  Set aside until needed.

three-cheese-mazemen33

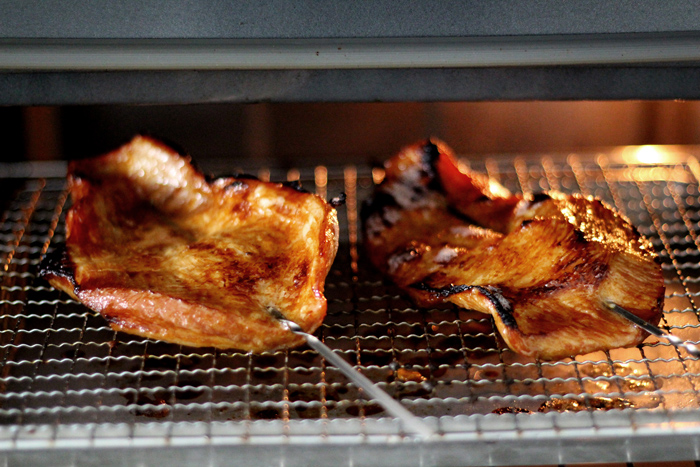
SOY SAUCE GRILLED PORK NECK: (enough for 8 servings)(can be made up to 3 days ahead)

  • 2 pcs (13 oz/370 grams) of pork neck meat
  • 2 tbsp of soy sauce
  • 2 tsp of brown sugar
  • 3 cloves of garlic, smashed

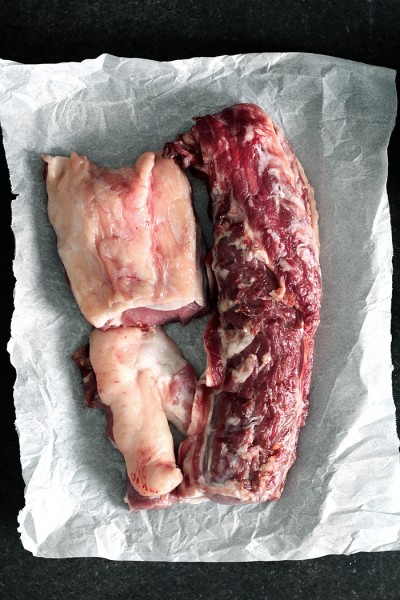
Pork neck is an Asian-specialty cut.  There’s only one small piece from every pig near the jaw, that’s perfectly marbled between fat and muscle.  It’s the short rib of pig.  But it can be hard to find, so if unavailable, you can substitute with pork belly (but trim most of the top slab of fat off).

Marinate everything together for at least 2 hours.  Preheat the top-broiler on high.  Remove the mashed garlic, then skewer the pork neck length-wise to prevent curling-up during cooking.  Place 3″ under the broiler and cook until charred and caramelized on one side, then flip and repeat on the other side.  Let the meat rest until completely cooled before removing the skewer.  Slice before serving.

three-cheese-mazemen13

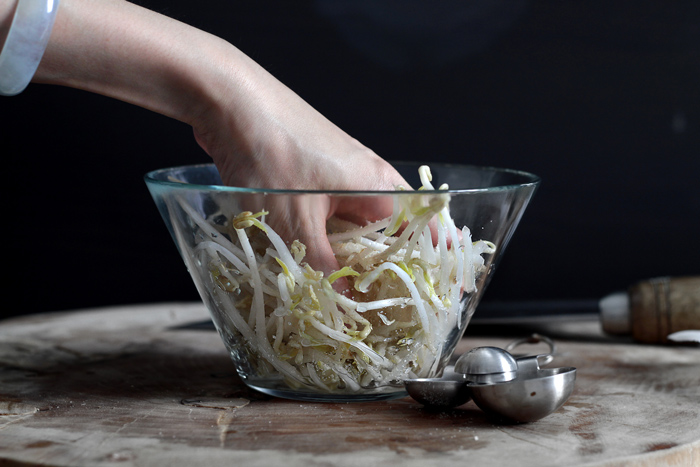
PICKLED BEAN SPROUTS: (for 2 servings)(has to be prepared right before serving)

  • 1 1/2 cup (150 grams) of bean sprouts
  • 1 tsp of salt
  • 1 tsp of sugar
  • 3/4 tsp of rice vinegar

Gently mix bean sprouts with salt, sugar and rice vinegar.  Let sit for 10 min, then squeeze out as much liquid as you can from the bean sprouts.  Set aside.

onsen-egg
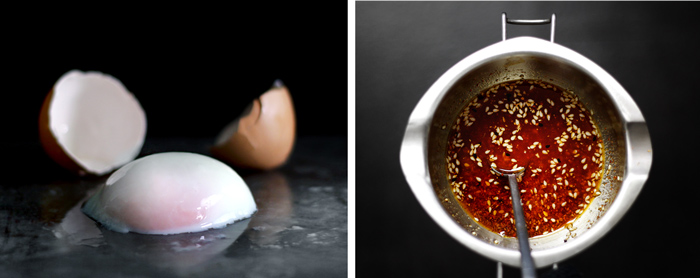
FOR HOT SPRING EGGS:  Recipes on here, here and a final comprehensive guide.

FOR TOGARASHI OIL:  Recipes on SPICY MISO RAMEN-EXPRESS.

Continue Reading