SPEED FOLDING, PEANUT SUGAR MORNING BUNS
“JUST TWO FOLDINGS, GUYS. TWOOO FOLDINGS!”
I literally cannot wait, cannot put another wasted minute between you and this recipe. Cannot contain the overjoy in the fact that I have fulfilled the purpose of why I was put on this earth, my designated service to humanity… it is all done, right here, after I push the “publish” button. I can die now and be accepted into heaven and I shall be in peace.
Yesterday, armed with skepticism, I entered the kitchen with an unlikely theory. A few hours later, I came out lit-up like a Christmas tree. This rarely happens, but it did.
The theory was this, that the general practice of creating a Danish pastry-dough, an elaborate lamination-process between yeasted dough and butter, is just flat-out bogus. I just couldn’t submit to all the recipes demanding me to wrap a brick of butter inside a brick of dough, then to sit through however many leg-twitching hours of chilling only then to roll and fold it ever-so moderately and inefficiently in between, as if I’ve got nothing else better to do with my life (I really don’t).
Why?
Why can’t I, as stupid as it may initially sound, just roll the dough into a ridiculously long blanket where I just smear butter over the top? Then, why can’t I just fold it multiple times over, and roll it into another long blanket, then just fold it multiple times over again? I’ll tell myself why not. Because “just” usually equates to kitchen disasters… “just” normally rains hell-storm upon my last will to ever cook again. Why-not-just is dumb, or better yet, evil. The snake that lures you into an eternal fall down the cliff that you may never recover from. If there were a “just” that worked, somebody surely would’ve done it already, so normally, I say fuck “just”. But yesterday I was wrong. Yesterday…
Just did it.
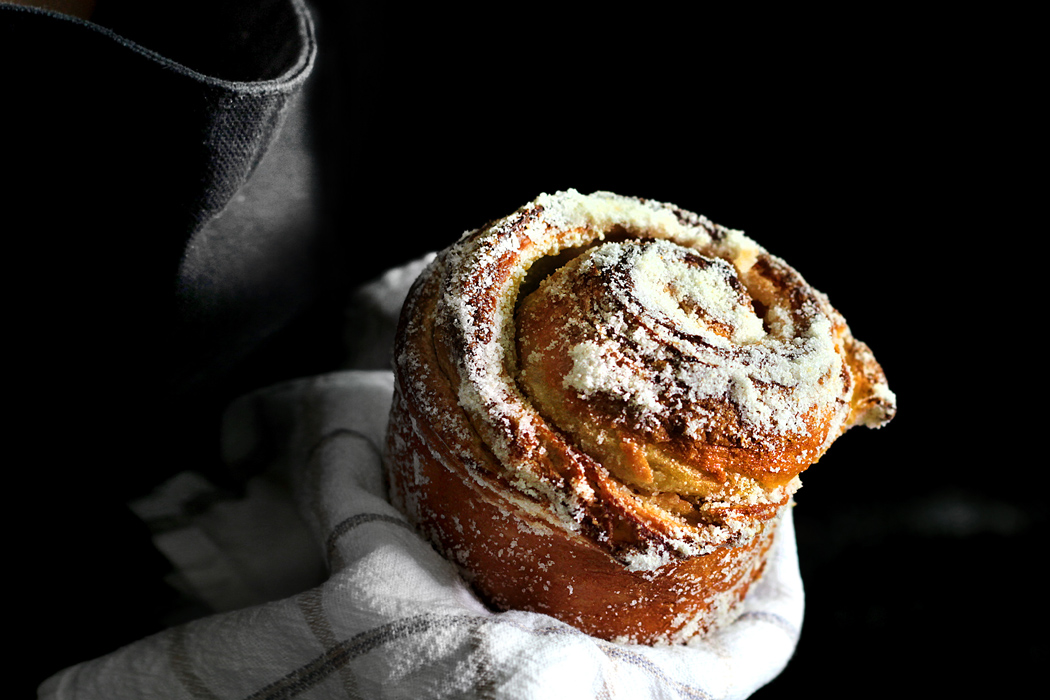
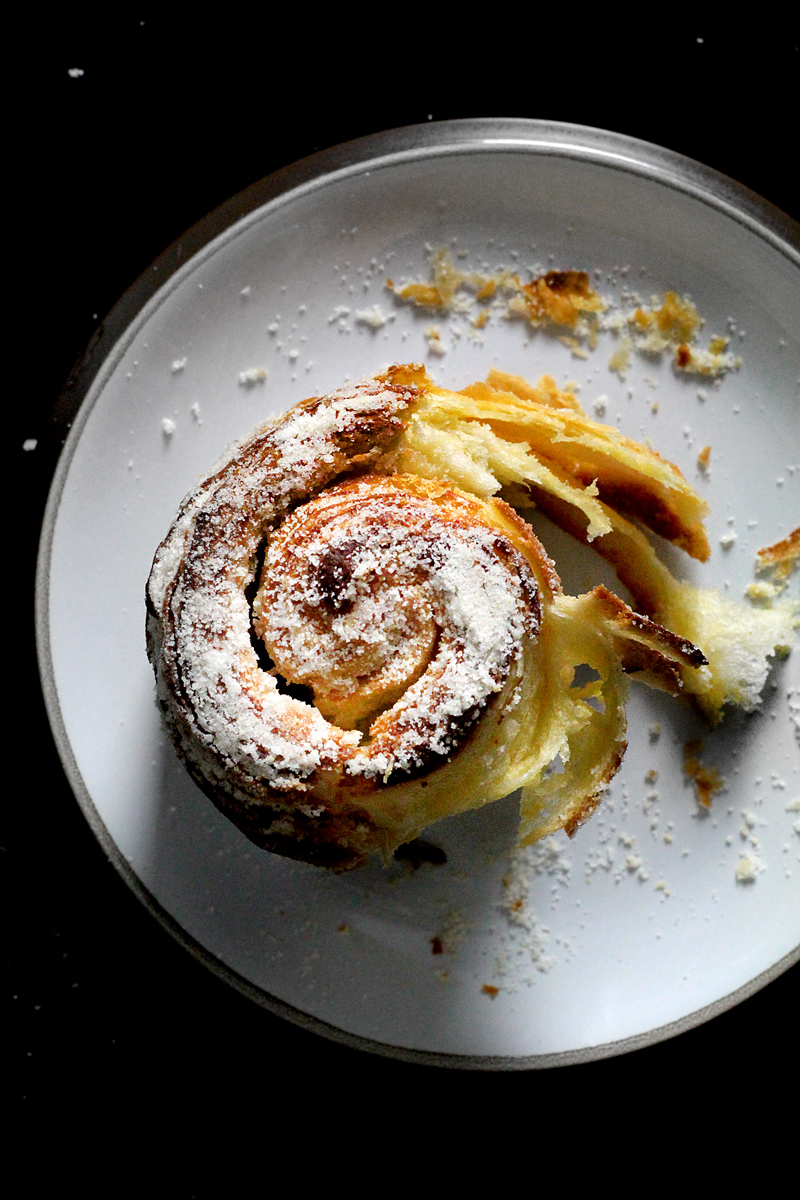
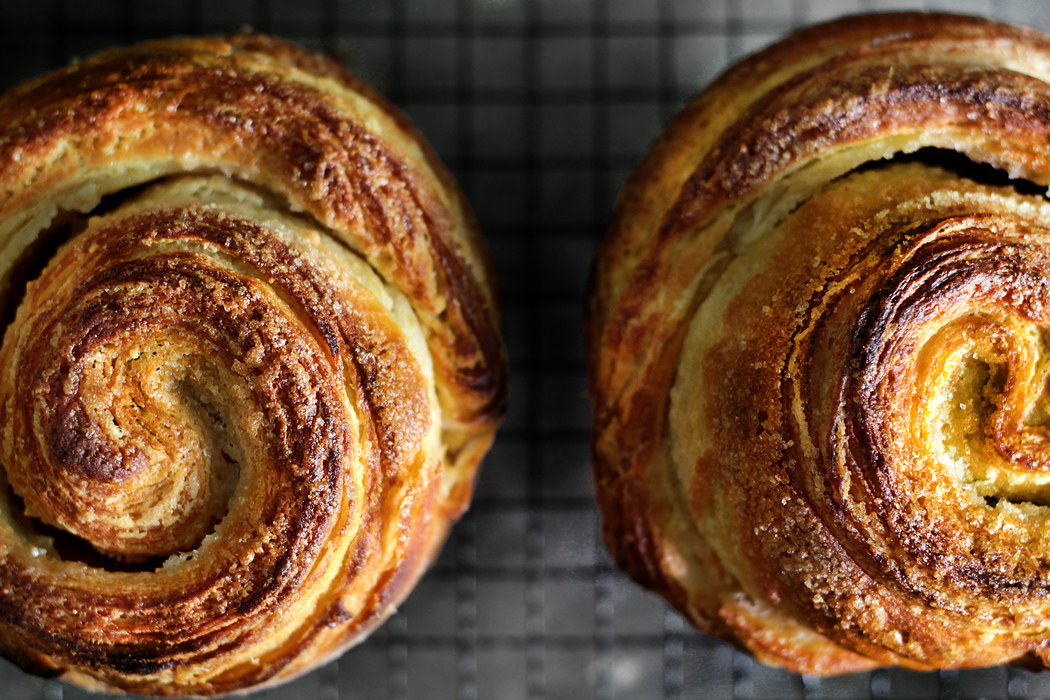
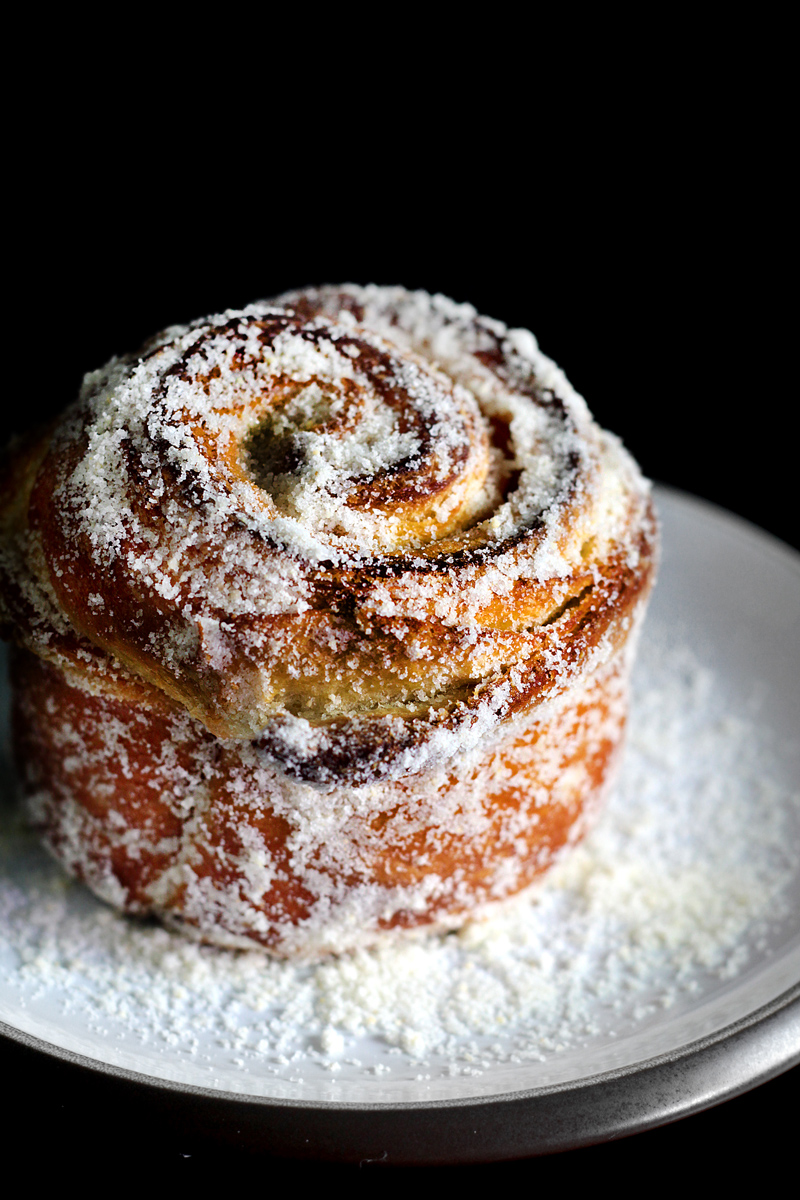
Yesterday, I just did exactly as my unlikely theory told me to, and it just worked. No chilling, no waiting, no marking-the-corners or turning-it-this-way-into-my-uncomprehending-panic. I applied my theory to a recipe that I’ve longed to try for months now but was too scared to, a gloriously ginormous morning buns that will mark the end of my size-4, and it just worked! The entire fussing (rolling and folding) was done in under 2 hours, but the buns were laced with crispy edges, soft but chewy layers of bread and butter with (listen to this) nutty peanut sugar all tucked in a warm, swirly hug. Then of course they were tumbled again inside a happy tub of (listen to this!) nutty peanut sugar until coated with sweet dusty joy! Like the happiest Golden Retriever after a mud-fight… well, only instead of kissing them, you tear and devour them up with ferocious aggression.
How is it possible, that you’re still listening to me yapping!! Run! Run now to your nearest kitchen and get yourself some of this, and toss out all your skinny jeans while you’re at it because unfortunately, although not regretfully, this is the last day you’ll ever fit into anything.
I await your condemnation.
Makes: 6 ginormous buns
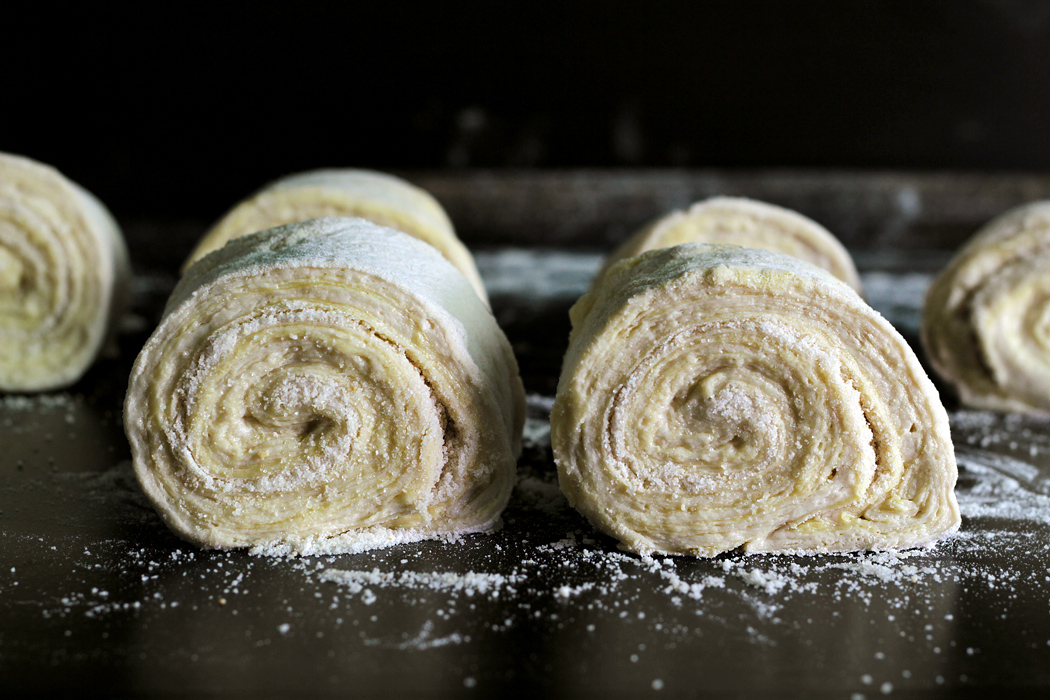
The key to remember is this, that the butter and the dough should have an equal softness/density for the layering to execute perfectly, that they should both behave/spread similarly when pressure is applied (the rolling). So room-temperature dough + semi-soften butter can create layers almost as efficiently as cold dough + cold butter (which is what’s been generally practiced only that it takes a gazillion-times longer). Another thing is, don’t go crazy trying to create 100 layers within a relatively thin dough! Over a certain threshold, you’ll just be forcing the butter to merge with the dough and you’ll have yourself some nice brioche! I think a good, down-to-earth 30 layers is well enough to fill my heart with content.
Reducing the times of folding by starting with a much larger sheet of dough, also reduces the times of rolling as well which I believe as a result, prevents the layers from being lost. Yes, it will require a counter surface that’s more than 3-feet long (the width of a door… a door, guys!). And if that sounds over-reaching to you (nothing wrong with living in a shoe-box)… I assume you have a dining surface to accommodate…
I happened to have crushed peanuts around, but if you are using whole, skinless peanuts and measuring by volume, you may need more than 3/4 cup because of the empty space it occupies. And please use a high-gluten bread flour as it gives body and chewiness to the buns. Unless soft and flappy buns are your thing then by all means, all-purpose flour…
Ingredients: adapted from Salt’s Cure via Tastingtable.com
- Peanut sugar:
- 3/4 cup (102 grams) of crushed, skinless peanuts
- 2 cups (407 grams) of granulated sugar
- The dough:
- 2 cups (270 grams) of bread flour
- 1/4 tsp of instant dry yeast
- 1 1/8 cup (262 grams) of warm water, no hotter than 115ºF/46ºC
- 2 1/2 cups (320 grams) of bread flour
- 1/2 cup (85 grams) of light brown sugar
- 1/2 tsp of salt
- 1/2 tbsp of instant dry yeast
- 3/4 cup (176 grams) of warm milk, no hotter than 115ºF/46ºC
- The butter: (updated 2017/10/10: I reduced the amount of flour from 1/4 cup + 2 tbsp)
- 2 1/2 sticks (283 grams) of unsalted butter, cold
- 1/4 cup all-purpose flour
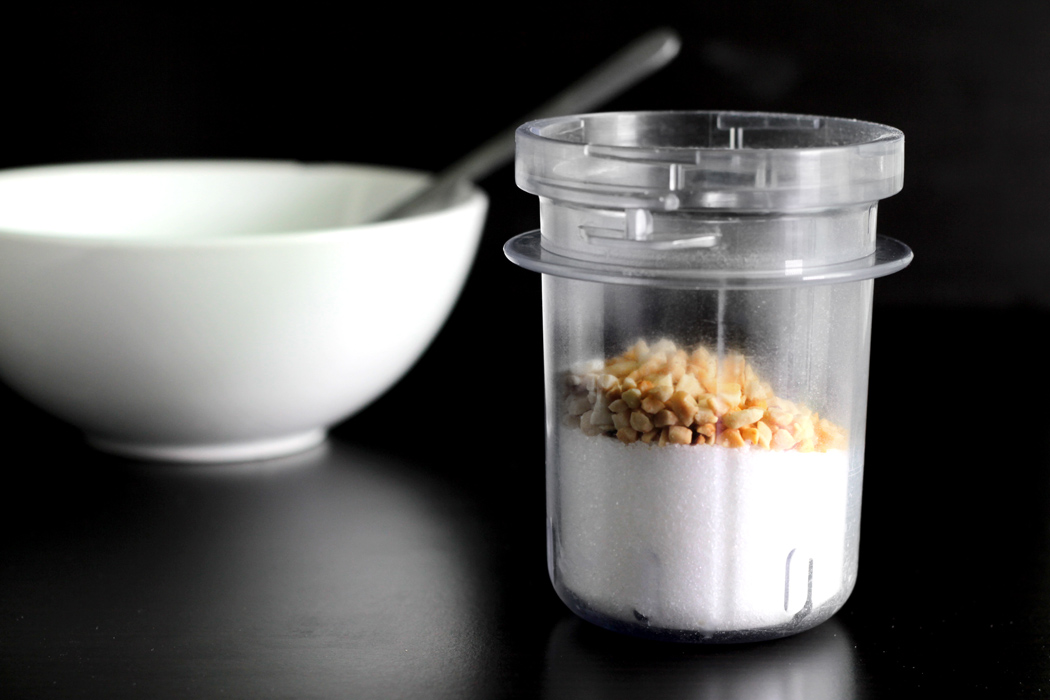
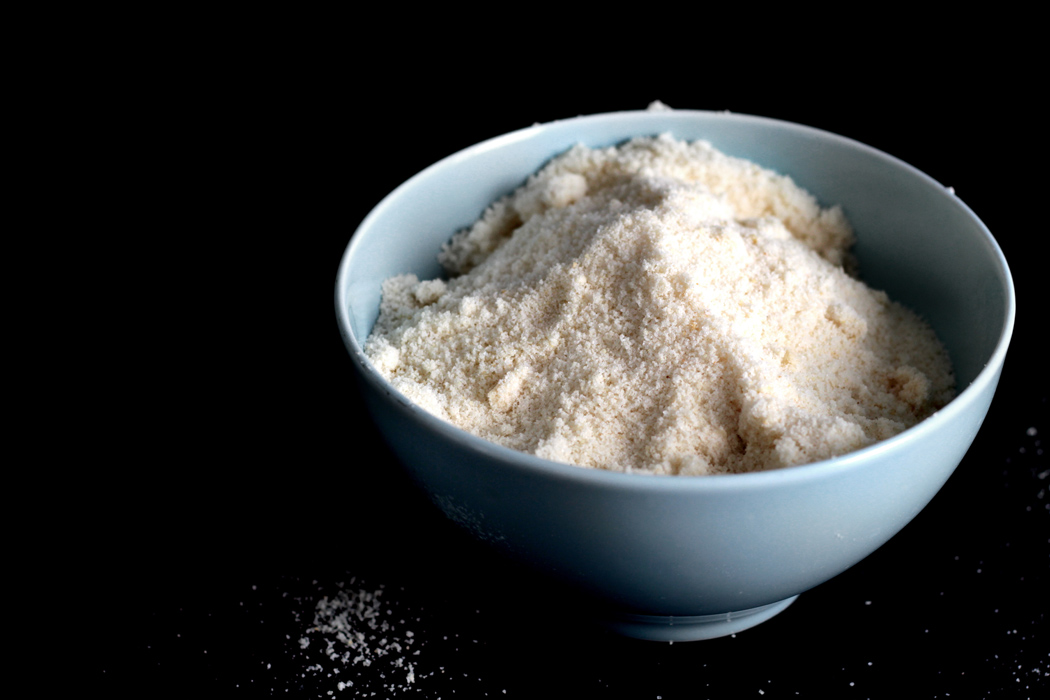
To make the peanut sugar: Toast the crushed peanuts in a skillet over medium-low heat until slightly golden on the surface. Transfer to a bowl and freeze until completely cold (this will prevent the peanuts turning into butter when processed). Pulse the cold peanuts and the sugar in a spice-grinder or food-processor, in small batches, until finely ground. Can be done the day before.
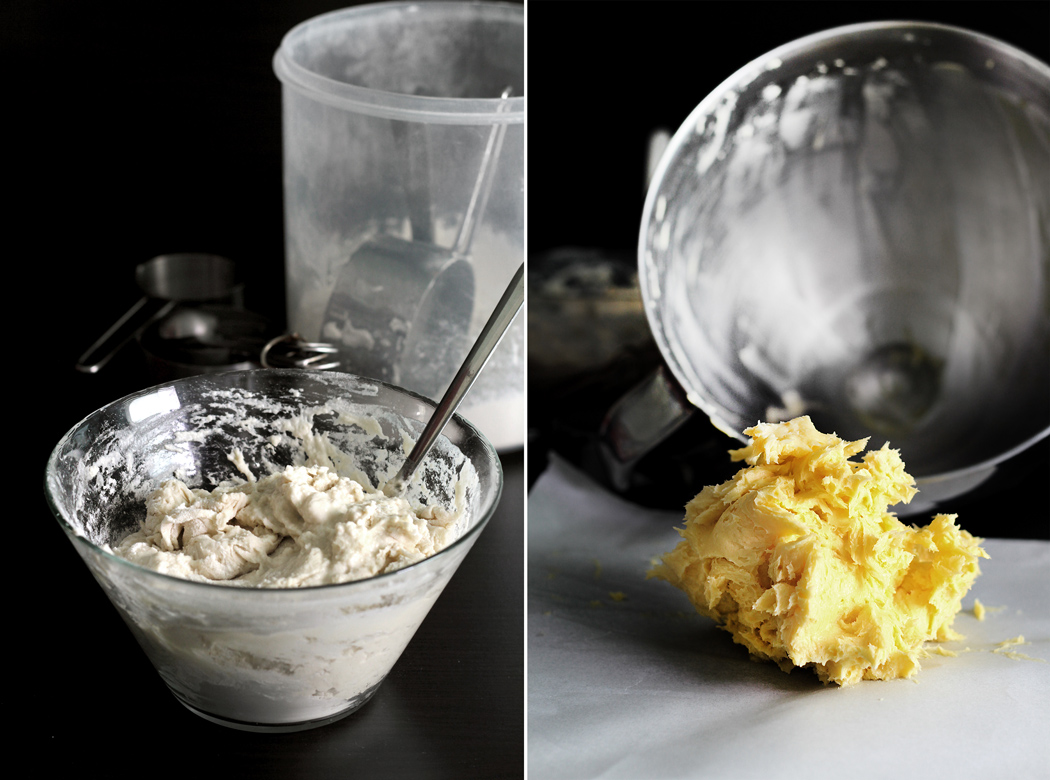
To make the dough: Microwave 1 1/8 cups of water on high for about 30 seconds (the water should be warm but not hot. you should be able to leave your finger in it without discomfort). Then evenly mix the warm water with 2 cups of bread flour and 1/4 tsp of instant dry yeast with a fork, and set aside for 20 min.
Meanwhile, prepare the butter: In a stand-mixer with pedal-attachment, mix the cold unsalted butter (right out of the fridge) with all-purpose flour on low speed first, then increase to medium speed and beat until thick but “creamy” without lumps (like the consistency of cold cream cheese). Transfer all the butter onto a parchment paper and set aside at room-temperature. Scrape the butter off the bowl as cleanly as you can with a spatula, but there’s no need to wash the bowl.
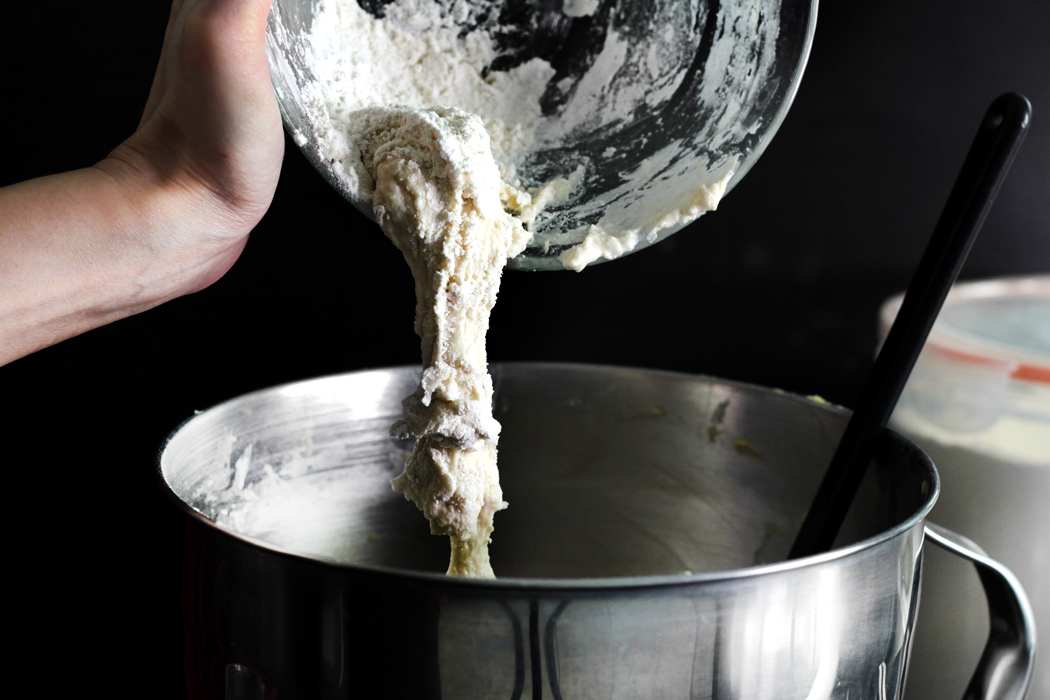
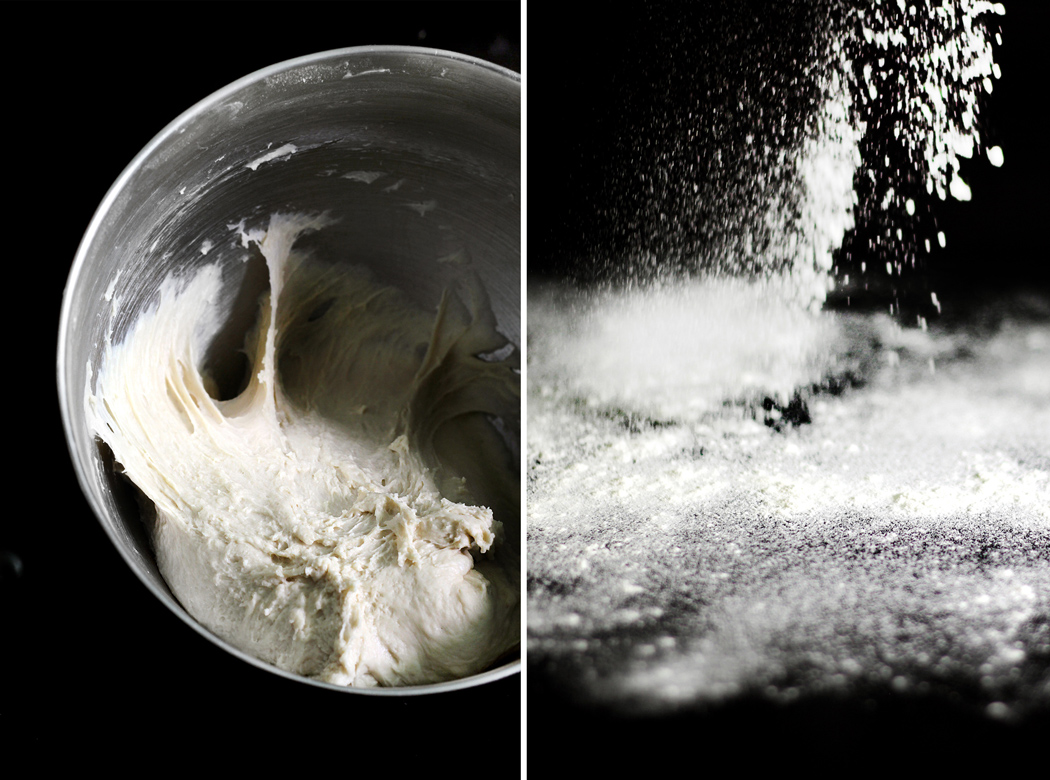
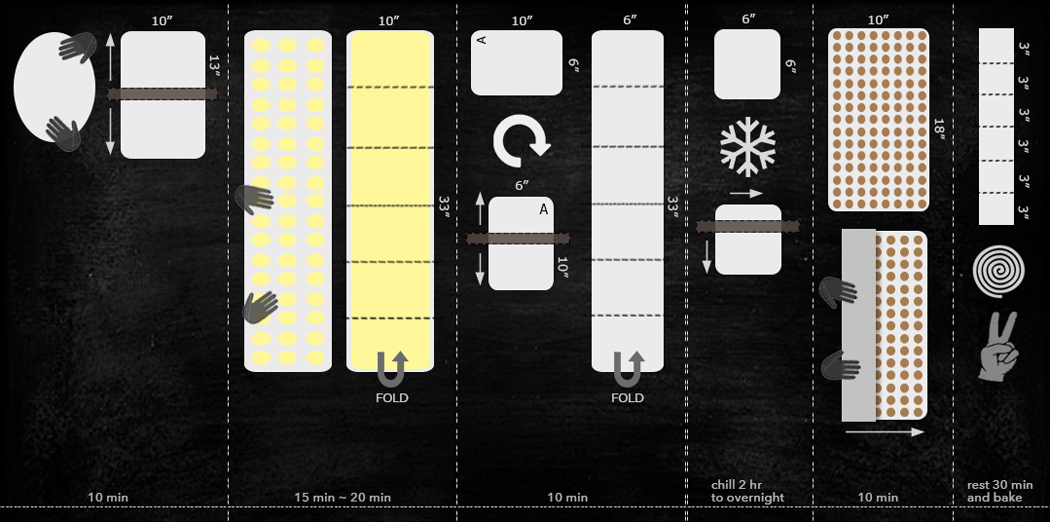
Switch to a dough-hook, then add the flour/yeast/water-mixture, plus 2 1/2 cups of bread flour, light brown sugar, salt, 1/2 tbsp of instant dry yeast and warm milk (microwave cold milk on high for 30 seconds). Knead the dough on low first until evenly incorporated (scrape the bottom of the bowl if need be), then increase to medium-high speed to knead for another 5 min. The dough should be wet and sticky, but pulls away cleanly from the side while the machine is running. Dust your working surface generously with flour, then transfer the dough on top. Before I scare you with excessive wordings, here’s a silly graph to explain all in one go:
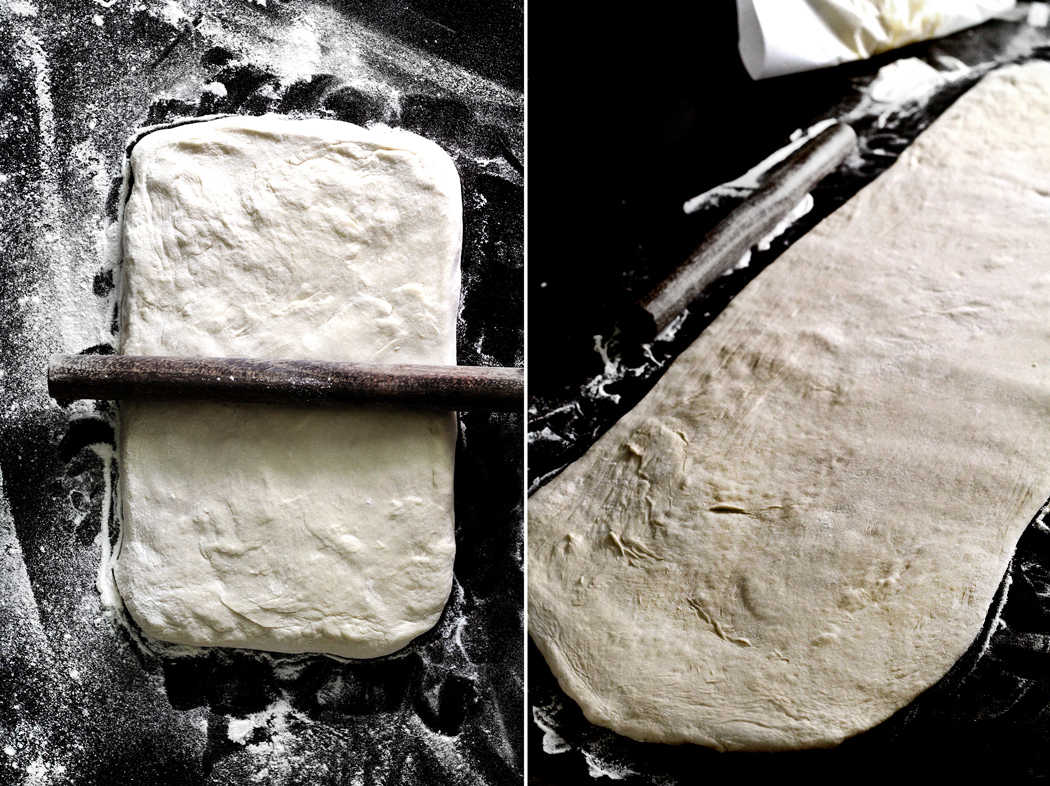
No chilling, resting or what-so-ever (the original recipe says to chill the dough for 4 hours which I didn’t). Dust the top of the dough with more flour, then press it down with your hands to shape it into a rectangle about 13″ long × 10″ wide (33 cm long × 25 cm wide). Keep the width at 10″, then roll it out length-wise to 33″ long (84 cm). It’s easier to start rolling from the middle of the rectangle and out towards both sides, and keep the bottom of the dough well dusted with flour to prevent sticking. You should have a gigantic sheet of dough about 33″ long × 10″ wide.
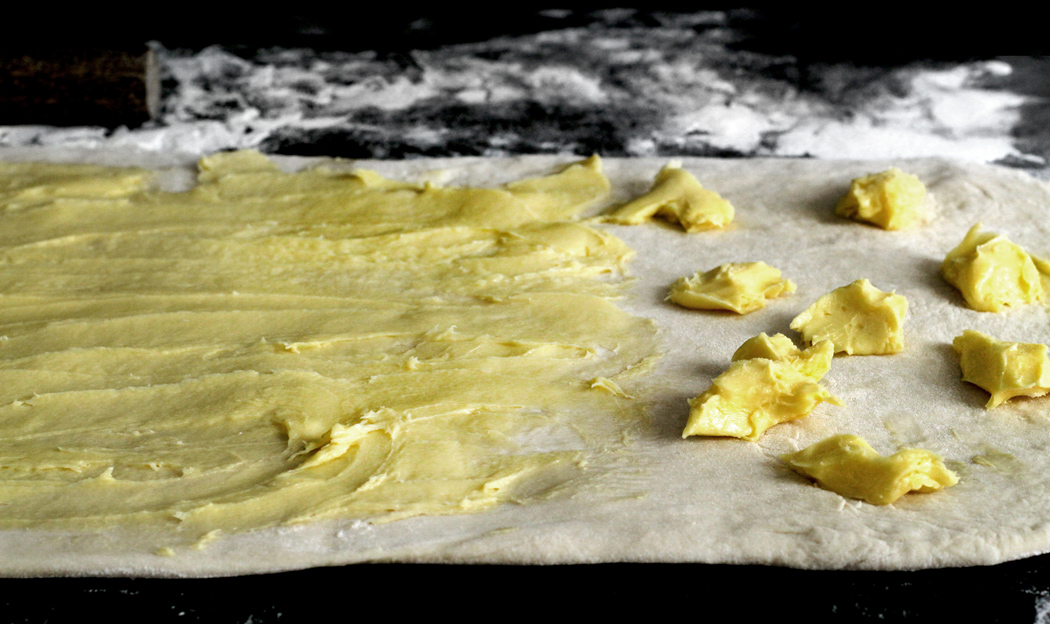
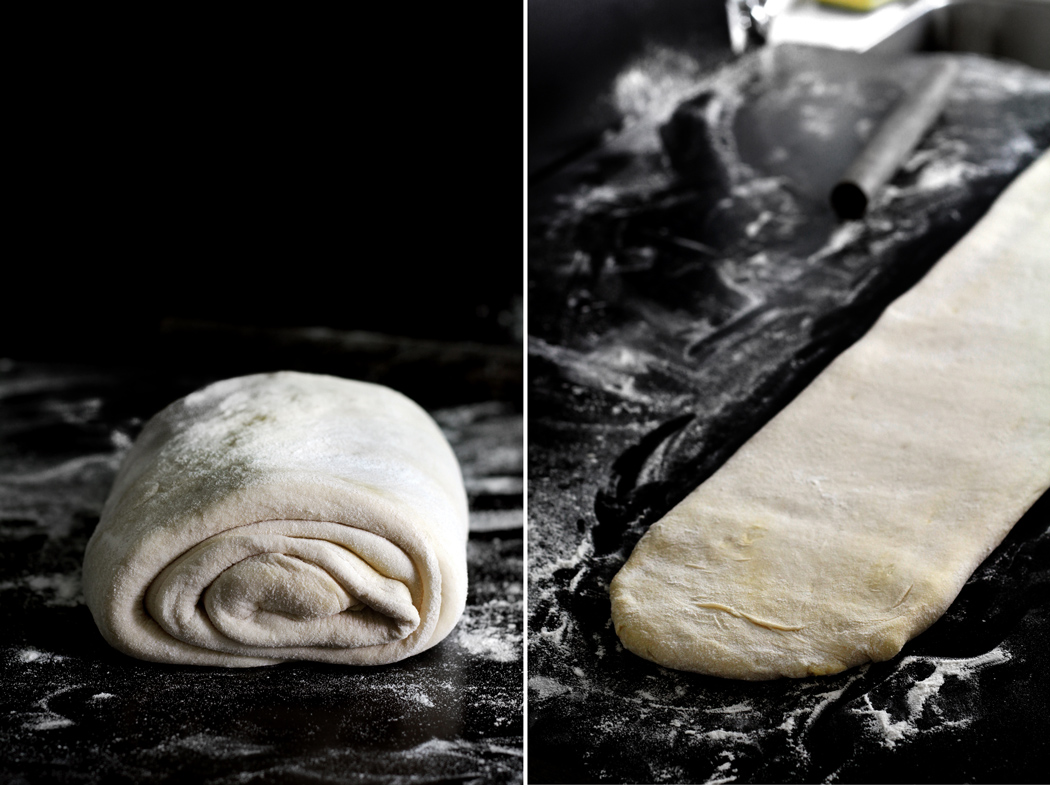
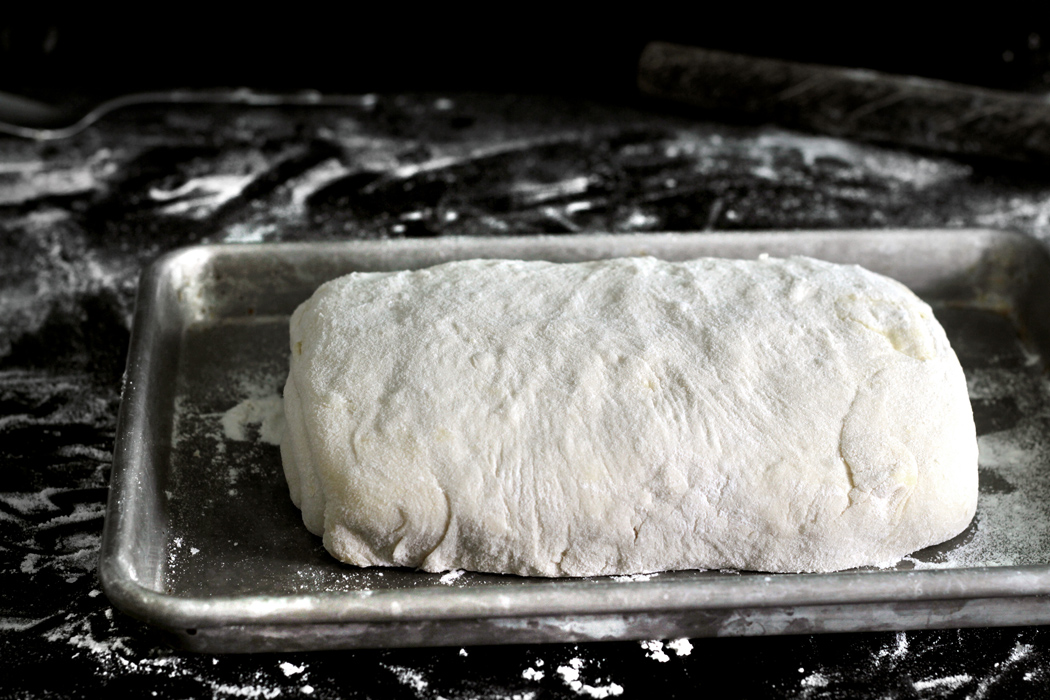
Scatter the butter in dollops evenly over the dough-sheet, then gently rub/smear the butter into an even layer cross the sheet, all the way to the edges (like applying lotions on a baby’s buttock). Wash your hands, then use a dough-scraper to lift one side of the sheet up, and fold it 5 times over until you get to the end of the dough, which should give you 5 layers. Now you should have a scroll about 6″ long × 10 ” wide. Now, gently pinch the two openings of the scrolls together, then turn it 90 degrees. You’ll have a rectangle that’s 10″ long × 6″ wide. Here’s a trick: the trapped air inside the scroll will make it hard to roll out evenly, so poke a few holes with a wooden skewer so the air can escape when the dough’s being rolled out. Roll the dough out again length-wise to 33″ long (84 cm), and fold 5 times again from one side to another. So now you have a 6″ square (doesn’t have to be exact). Place the square-dough on a well-dusted sheet pan, cover with plastic wrap and rest in the fridge for at least 2 hours to overnight (I admit I only waited 1:30 hour but it worked out fine).
There! You’re done with all the foldings and if you were counting, all 30 layers!
To bake the buns: Preheat the oven on 400ºF/200ºC.
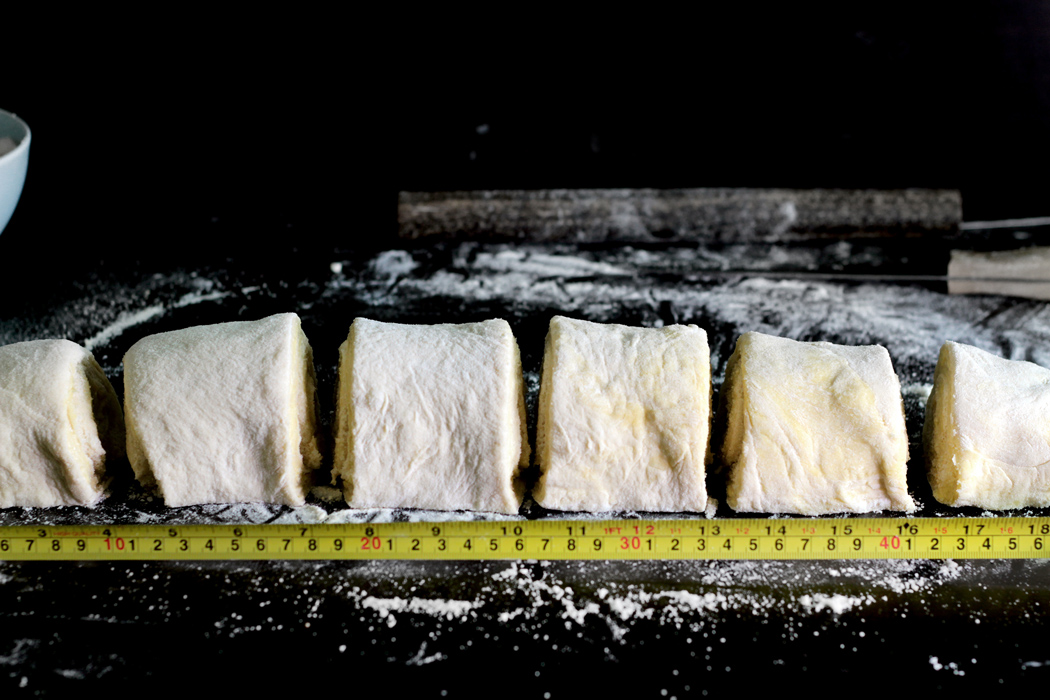
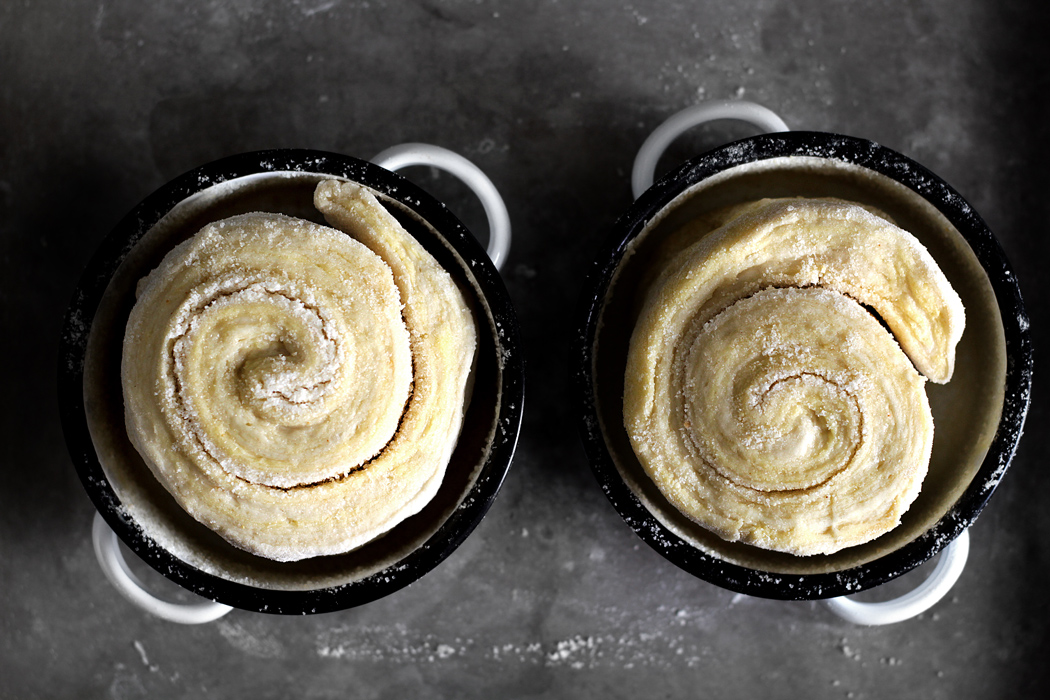
Transfer the dough on a floured surface, and roll it out into a 18″ long × 10″ wide (46× 25 cm) rectangle. Sprinkle 1 cup of peanut sugar in an even layer over the top, then roll the sheet length-wise into a long log (still 18″ long). Use a serrated knife to cut the dough into 3″ (7.5 cm) wide segments, so you’ll have 6 segments. Butter 6 large ramekins, or XL muffin-cups, then coat with peanut sugar. Place each segments inside the mold, cover loosely with plastic wrap and let proof for 30 ~ 45 min. The dough should expand slightly and look puffy. (Updated 2015/04/21: Instead of proofing for 30~45 min only, I later found out that letting the dough proof for 1 ~ 1:30 hour until almost doubled, improves the texture and makes a much lighter and airier bun).
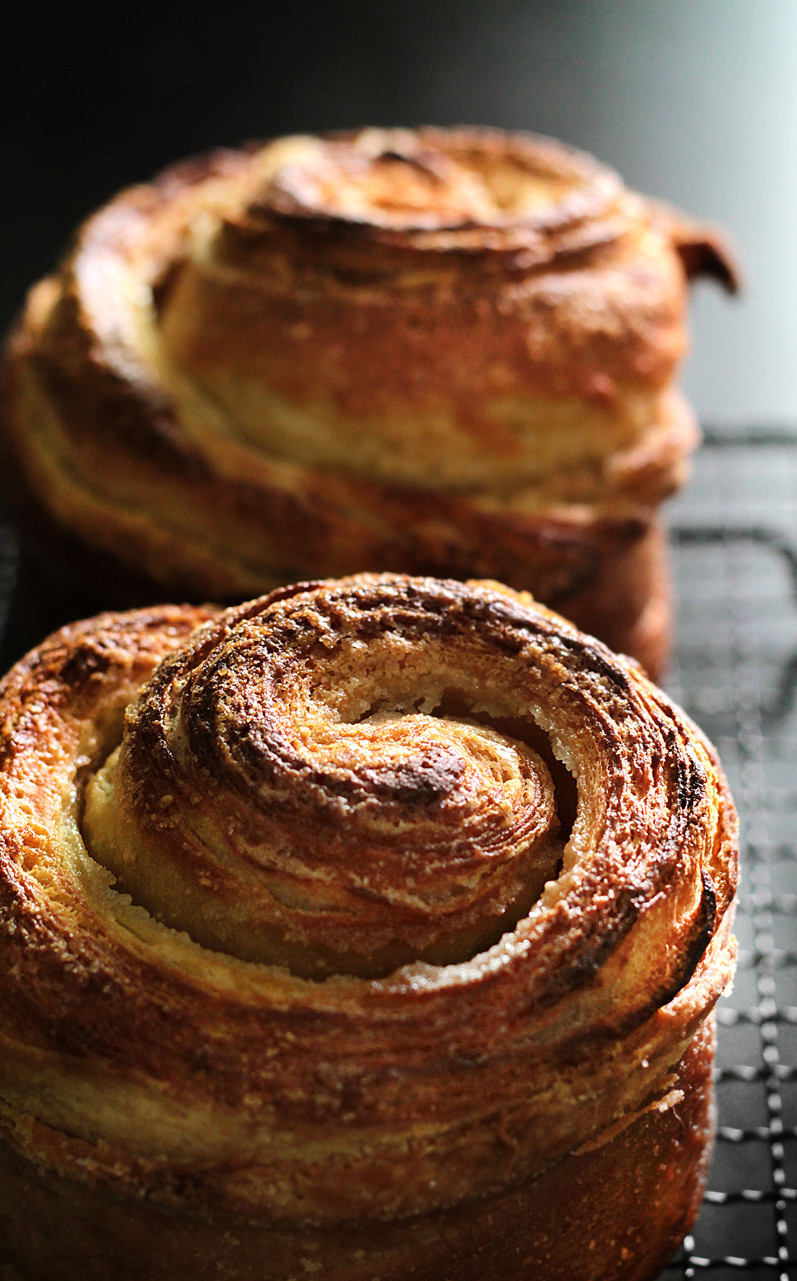
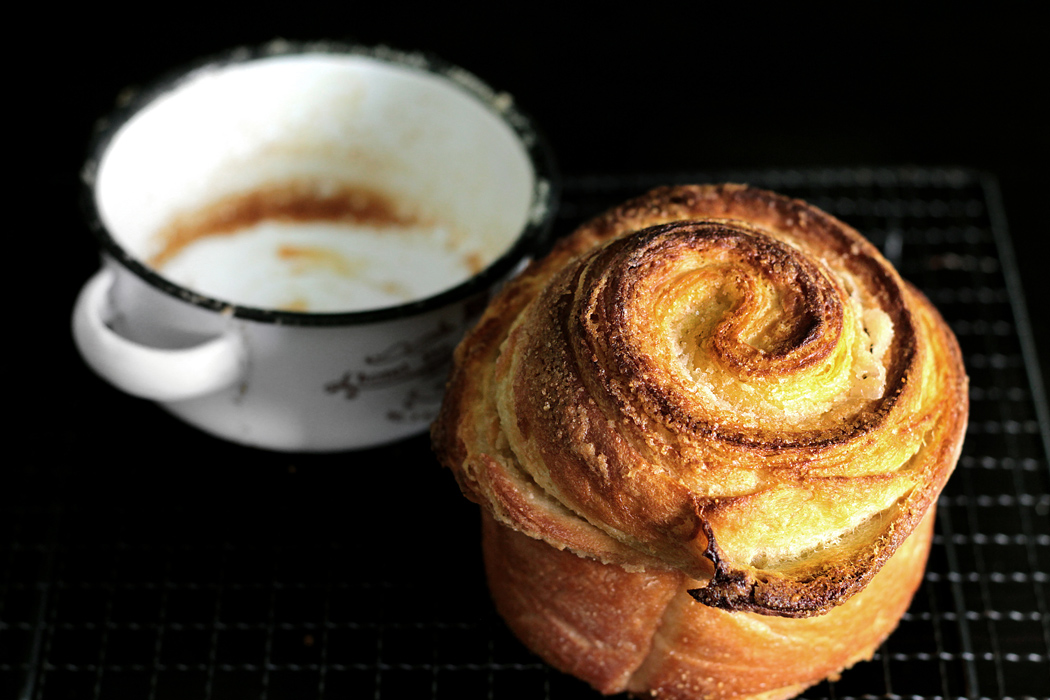
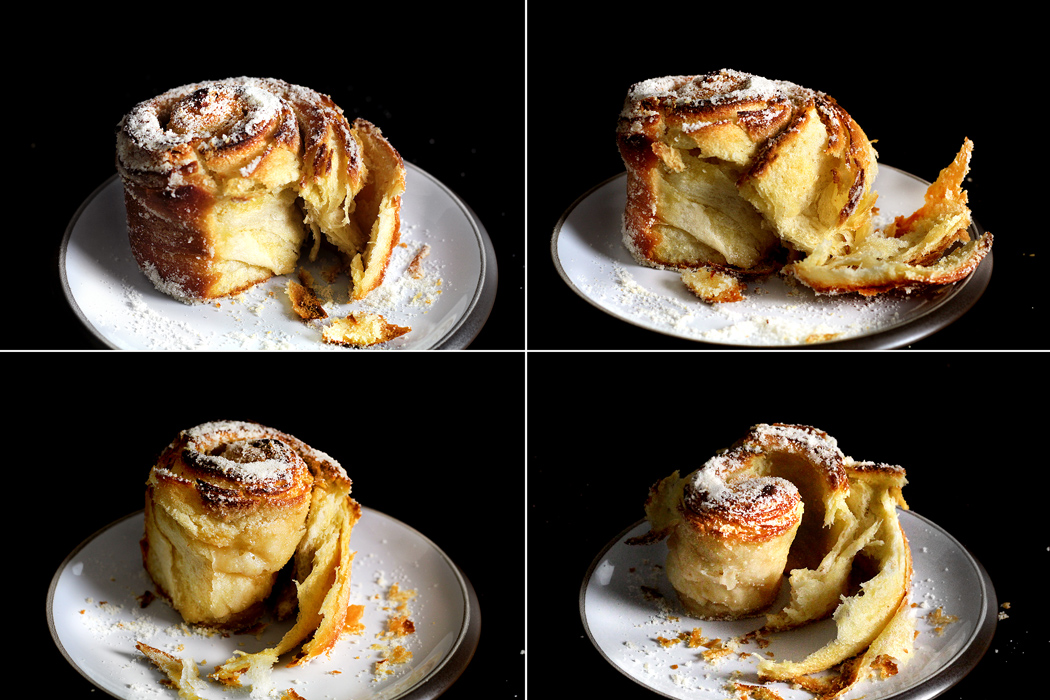
Bake in the oven for 30 min until golden browned and puffed (if the top is browning too fast, lower the temperature slightly for the last 10 min). Remove the buns from the molds and let cool completely, then drench the in the peanut sugar and serve.


Belinda@themoonblushbaker
03.12.2014at8:48 PMGod you are genuis! After making 3 kgs of 8 book fold puff pastry for school; I was about to cave in on myself about never making laminated good again. I am look forward to trying your techni
Belinda@themoonblushbaker
03.12.2014at8:49 PMOppies pressed reply before i finished! Either way I am going to try to make these sweet buns on the weekend. I am sure my family needs a little sweetness right now.
Katrina @ WVS
03.12.2014at9:31 PMHoly freaking goodness. These buns need to find their way into my life RIGHT NOW! Gah!!
Sophia
03.12.2014at11:35 PMYou are an absolute genius – the pictures alone are enough to prove your technique works equally well if not better than the traditional folding. Also, peanut sugar? Yes please!
Erika
03.13.2014at2:27 AMPeanut Sugar…Seriously!! I can’t even tell you how I’m feeling about this right now.. because there are just no words..There is a layer of butter smeared in these rolls.. that alone has me drooling all over my computer..
James G
03.13.2014at2:30 AMIs there a second graph missing from the post? The one about putting the rolls in the ramekins/muffin tins and letting them puff up?
mandy@ladyandpups.com
03.13.2014at2:49 AMJAMES, oh oops!!! My mistake! There’s only 1 graph (which was moved..). Sorry.
yen
03.13.2014at3:39 AMyou are so g*****n talented XO
Brianne
03.13.2014at4:08 AMI’ve been meaning to ask you this for a while now: Are you God?
PEANUT SUGAR?!? Sweet, dusty joy indeed. I want to toss myself in a tub of that. And all that butter? I am so glad that you cranked out this culinary miracle on the first try. I guess I better go find my fat jeans…
Tieghan
03.13.2014at11:59 AMGorgeous. So, so, so amazing! Love this recipe and your photos!
Asli
03.13.2014at3:53 PMThese look fabulous! Must try!
Linda
03.13.2014at9:54 PMI love shortcuts, especially when they actually work out. Thanks for tinkering with the recipe (so that the rest of us don’t have to). And crap look at those layers, those dreamy, flaky layers. Definitely worth the jump up in size!!
Christine
03.14.2014at9:03 AMLove the schematic, helped me visualize the recipe — all that turning and folding can be so confusing. The buns look other-worldly, really gorgeous! Can you suggest a substitute for the peanut sugar? Orange zest? I noticed you said these were adapted from morning buns featured on Tasting Table? I seem to remember some reader frustration because TT never published a recipe and everyone was up in arms… If these are *those* same morning buns, then thank you for filling the void :). Also, can I just say how awesome those buns came out when baked in those Chinese metal/tin (?) enameled cups? Really great repurposing. I bow to you and the buns!!
mandy@ladyandpups.com
03.14.2014at1:32 PMCHRISTINE: Yes that’s the one! I also didn’t find the recipe on their original link but somewhere on Pinterest I found the link: http://www.tastingtable.com/entry_detail/chefs_recipes/15378
mandy@ladyandpups.com
03.14.2014at1:35 PMOh yes and of course you can use orange zest!
Casey
03.14.2014at12:47 PMIf I wanted to do a cinnamon roll swirl…do you think mixing the cinnamon and the sugar into the flour/butter mixture and incorporating that into the folds would work? Or would it somehow “glue” the layers together, reducing the flakes?? Thanks! This is brilliant!
mandy@ladyandpups.com
03.14.2014at1:32 PMCASEY: I wouldn’t not recommend adding sugar to the butter and work that into the layers, because sugar melts and contains liquid, which will “sogg” the butter and perhaps, yes, make the layers disappear. But by all mean use cinnamon sugar instead of peanut sugar!
Erika
03.15.2014at5:00 AMOh my BUN you are incredible. I can’t even wait. You have planted a seed of desire in me that may force me drive to the nearest bakery instead of kickboxing after work!!
kita
03.16.2014at9:20 AMAnd to heaven deservedly too! These morning buns look like a masterpiece :)
Lynna
03.16.2014at4:04 PMOMG. I need THESE in my life. That peanut sugar sounds super amazing. I`m glad you decided to try your theory out to create this glorious-ness!!
Lisa
03.18.2014at10:20 AMThese buns are just *to quote Reese Witherspoon groveling in handcuffs* “BEYOND….”. You are freakin’ amazing.
Casey Roman
04.07.2014at10:32 AMJust made these and it DOES work. I’m amazed. I have always been a failure at laminated dough. This is amazing!
Question…my mixer was growling trying to whip up the cold butter/flour. Does it have to be cold butter? I mean….we let it sit to room temperature anyway? Can it not be a little soft???
mandy@ladyandpups.com
04.07.2014at12:59 PMCASEY ROMAN: The key is that the texture/firmness of the whipped butter, should be the SAME as the dough, in order for the lamination to work properly. I find that cold whipped butter (after sitting at room temperature for a bit while I work on the dough) has about the firmness I’m looking for. If you whip room-temperature butter, it will be EVEN SOFTER than room-temperature which I’m not sure will work properly.
Judy
04.22.2014at10:53 AMHoly shit! These are amazing! I just made them and ended up with 9 enormous rolls. Really, they’re huge. They are so beautifully layered, I can hardly believe it. They look just like a tartine giant morning bun. Your directions were flawless; I loved the diagrams. This dough was really amazing. I have made many a cinnamon roll in my life and this one is THE best, the quickest and looks like I slaved over it for days. I can’t get over all the layers- without all that tedious folding and chilling- how is this possible??? You must be a genius- very bold to not chill the butter.
mandy@ladyandpups.com
04.22.2014at1:07 PMJUDY, oh yay! Always amazes me that the recipe pulls off in another kitchen to prove that I’m not just crazy… yay again!
Judy Leung
07.01.2014at2:08 PMHi, Mandy, these are the most outrageous pastries buns that I’ve ever seen. Any suggestion on making these with less butter? Thank you!
mandy@ladyandpups
07.01.2014at2:23 PMJUDY: You can simply try to reduce the amount of butter, but I don’ t know if the layers would work. Never tried it before…
Siqi
09.29.2014at1:53 PMI really want to try your recipe, it looks delicious. Do you think peanut butter (in place of the peanut sugar) will work?
Lindsay
11.13.2014at5:50 AMI know you probably get this all the time, but I just have to tell you. I love you. I don’t even know you, yet I feel this innate love for you and your wondrous baking. It’s amazing. I’ve zoned out of every class today looking at your recipes, your photography, your perfect diagrams, and your hilarious writing. Please write a cookbook (or if you already have, please let me know where I can buy one) or start a cooking show at least. I would be a dedicated viewer. Thank you for making this world a better place. YOU ROCK, MANDY LEE.
Lidia Rafeek
11.21.2014at2:25 AMThank you so much for this recipe. It is amazing. I can’t believe I got all these layers without all the work. Also I didn’t have peanuts so I used almonds. I don’t have ramekins, so I baked it in a muffin tin. Worked perfectly!!!!
ydanis
11.25.2014at10:59 AMDo you have to use the ramekins to bake? Does that contribute to the nice size and height. Or can they simply be baked on a baking sheet?
mandy@ladyandpups
11.25.2014at5:19 PMYdanis: If you just lay the dough on a baking-sheet, it might expand and unravel during baking. You can make the rolls smaller and bake it in a large muffin mold.
Alice
05.01.2015at12:34 PMHello,
Can this method be used to make crossiant?
Thanks
Alice
mandy@ladyandpups
05.02.2015at8:23 PMHi Alice, the bread is slightly different from a croissant. If you want to try making croissants this way, use the recipe in “how to make cruffins with pasta machine” but with this folding technique.
Winnie
12.12.2015at3:45 AMHi, I’ve made your cruffins and they where delicious. I want to make either the cruffins again or this recipe for my co-workers. My question is, is it possible to delay the baking after the final proofing?
mandy@ladyandpups
12.12.2015at4:05 AMWinnie, how long are you trying to delay it? You can put them in fridge, gently wrapped, for a couple hours, or freez them. But you’ll prolly have to leave them at room temperature for a couple hours before baking if you freeze them.
nazanin
12.26.2015at10:55 PMDear
Thank you for the recipe,i tried your cruffin and it was amazing.
I have a question about this recipe,the second rest should be in fridge or in room temperature?
Thomas Riker
12.27.2015at4:53 AMI have been looking for such a solution to laminated doughs. Several of my own similar attempts were just so so. These turned out SO magnificent! Instead of the peanut butter I did a traditional cinnamon sugar filling during the peanut filling stage. You know that the dough will hold its layers when in the last rollout just before adding the filling you will see the laminated layers individually. Kudos!
Mamie
05.22.2016at8:26 AMPlease give dimensions of ramekins you used please. ty
mandy@ladyandpups
05.23.2016at12:41 AMMamie, I believe it’s about 4″ in diameter and about 2″ deep.
Mamie
10.31.2016at7:43 PMIf using walnuts just follow same procedure? Also sugar mixture looks very white w/nuts, or is it my PC?
mandy@ladyandpups
11.01.2016at3:33 AMMamie, you surely can, just that peanuts will have a stronger aroma.
Emmy
11.16.2016at10:05 AMMandy,
Long-time reader and a huge fan! Thank you for all of the hard work and love you put into your recipes.
I’m thinking of doing these for thanksgiving as a savory dinner roll. Couple questions:
1) how could I get more than 6 rolls out of this recipe? If I tried to get 10 rolls maybe roll the final dough longer? Do you think I need much smaller ramekins or could I still bake the rolls in 4-inch?
2) could I take out / reduce the brown sugar to make the dough more savory? Or does the yeast need the sugar?
3) could I put shredded cheese (thinking gruyere) where you put the peanut sugar inside the rolls? Or would melting cheese ruin the rise in the oven?
Thanks again!
mandy@ladyandpups
11.16.2016at12:47 PMEmmy, you can definitely roll it a bit longer to make 10. I mean my buns were huge! So it will make 10 muffin size buns for sure. I would leave the sugar in the dough because it’s gonna compliment the savoriness, too. You can definitely put cheese in it instead of sugar :). Good luck!
Katy
03.30.2017at10:59 PMI frequent cooking/baking blogs a lot, but this is the first time I have ever left a comment. These buns are more than comment worthy – this is one of the best recipes on the internet. I have made this recipe twice (the first time I was super messy and got the butter everywhere when doing the folds, but it didn’t matter) both times have produced professional-baker-level morning buns. Instead of the peanut sugar, I like to make a puree of dates (soaked), orange zest, cinnamon, and then add in chopped pecans for the filling. AH-MAE-ZING! I printed a hard copy of this recipe in case some future apocalyptic event destroys the internet – the thought of life without these buns would be soul crushing.
mandy@ladyandpups
03.31.2017at12:52 AMKaty, hahaaaaaaaaa apocalyptic events that destroys the internet! Omg you cracked me up. You remind that that it’s time for me to revisit the recipe myself. Thank you!
Jen
10.16.2017at2:43 PMHi Mandy,
Thanks for your generous sharing of this recipe. I love your innovative approach to baking and cooking. Love your blog and photos too. I have made these and wow were they delicious! Thanks.